This was a project designed to test my large doming block. I sawed out two disks of copper sheet and domed them in the block. A third disk had the centre sawn out and the remaining 'washer' of copper was also domed. This was used as a kind of spherical bezel for the base dome. The foot of the box / locket was actually a short length of large-diameter copper plumbing pipe, which I flared out at both ends and soldered to the base dome. By far the biggest problem was fitting a hinge; I had to hand-fit some pieces of brass strip to fit the spherical surface of the outside of the domes, then solder them, groove them, add knuckles and a pin for the hinge.


Then I domed some copper filigree which I had made years before, and soldered it to the top of the domed lid; this fortuitiously acted as a catch. Finally I soldered a small domed saucer of silver on top, bearing a melted bead of dichroic glass.
2013-11-25
A copper locket / box with filigree
2013-11-24
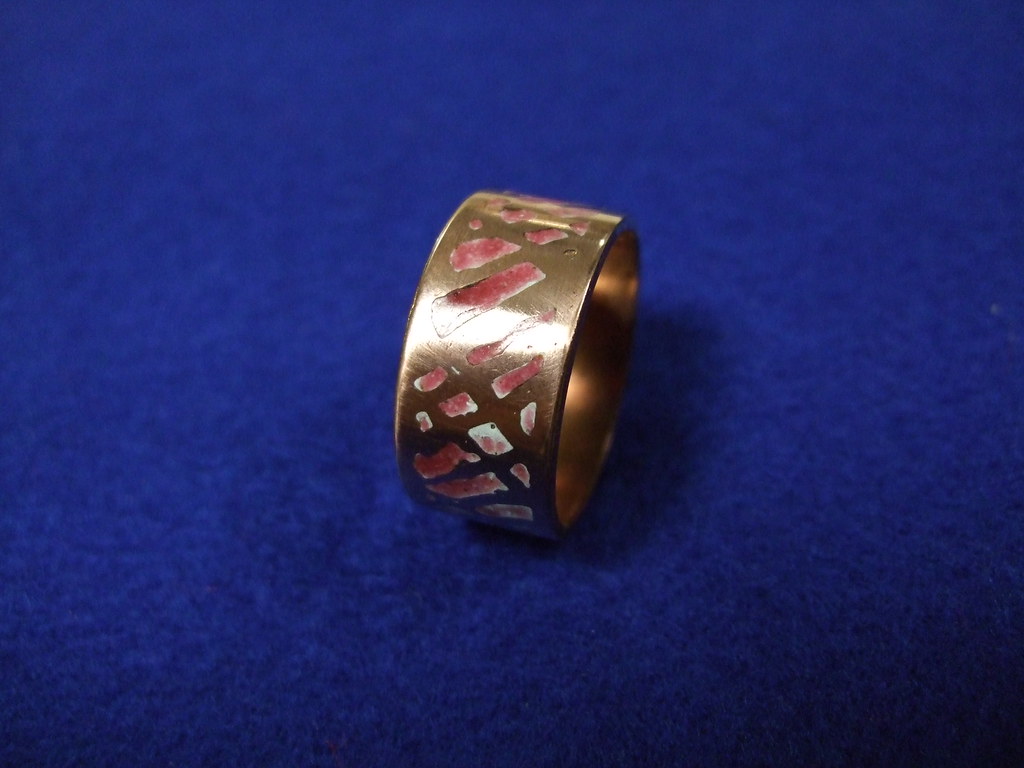
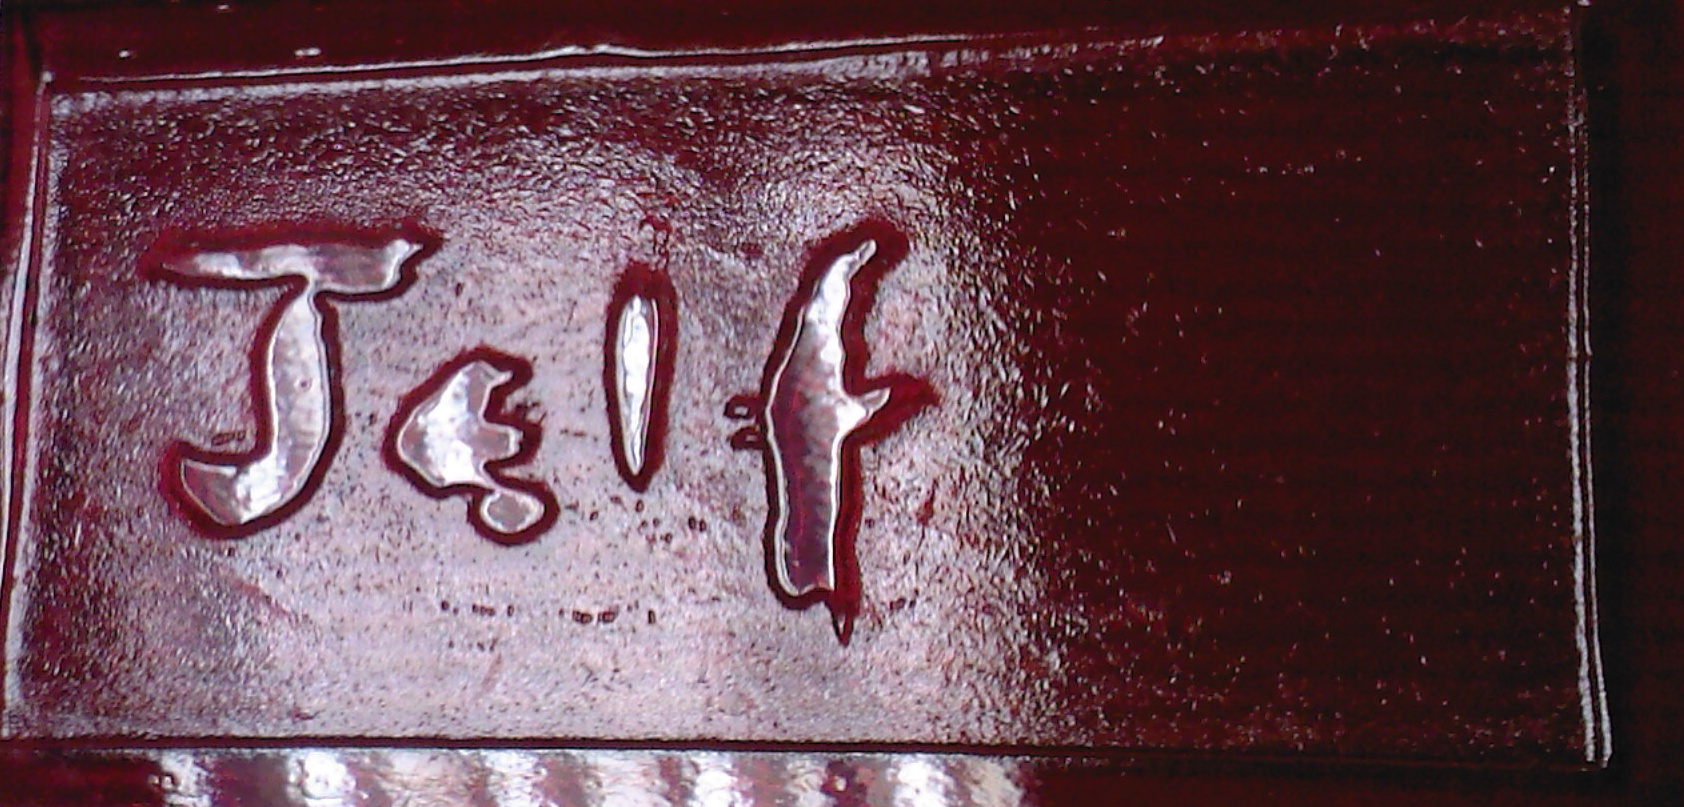
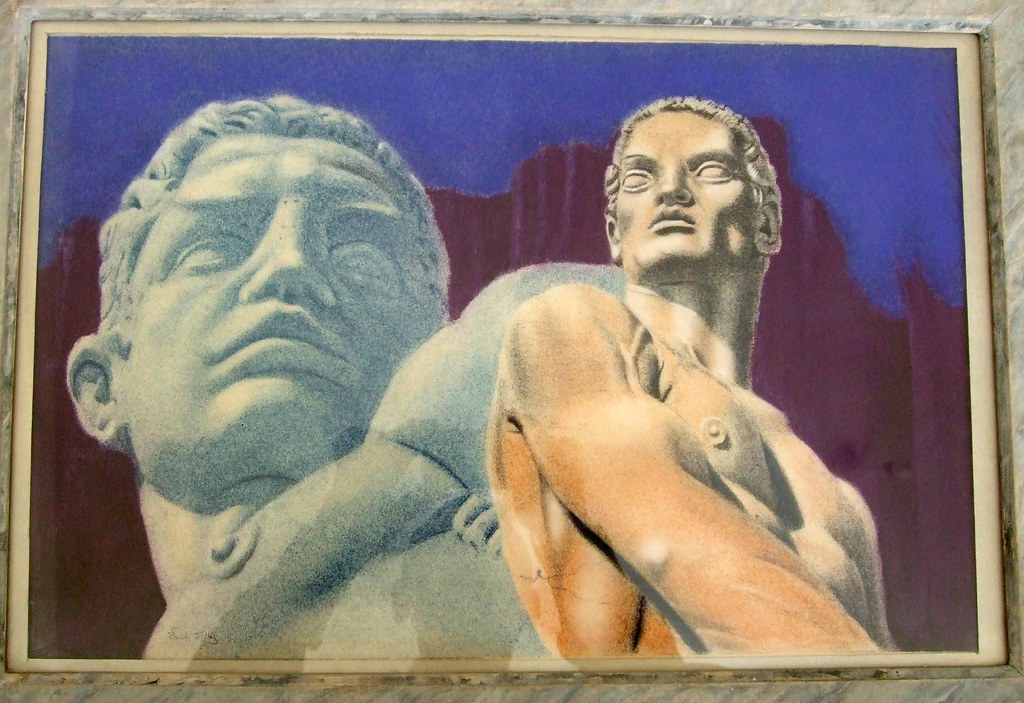
My first hallmarked box
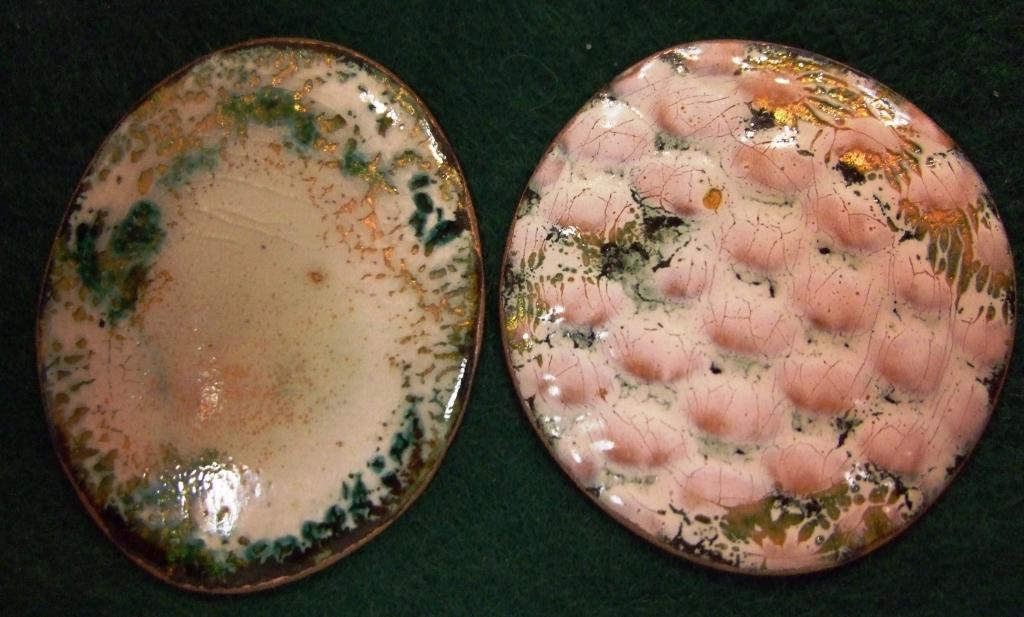
I finally got round to having my silver box, made a year or so ago from casting sprue scraps, hallmarked with my own Sponsor's Mark at my local assay office in Greville Street. Local, that is, to Steve Wager's workshop in Hatton Garden where I do my smithing. I was somewhat nervous that the assayers would find my box not of hallmarking quality, since it is always possible that some scrap ended up in the melt that wasn't of the standard demanded, i.e. 92.5% silver; but it was returned with the base hallmarked as desired, as in the second picture. Steve then showed me how to flatten the unevenness induced by the hallmarking using a strip of lead and a hammer on one side, and a steel block on the other, to give the much-improved version in the third picture.


Now, of course, I am planning on having other items hallmarked; e.g. a small silver spoon, also made from casting sprues...


2013-11-12
Small but tall bronze pots
I have spent the past few weeks making various bronze pots with between four and six sides each, out of silicon bronze except one of the two square ones which is phosphor bronze (7% tin). All are in thick metal, 16 gauge (about 1.63mm) supplied by Columbia Metals Ltd. In all cases I milled the required number of parallel grooves for the fold lines of the initial rectangular sheet of metal; this was fairly straightforward for the square-footprint pots since I have a 90° Proxxon milling cutter. I found by accident that this works pretty well for the two five-sided pots although the grooves do not close up as much as one would like when the metal is folded. However for the six-sided pots I had to mill each groove somewhat more than half-way down using the 90° cutter, then manually cut the remaining groove using a 60° grooving chisel down to the required depth (i.e. until the metal showed a plain line on the reverse). I calculated the depth required using simple geometry. All pots were soldered using hard silver solder for the grooves, and usually medium or soft for the base / top.
The first picture shows an array of the pots in various stages of finishing, fitting of lid bezels etc.
The second picture shows one of the square pots before the faces had been sanded to remove surplus solder.
The third picture shows one of the square boxes, wired up, horizontal on fireproof bricks, just after soldering one of the grooves. I would then rotate the pot while red hot with stainless steel tongs and solder the next groove.
The fourth picture shows one of the square pots wired up ready for soldering of the grooves.


The last picture is of a rectangular sheet of bronze, scored for folding into a square 4-sided pot, showing that in fact it could easily make a pentagon.


2013-05-24
Raising pots - a finished specimen?
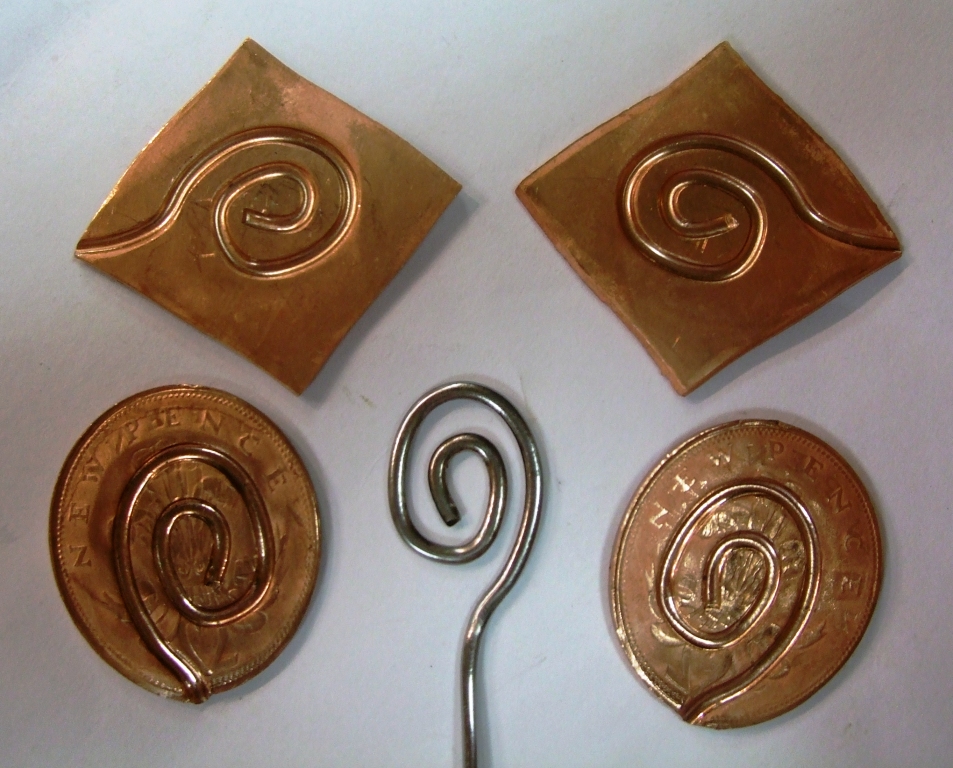
I have raised perhaps five or so bowls so far, and managed to solder wires onto two of them. The one illustrated on the left was raised from 0.9mm gilding metal (a low-zinc brass) to which I also soldered a foot. This latter was made of a 1.6mm thick silicon bronze disc, domed, with a 20mm hole sawn in the centre, after a suggestion made by my tutor Steve Wager. It is by no means a good piece of raising; there are hammer marks aplenty, the solder on the wires is quite meagre, and my draughtsmanship generally is fairly loose. But I was quite pleased with it. I filed out the hammer marks on the body of the pot above the wires (made of hand-drawn bronze), and below the fairly straight section of the body, to give something of a contrast. I subsequently wished I had made the foot from 1.2mm gilding metal to rationalize the colour scheme, but my stock of the latter is brand new and I didn't have the patience to quickly take off a small section so used a piece of 1.6mm silicon bronze that was handy. All metals were supplied by Columbia Metals Ltd.


The second picture is of my tightest raised pot so far, with two round bronze wires soldered on. The picture shows the jig I concocted to allow me to solder an 11mm brass tube stem; my first attempt failed, too many gaps for the solder.
2013-02-14
Mirror, mirror almost on the wall
After some considerable delay due to dealing with bronze boxes et al, I decided on a trial design for a means to mount the bronze mirror on the wall. For this I used a 100mm length of scrap brass, 2mm thick and about 12mm wide, then added two grooves separated by what I guessed might be a comfortable distance to act as holders for the upper and lower reaches of the hinge pin of the mirror. I drilled a central 1mm hole near either end for the actual pin. I used a triangular file for the grooves so that when the end tabs were folded up for soldering, they made an angle of about 60° instead of the usual right angle. Then to make sure that the pin would still fit now that the holes had been slightly tilted, I re-drilled them with the brass strip held vertical in a vice, using a pedestal drill and the same 1mm drill bit.
The next step was to saw away the end tabs to leave only slim strips centred on the drill holes, and fit it to the mirror. This depended on the elasticity of the iron wire used as a pin, to enable one end to be fitted at a slight warping angle, then the fitting slid down the wire to hit the mirror top hinge. A pair of pliers was used to withdraw the pin until it just cleared the bottom pin, so that the wall fitting could then rotate into place. Finally the hinge pin was again pushed down until it was now held at both ends by the new wall fitting. At some stage I will have to drill the flat face of the brass so that it can actually be screwed to a wall!