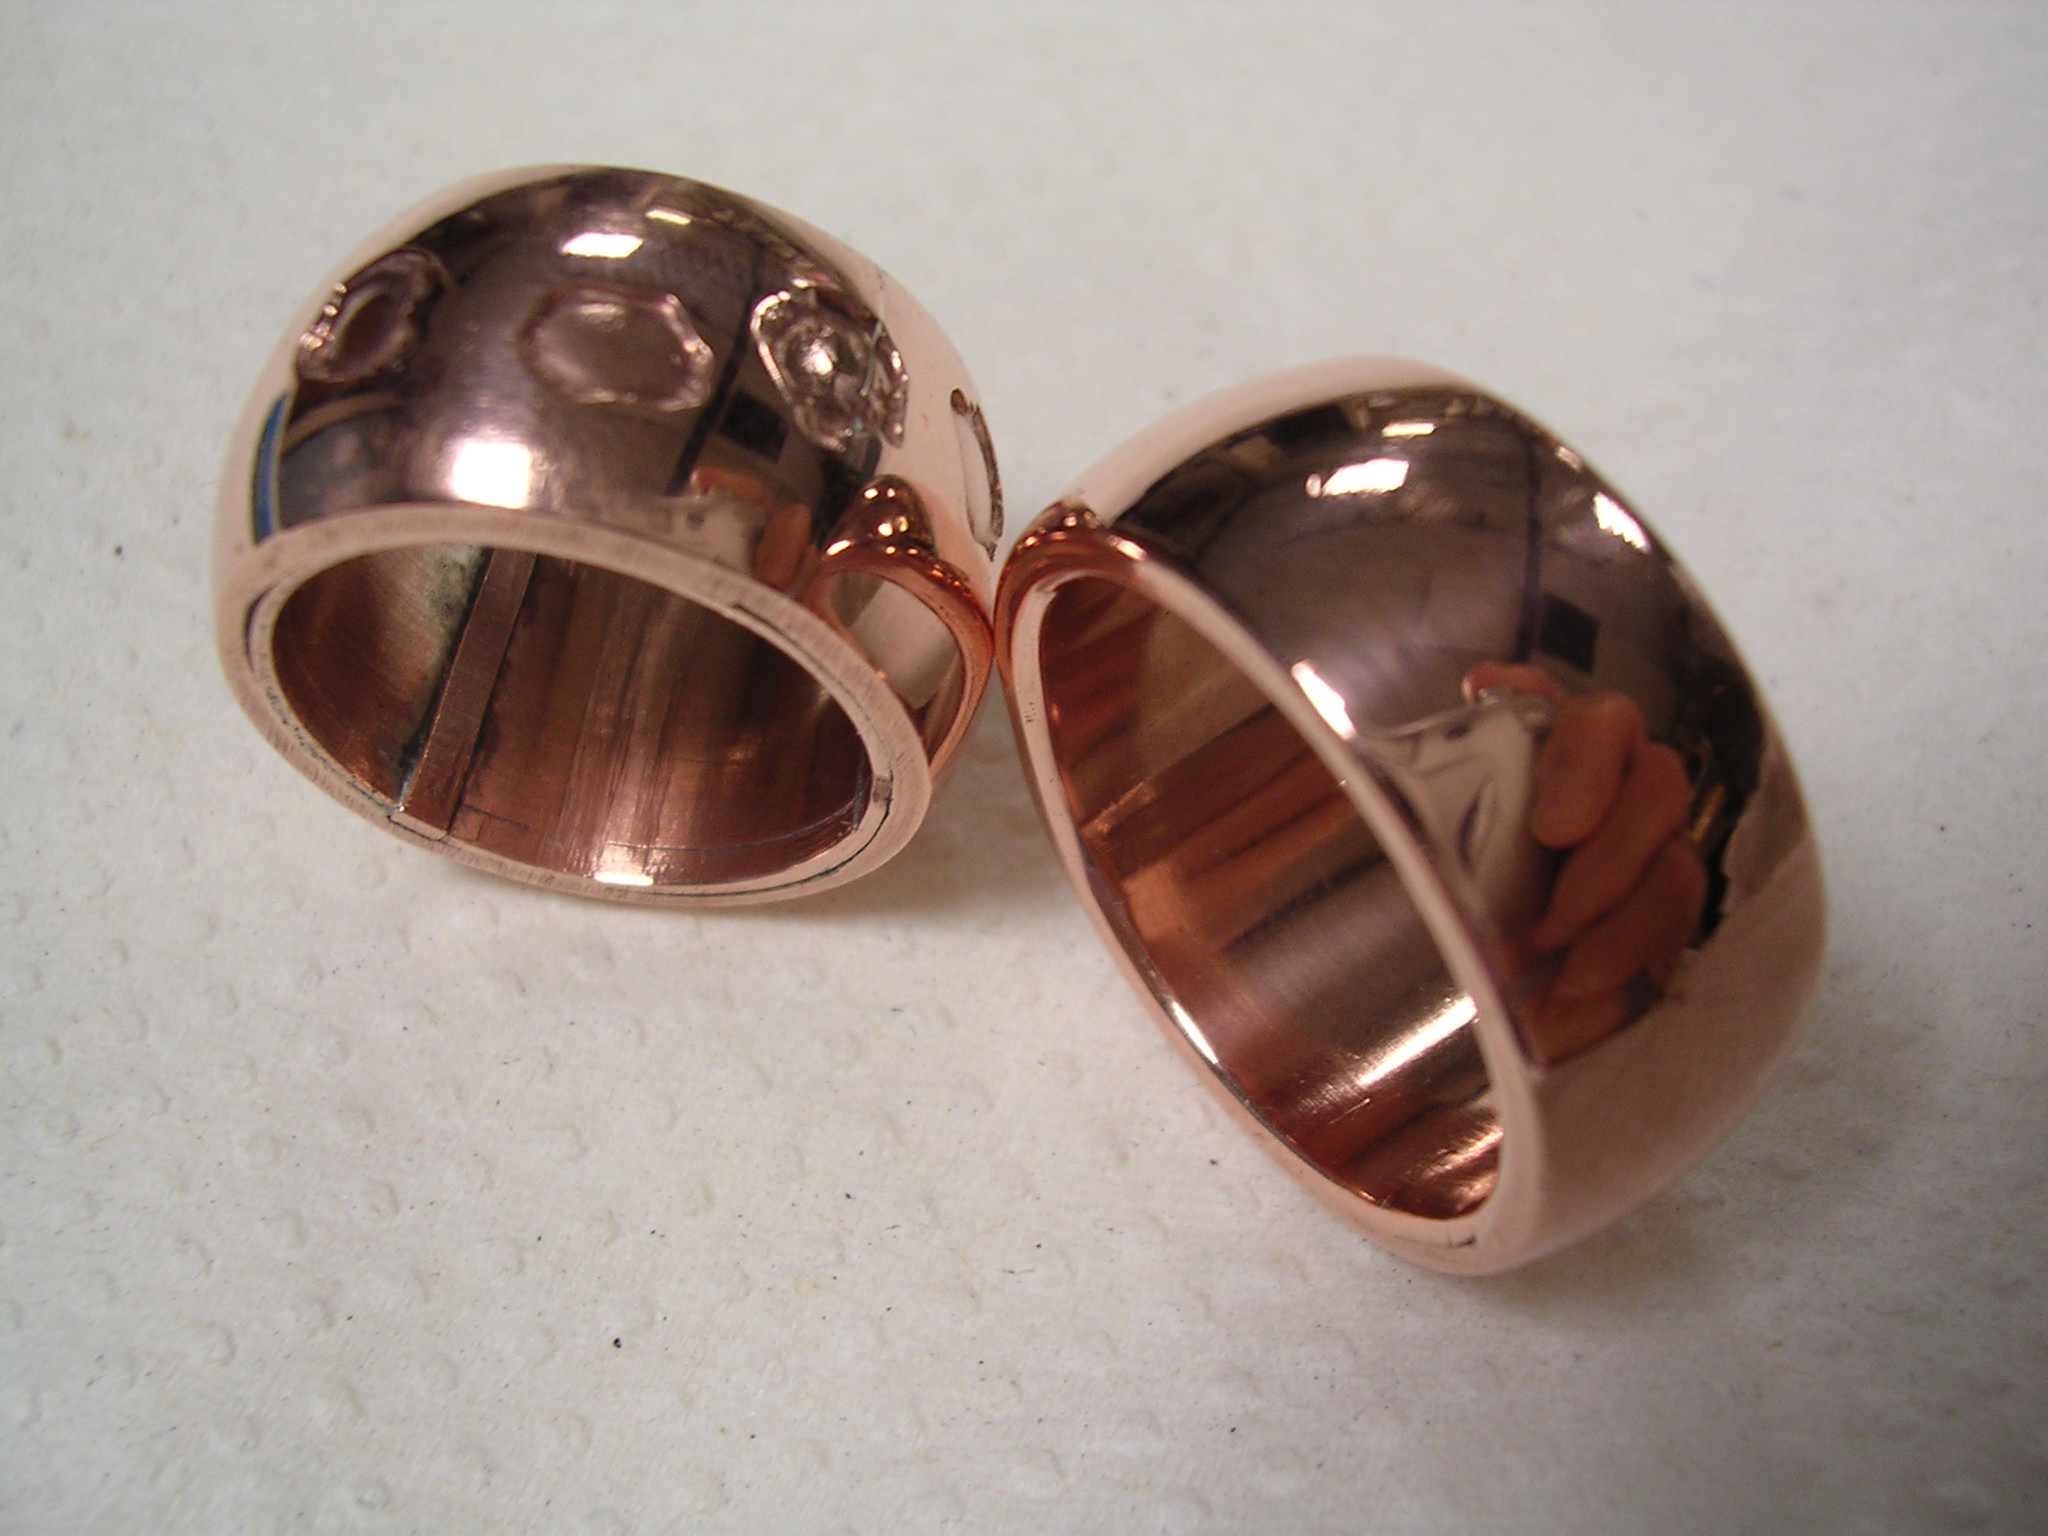
The insert for the ring was originally made of silicon bronze strip 13 x 0.5mm after rolling. This was cut nearly to size and rolled round in a ring former. It was then slipped inside the domed ring and the butt edge scratched with a scriber to give some idea of where to cut. In fact, I found one needed to allow about 0.8mm to get a perfect fit. It was soldered with hard solder in a similar iron wire ring to that for the dome, but smaller in diameter. An even larger gauge iron wire, springy and very tough, was used to pull this ring apart during heating to re-adjust the solder seam – very inventive, but not quite inventive enough since the ring went shooting off into the room. After re-soldering, pickling and cleaning, it was a nice fit in the domed ring.
However I felt it was unnecessarily heavy, so repeated the process of making a plain band with 13 x 0.25mm silicon bronze strip. In all cases for this project, repeated use was made of the enamel kiln set to about 800ºC for annealing. This satisfactorily softened the metal, but the darkened surface was quite resistant to removal even with hot acid, taking additional scrubbing with wire wool. Subsequently, I felt that I should remake the inner band a third time, this time wider, so that it could be riveted up the sides – the extended rim looked nice.
2008-04-20
Making a silicon-bronze ring II
2008-04-16
Making a silicon-bronze ring I
I cut two rectangular strips of silicon bronze, 37 x 1 x 12mm, then wished I had super-glued them together for the subsequent filing square of the ends and the long ends. The original stock strip was 1.5mm, annealed and pickled, rinsed and washed, then rolled to 1mm. It was a great help to hold the emerging end of the strip with parallel pliers as it came from the rollers, my hand holding the pliers elevated with a suitable board and movement facilitated with a sheet of plastic underneath. Even better probably would be a suitable emergence table at the exact right height. I used dividers to mark the strip, at 37mm and 38mm for sawing in between; and placed a strip of balsa wood on the bench peg to help steady the strip for sawing. This was done twice to give two rectangular pieces 37 x 12 x 1mm, they were superglued together and left until dry in the vice. Then they were filed as necessary for squareness, before placing in the enamel kiln at dull red heat to break the bond and anneal.
For doming, I bent a piece with pliers until it fitted into the largest dome, domed it, and repeated until I had reached the 26mm dome, the smallest hollow that this size strip would still fit inside. The strip, on bending slightly, now sat in the 25mm dome with 2mm protruding, therefore there was a line inset 2mm from the edge caused by the last doming operation. The resultant ring was oval at 25 x 25.5mm. Sanding the short edges by holding them flat on sandpaper (painful on the fingers, especially if using a steel block to try and ensure registration with the other dimension) got it to a nice circle at 25mm diameter. My feeling is that using the steel block is a waste of time, and doesn’t help any kind of squaring operation. However it is possible that the rounding of the corners of the short edges using the block was entirely due to swapping faces pressed against the block, without having taken steps to absolutely guarantee that the two faces are exactly parallel. So I suggest use face A on block, edge on sandpaper; then edge on block, face A on sandpaper; then edge on block, face B on sandpaper; but never face B on block and edge on sandpaper – this would accumulate an error! Mark near face B with ink to reduce the chance of a mistake.
For soldering, I hit on a happy idea – a circle of strong steel wire stuck out in space, the two halves of the ring aligned and dropped into this slightly smaller circle to merely sit there. Then solder from the base – this worked perfectly.
2008-04-12
Cleaning sterling grains
The sterling grains I had made (by re-melting and pouring into water about 500g of silver from a previous failed casting venture), gradually looked very dirty on the surface. They were steeped in sodium carbonate solution sat on aluminium foil for some days, which made them noticeably worse. Subsequent steeping in sulphuric acid made no change; nor permanganate, peroxide or bisulphite! I melted one of the larger lumps with some borax to get an interesting set of colours; white as in clean sterling on the part in contact with the crucible bottom, black on most of the top as in oxidised sterling, and a fluorescent yellow / green (which had been very golden in colour when red hot) on part of the top, possibly caused by the borax flux. The lump of silver was dumped in sulphuric acid for a couple of hours. Incidentally, these grains had been satisfactorily used to cast student work in early spring.
Subsequently I placed all the remaining tarnished grains in a ceramic shell open mould and set it in the enamel kiln at around 800°C and left it to reach dull red heat. On removal, as hoped, the surface of all the grains had changed from a kind of creamy mushroom grey to dark grey. They were cooled and dumped into dilute sulphuric acid, which satisfactorily converted the surface into the kind of clean white I associate with sterling silver.