Our previous term of 8-week courses came to an end four weeks ago, and I have found myself tied to the desk planning the next session which starts week beginning January 14th. As a result, I have had no time for my usual workshop activities. In addition, we have been moving our Wandsworth production workshop (which was in an old factory, now scheduled for demolition) to a smaller unit nearer Wimbledon, and that has sucked up all the remaining time. And I still have to get myself organised to buy student stuff for next term's courses, and update my student's work blog site.
2007-12-14
2007-12-02
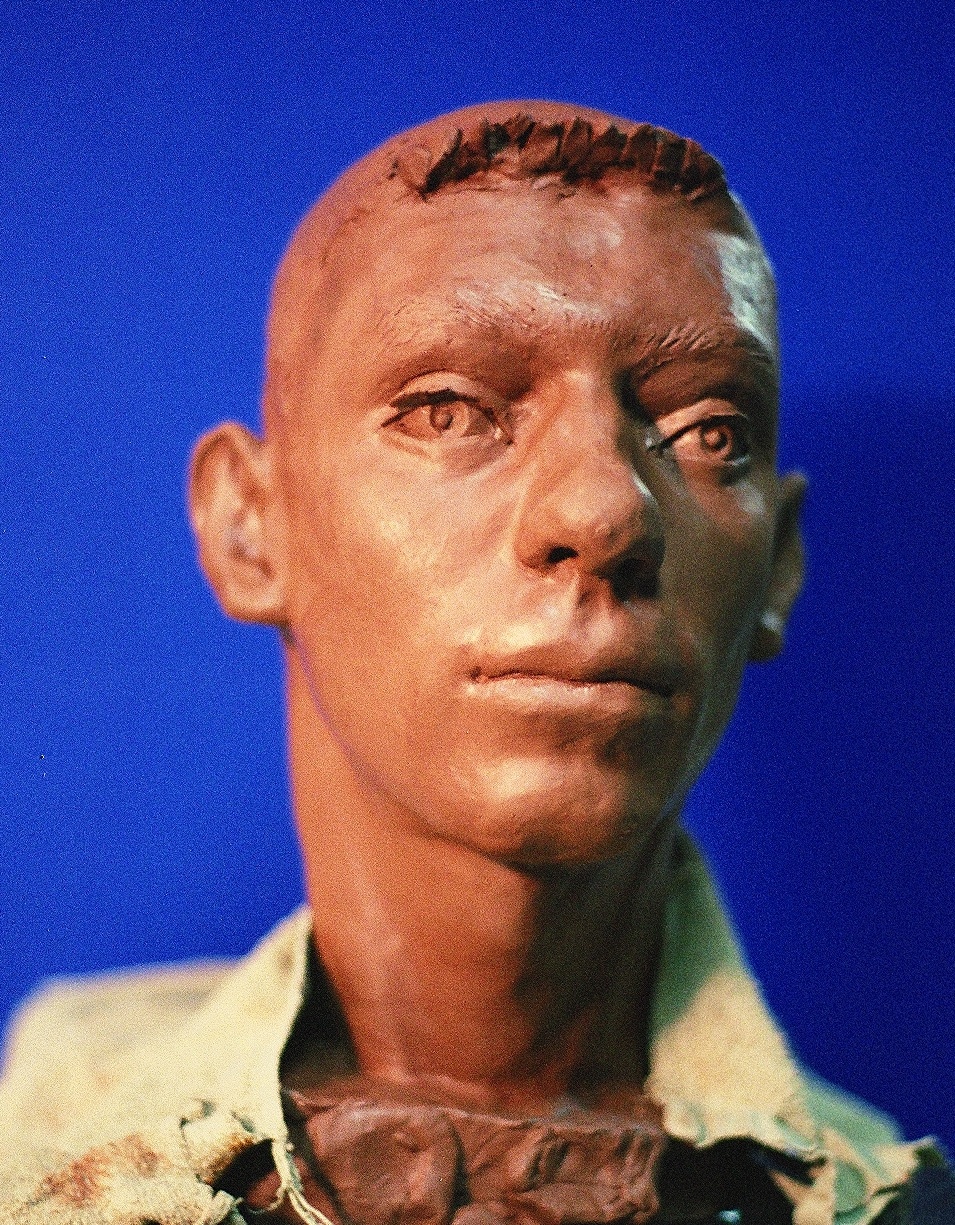
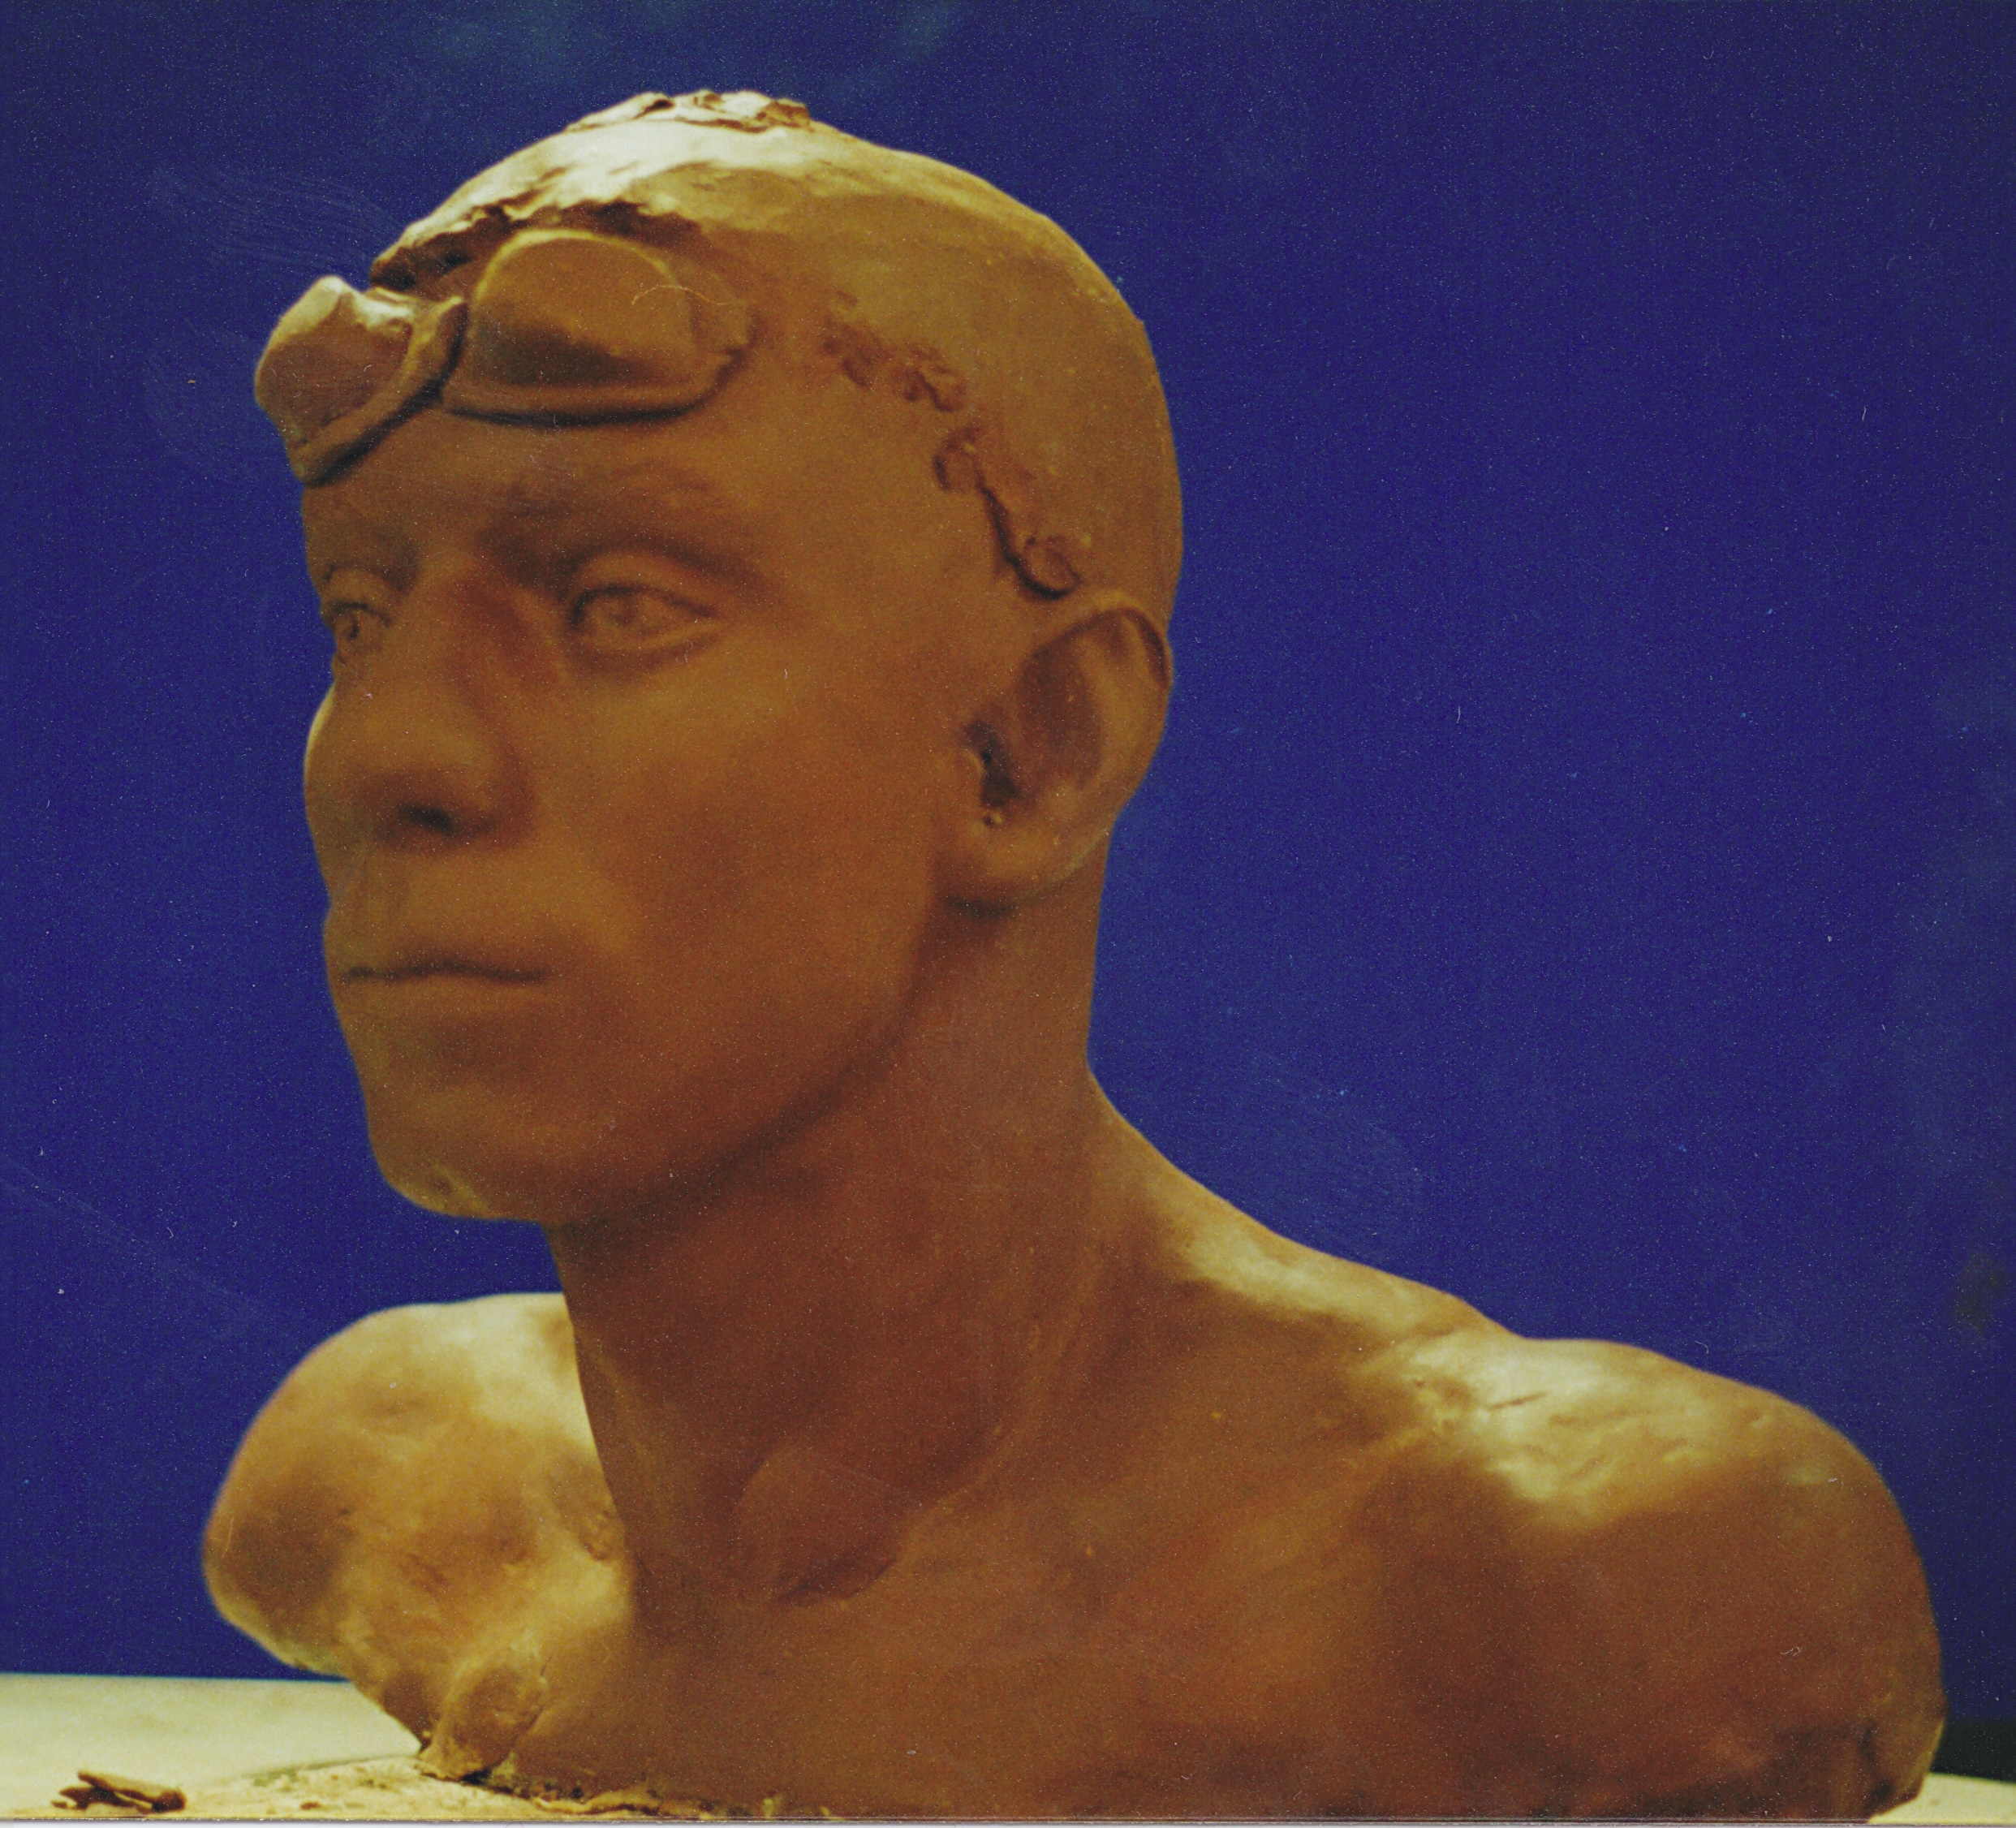
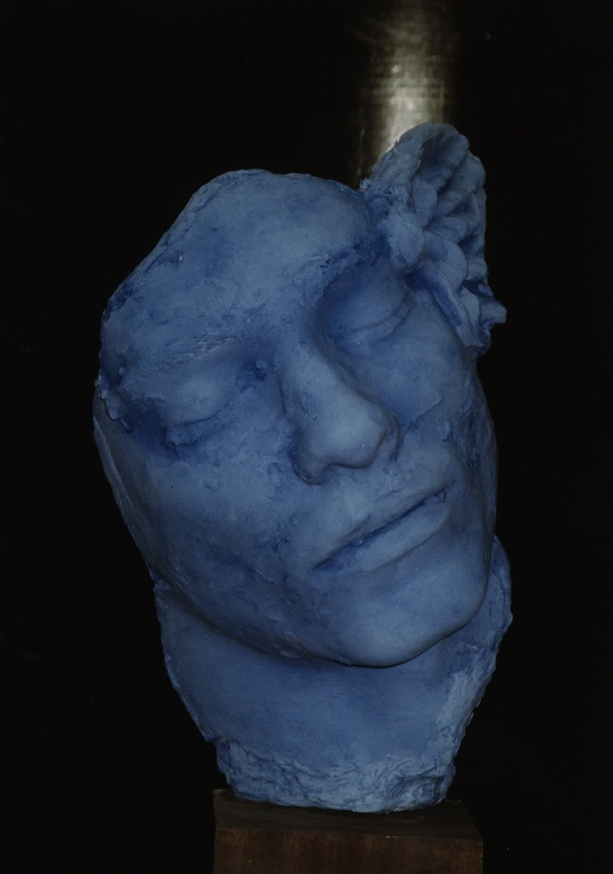
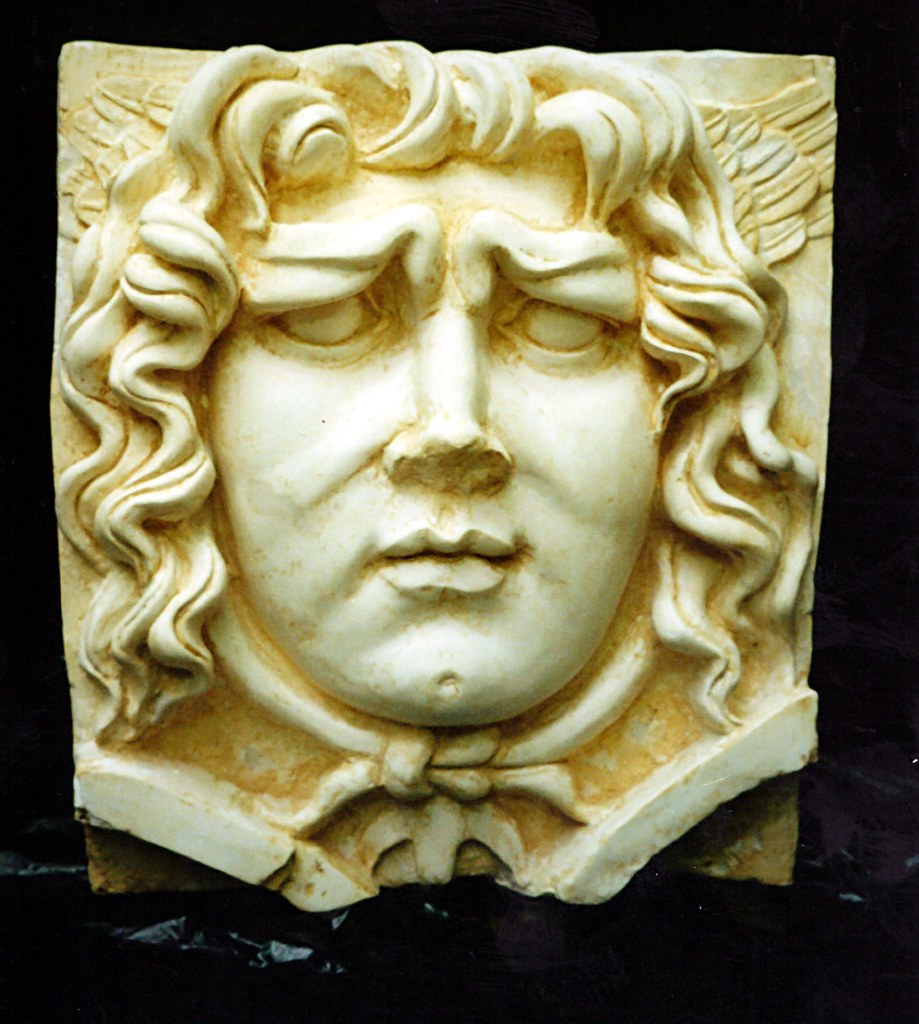
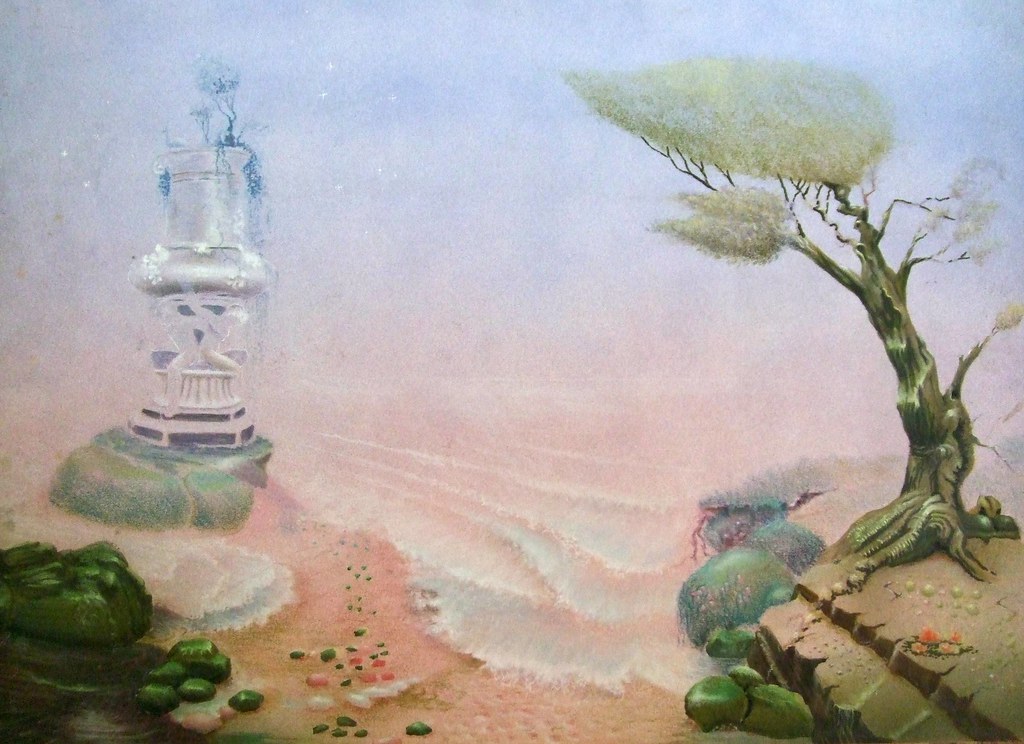
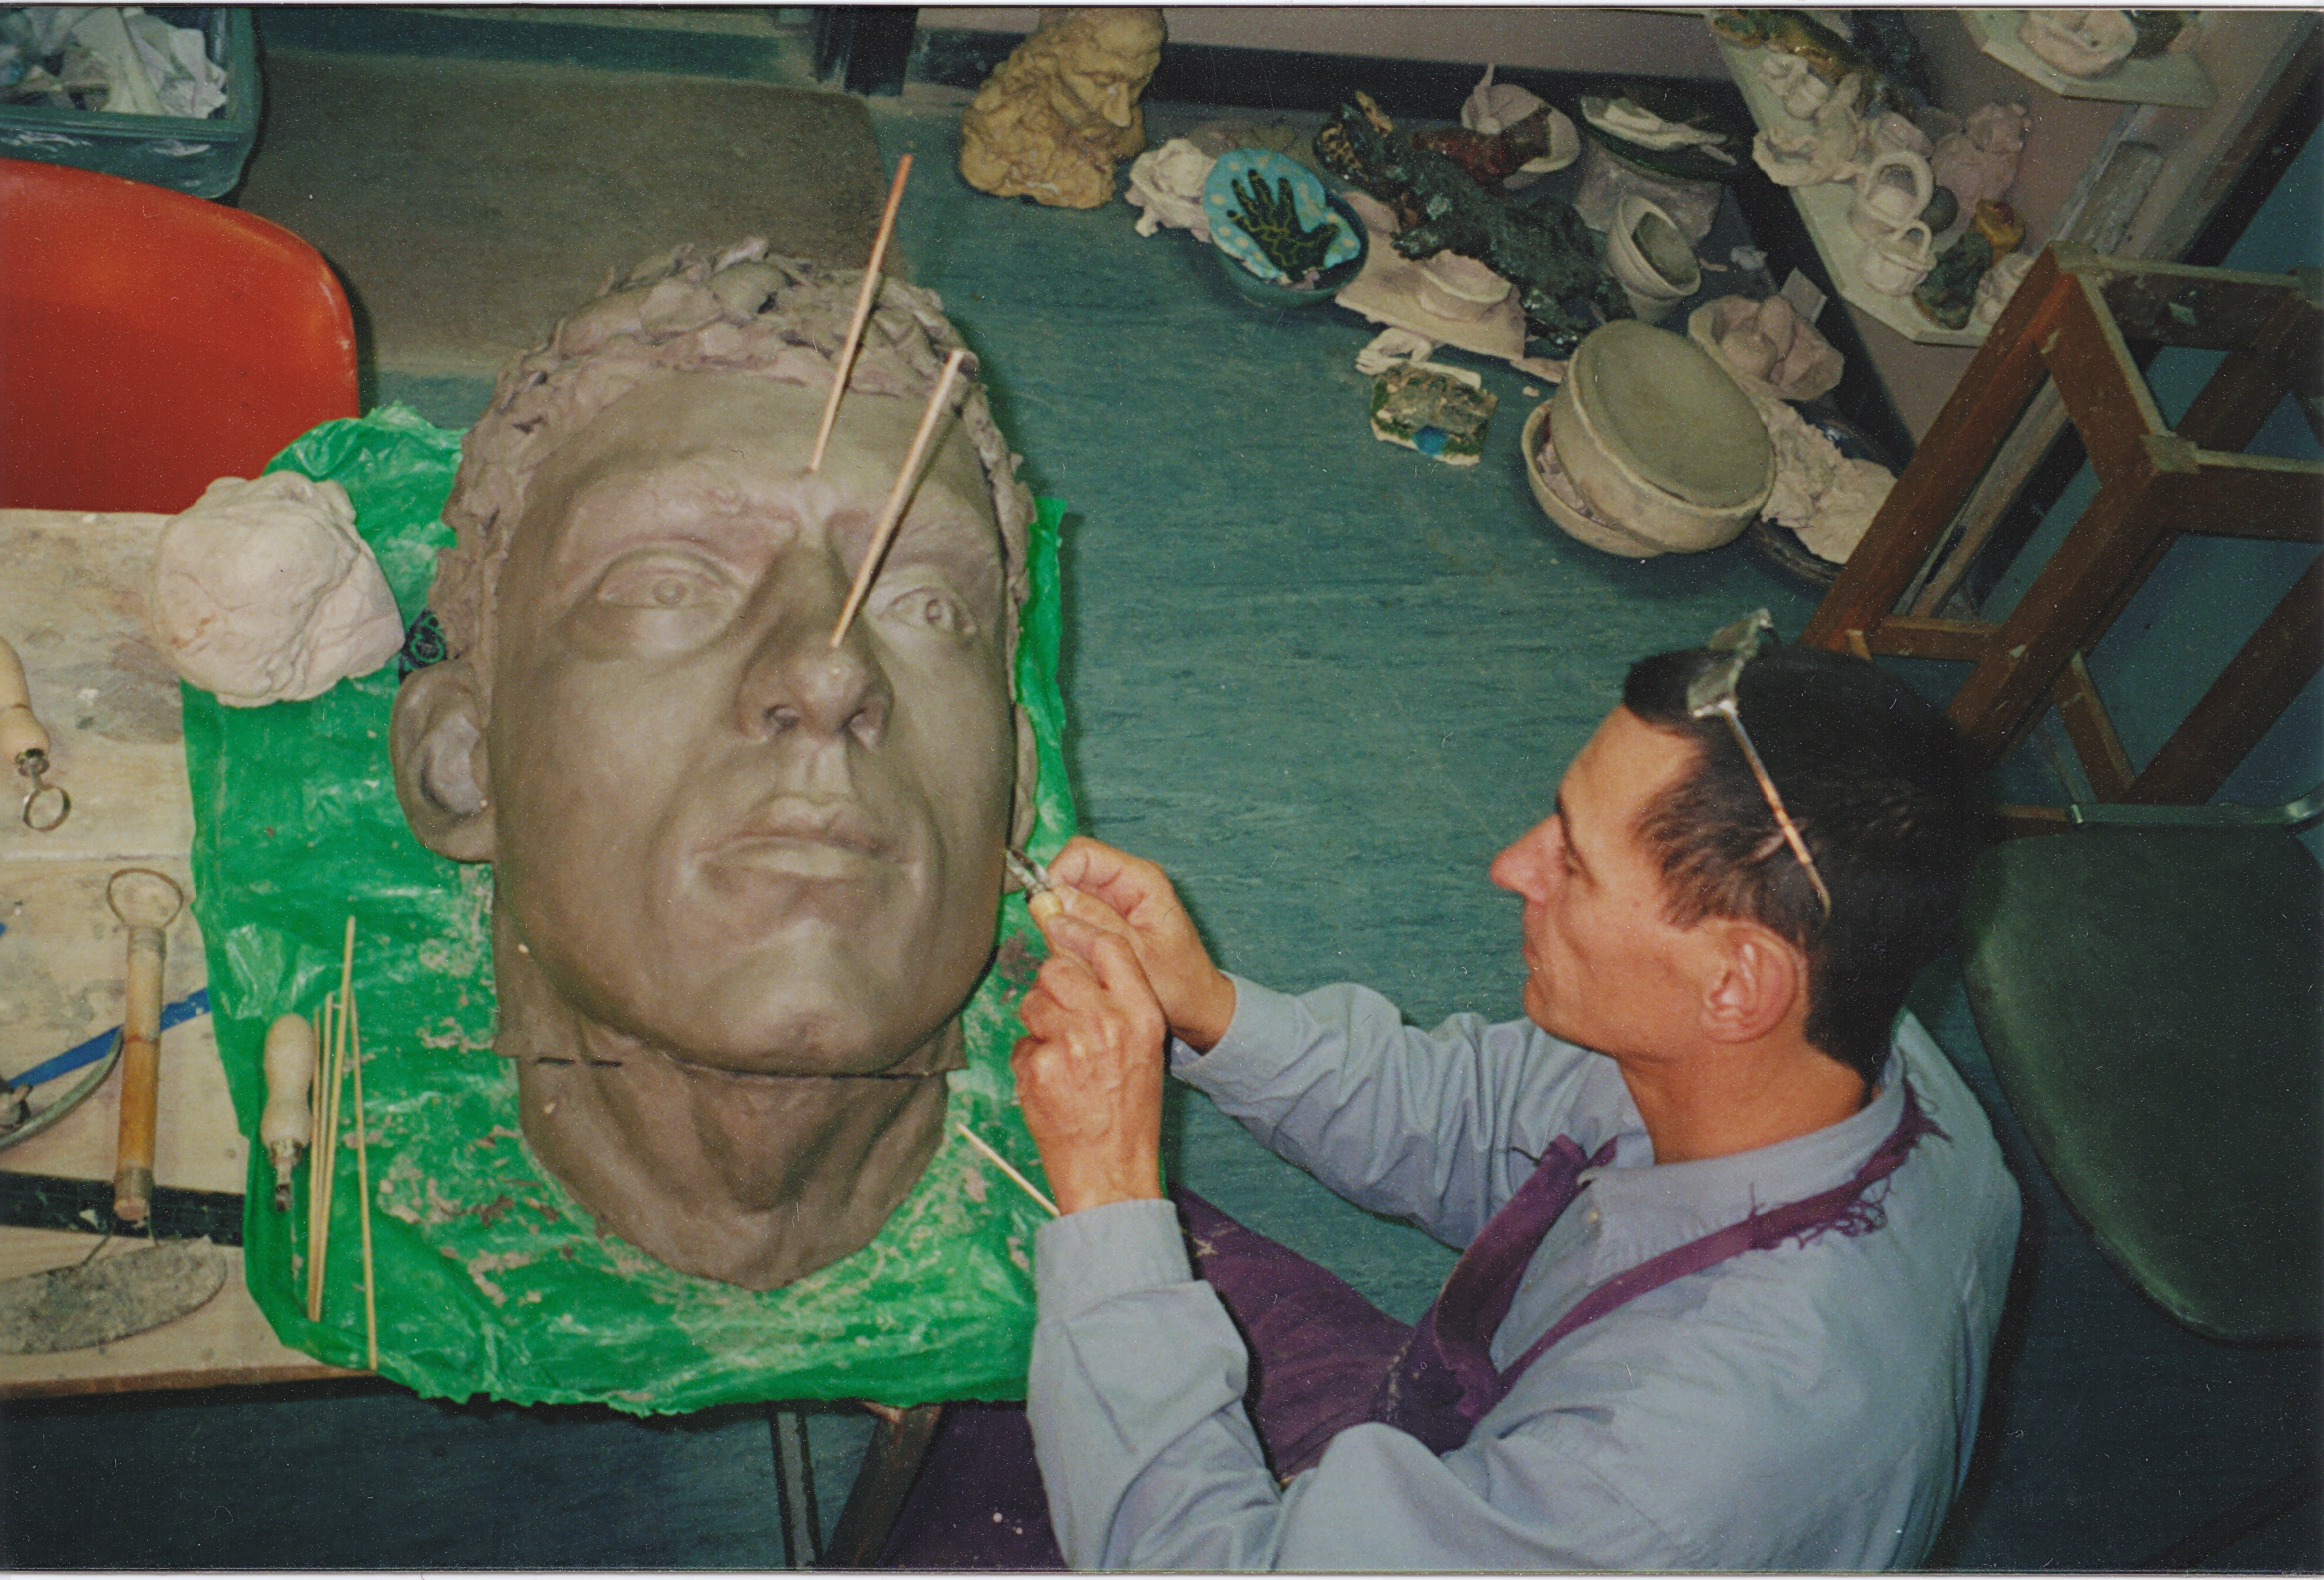
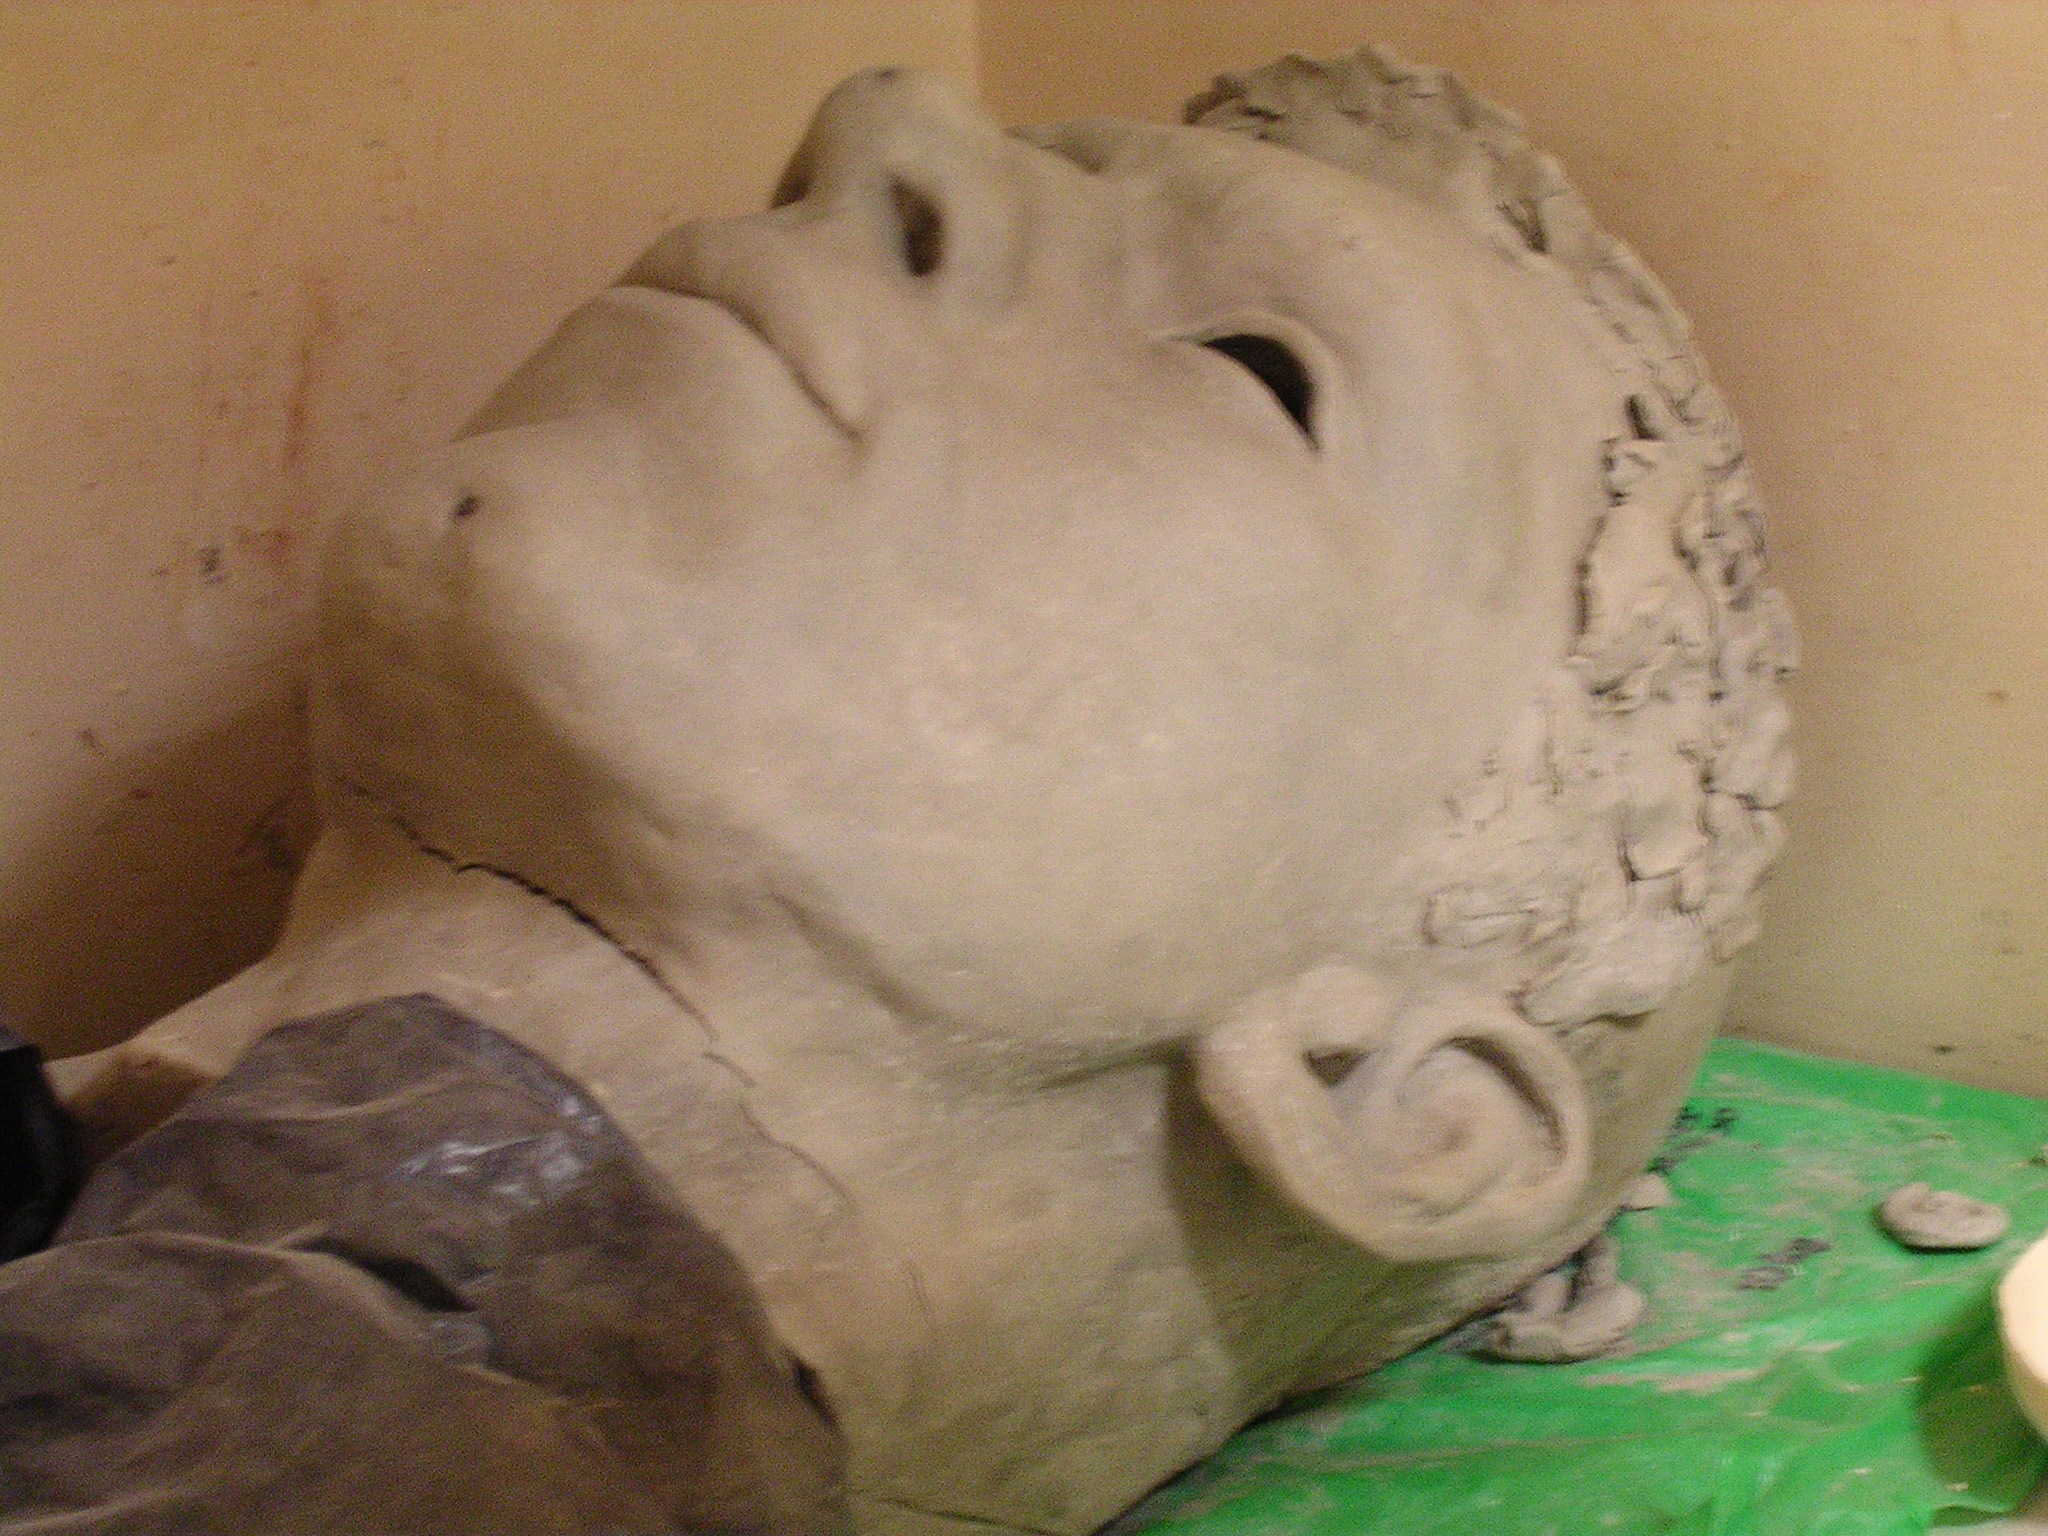
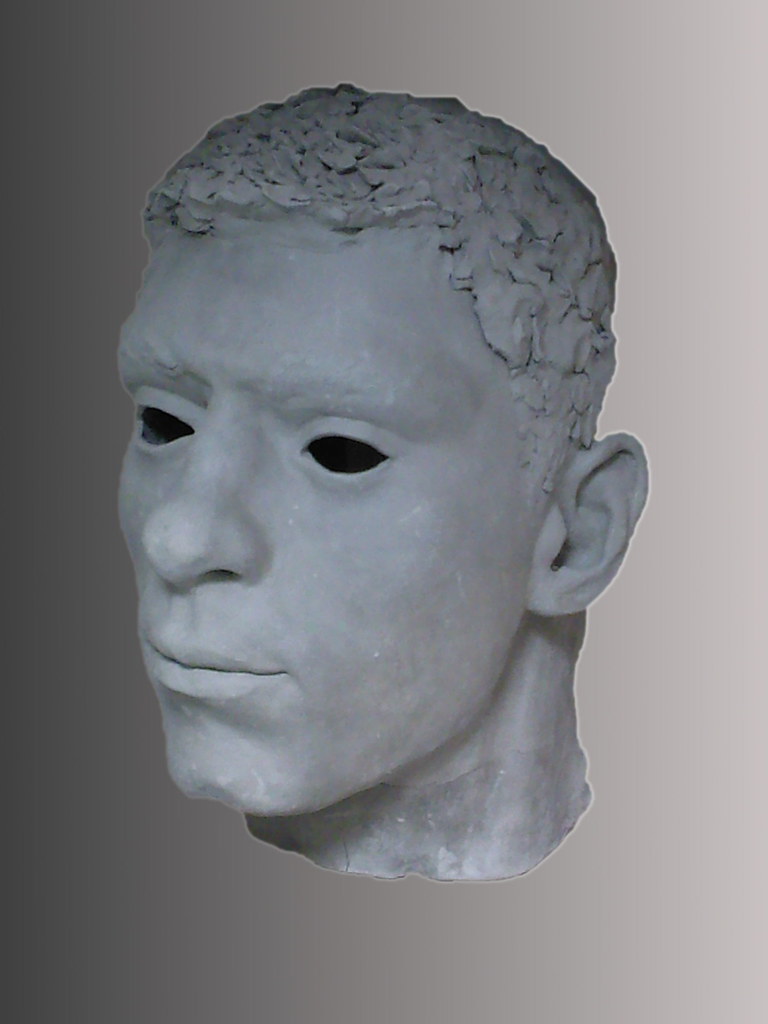
Classical head
I decided it was time to do a little rescue work on a large clay head I had made (8 times life size) in the general style of a classical male. It was originally designed lying nearly prone, in a kind of sleeping pose, but was never cast in that pose.
I moved it back to the upright to try and remove some of the staining from slip (quite a bit of ceramic work goes on nearby!) before casting. The background on the final picture was processed in Gimp, and I seem to have accidentally bent the aspect ratio a little.

2007-11-17
If at first you don't succeed...
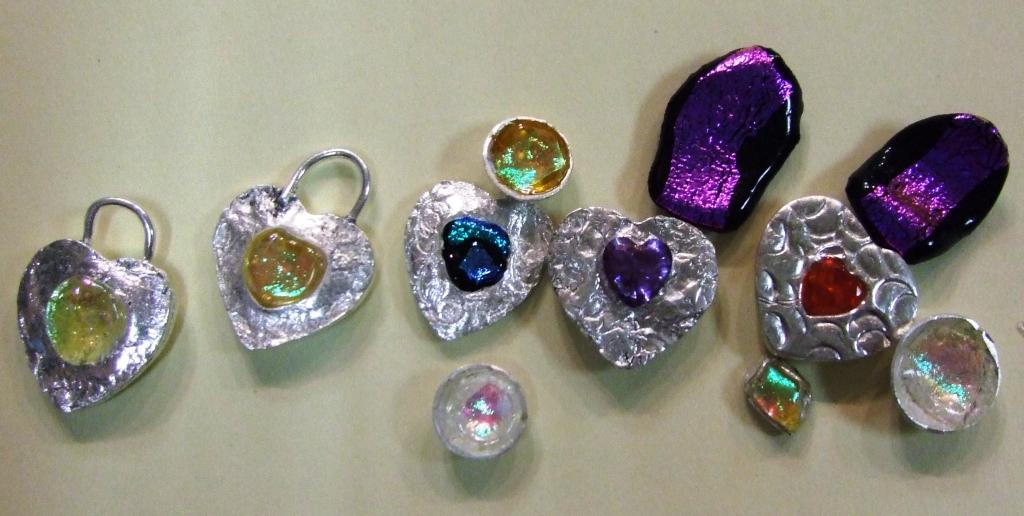
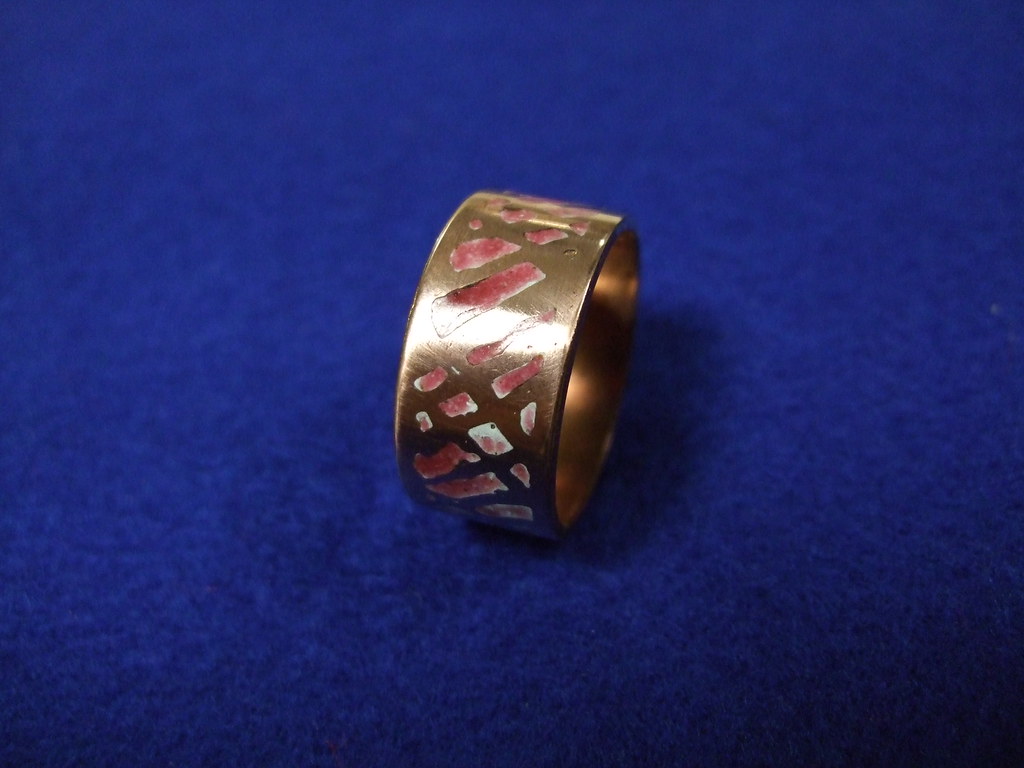
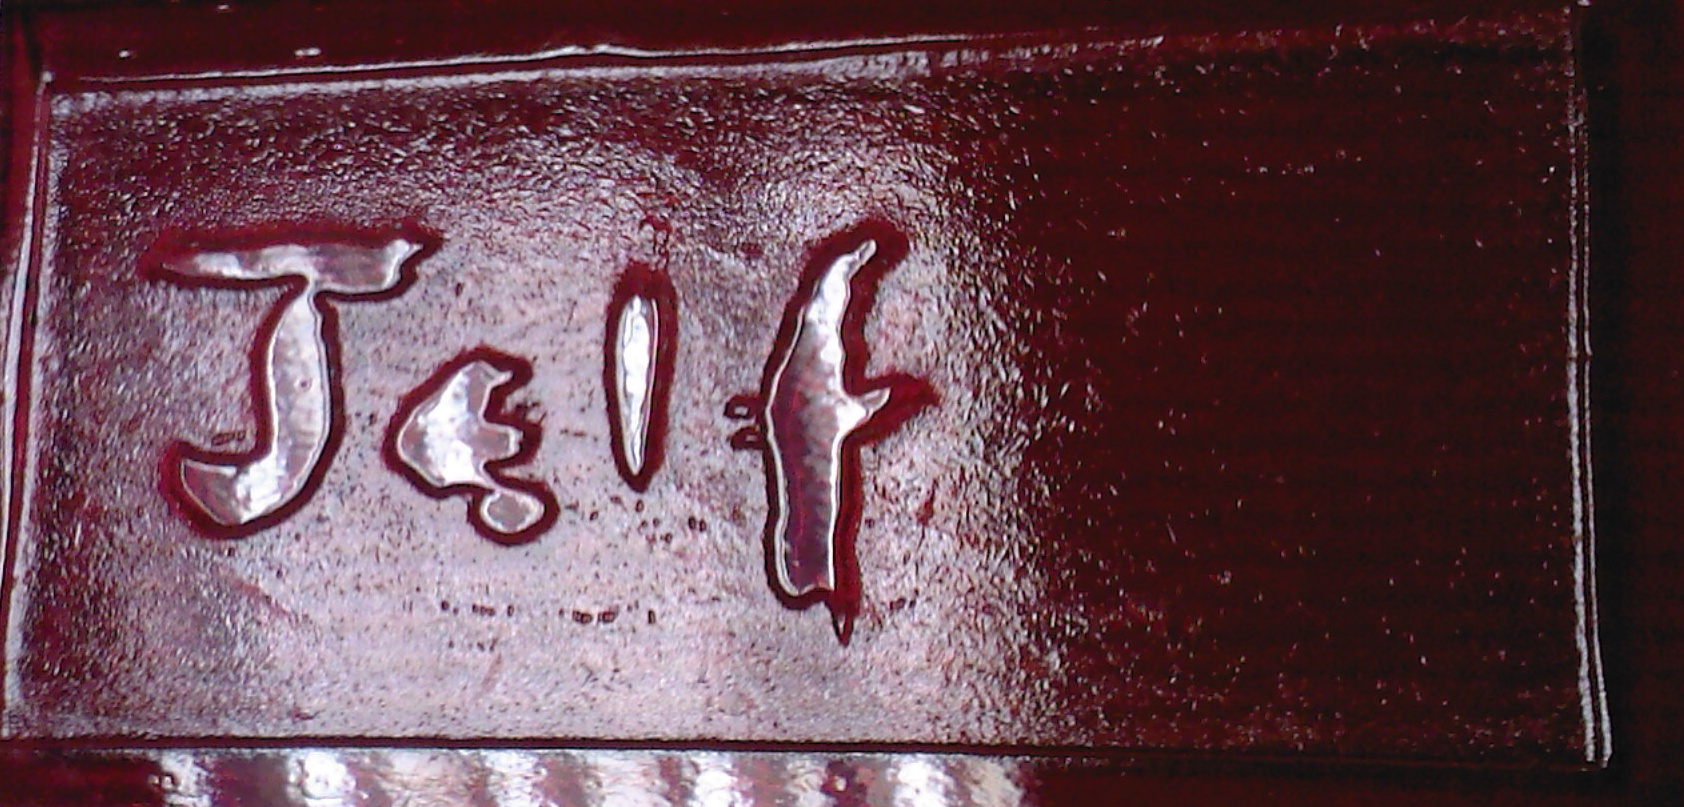
Since by now I was in love with the aqua blue transparent enamel on fine silver, I prepared another rectangle of the silver but only 0.5mm thick, and textured it as before with an automatic centre punch, producing a crude heart design. Then I bent some filigree wire into the same heart-shaped design and applied it to the sheet to lie flat. This time also, I bent the wire so that the larger dimension of the cross section was made to lie parallel to the sheet, so that on sanding, the filigree wouldn't tend to fall apart. In the previous effort, it had stood up the other way on the backing sheet, making it too tall, and also prone to falling apart at the links if sanded thinner.

Some washed aqua blue enamel powder was drifted into the design and fired until it melted; but alas, by now the fine silver was too fine to allow rough handling (e.g. during sanding or stoning of the surface) so that bits of the enamel were prone to crack off. I solved this by cracking the majority of it off by a mixture of flexing and quenching from dull red heat, then domed the ensemble of heart and backing sheet, using an ordinary doming punch and doming block. This had the wonderful side effect of 'pin cushioning' the heart design into the filigree.
The domed design was then re-filled with enamel and fired, with very pleasing results. Not perfect, but interesting. For the sake of some colour contrast, I drifted 'nectarine' enamel round the outside, removing surplus from the blue or raised silver areas with a fine brush, and re-fired.
Final step - removing the sharp corners of the domed rectangular sheet, since the doming process had turned the corners into sharp spikes.
Overall opinion - a bit amateurish, but there are many possibilities for improvement:
- use a border of silver wire to contain the nectarine colour
- form a small heart in brass, roll this together with fine silver sheet in a sandwich to emboss the design into the sheet instead of the doming block method
- mitre the ends of the fine silver filigree wire so they don't form such an ugly angle
P.S. The picture above is larger than life size - the actual size is about that of a UK 5p piece.
2007-11-14
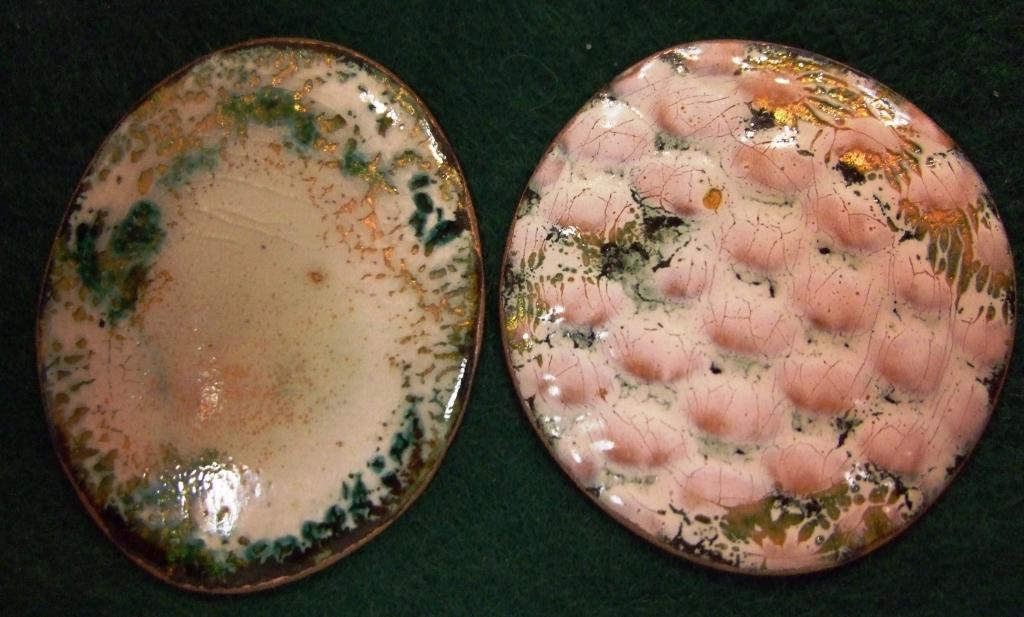
Enamel on fine silver
Since it was some time since I have messed around with enamel, I thought I would give it a try using the fine silver I prepared earlier, as it were.
A small piece about 10 x 10 x 1mm was given a surface texture of dimples using an automatic centre punch, and given a walled enclosure with some fine silver filigree wire. This wire was made according to the instructions in the book by Jeanne Rhodes-Moen. The enclosure was in the shape of a heart. I then packed the enclosure with 'aqua blue' transparent enamel made by Milton Enamels in the UK.
Since our enamel kiln finally expired a couple of years ago after years of use and abuse, I fired the prepared piece of silver on top of some iron mesh with a small blow-torch underneath. This particular enamel turns first green then finally black as it melts; when it cools, the colours neatly reverse through green back to a very nice blue, effectively gluing the silver filigree design to the backing sheet. In passing it occurred to me that using a copper backing sheet would have allowed me to remove it by dissolving in acid, ending up with plique a jour.
Then I ground the surface down using wet silicon carbide paper, cleaned it off with a glass fibre brush under running water, and re-fired after packing one or two areas that were a little short of enamel. The grinding and cleaning was repeated, and the piece inspected.
Here was where things started to go wrong! Since I felt the enamel needed more building up in one or two areas, and since the colour was on the dark side and hence obscured the dimple texture underneath, I thought that some clear enamel on the top would be a good idea. Unfortunately I probably chose exactly the wrong clear enamel, in the form of 'super soft'. This in fact not only melted quickly into the missing areas, but fluxed the aqua enamel so much that both 'super soft' (in the form of a yellowish glaze) and aqua started to leak from the bottom of the filigree enclosure.
So, back to the drawing board. Pictures later!
2007-10-27
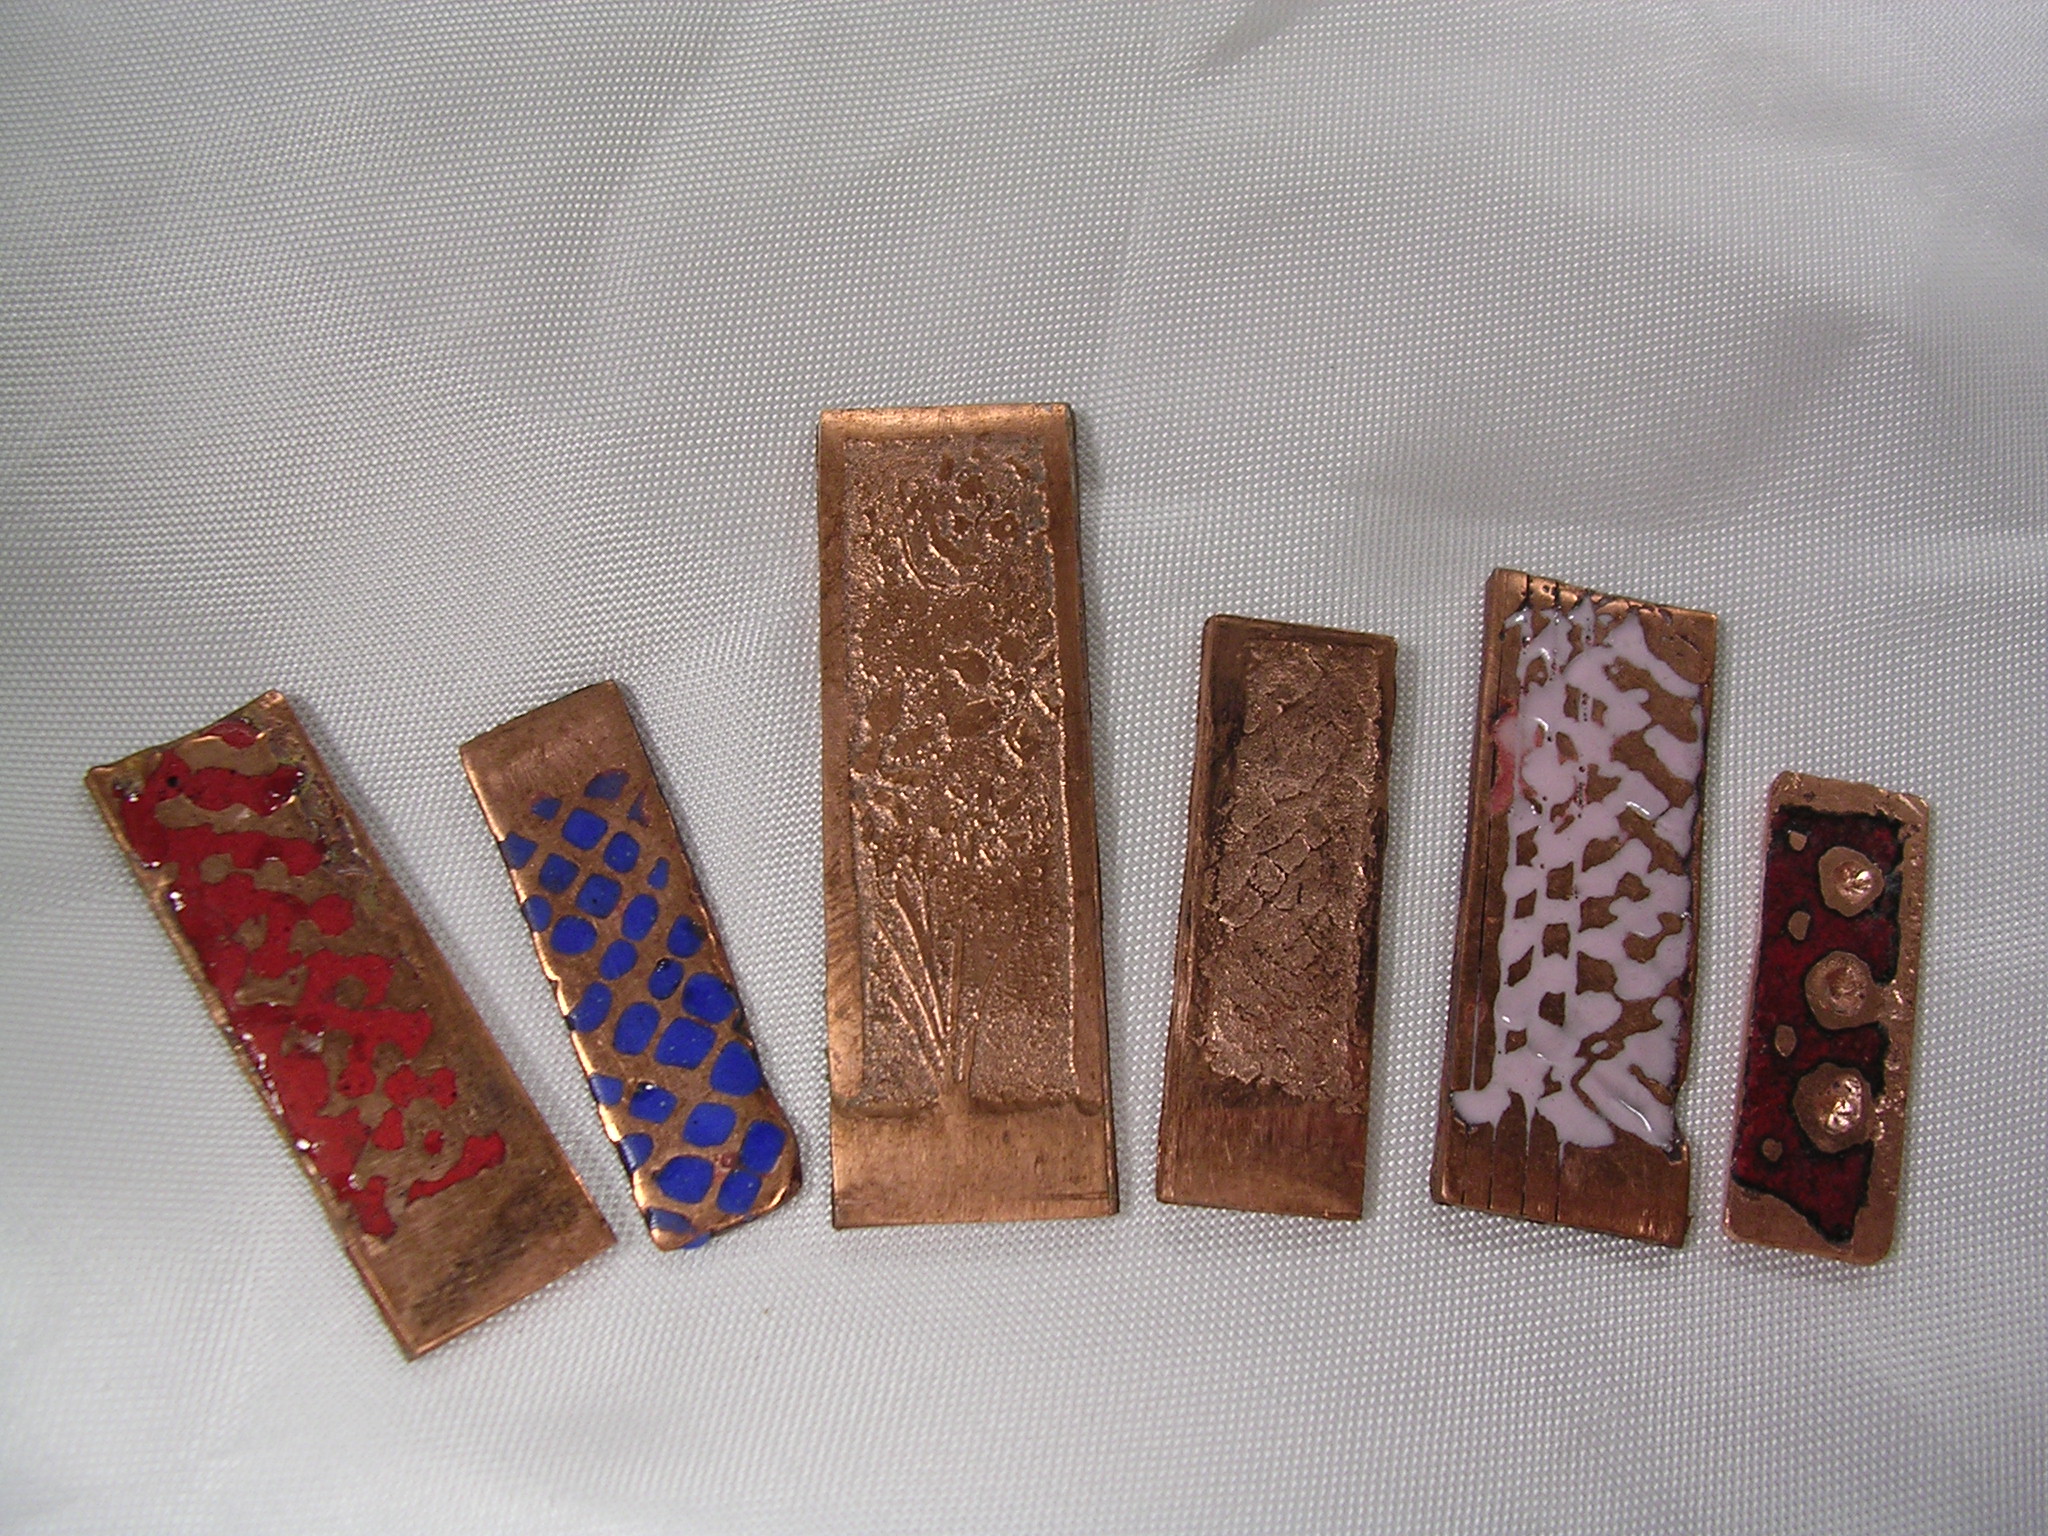
Etching with peroxide
I have done quite a bit of plain chemical etching of copper alloys and sterling silver, using ferric chloride/citric acid as the etching agent for the copper, and ferric nitrate as etching agent for the silver.
My preferred method however is to use electro-etching, with the object to be etched connected to the positive terminal of a 12v dc supply, and a stainless steel, silver or graphite cathode. In these cases, I use a series of 12v bulbs in parallel with each other as a controllable load.
In the case of electro-etching, the etching agency is a combination of the electric current and the liquid it is immersed in, the electrolyte. As a result, there are more options for the liquid than in the case of chemical etching.
At its simplest, the electrolyte could be distilled water - this conducts electricity to a negligible degree and hence the etch rate is negligibly small. But not zero - see my notes about colloidal silver. The next available option is to use a salt of the metal to be etched - copper sulphate in the case of copper alloys, and silver nitrate in the case of sterling silver. Not only do these work well, they have the terrific advantage of not being sufficiently corrosive to damage the usual resists used in etching. Unfortunately, silver nitrate is hugely staining of skin and just about everything else, especially after exposure to sunlight!
However, being the impatient type, I am usually interested in getting the fastest and most accurate etch, so I experiment now and again with different electrolytes. This has included using the aggressive chemical etch solutions mentioned above, augmented with the electric current.
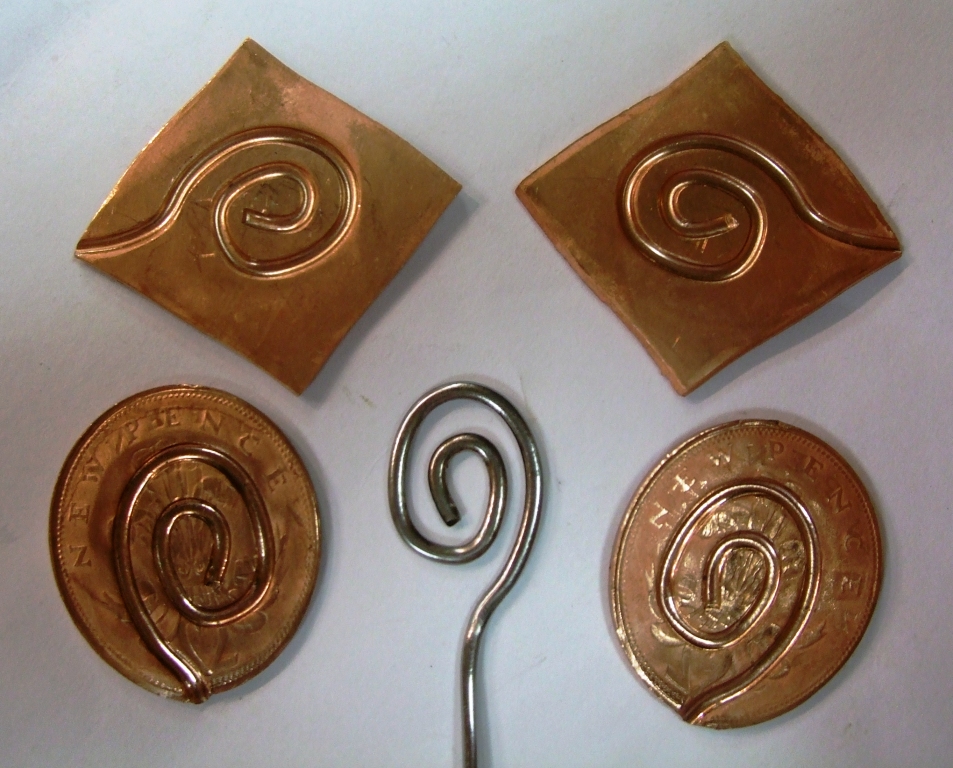
The most recent experiment was etching copper using copper chloride solution, augmented with hydrochloric acid and hydrogen peroxide. Copper doesn't normally dissolve in hydrochloric acid unless there is dissolved oxygen present; this requirement is met very well by adding the peroxide, which enables rapid dissolution of the copper. It has the advantage of being a clear liquid (apple green in colour) unlike the ferric chloride-based solutions which are murky and completely opaque. The disadvantage is that the liquid would be expected to be somewhat more corrosive to the resist.
At any rate, I let a piece of copper, about 20 x 80mm, protected on the rear and sides with nail varnish as a resist, and the same for a design on the front, etch for around an hour. The results were very satisfying with an etch of around 0.5mm, though with quite a bit of break-through of the resist. Also, since I had no means at the time to provide agitation, there was a ripple pattern in the etched metal, somewhat reminiscent of (and perhaps related to) the ripples left on a beach by the receding tide.
2007-10-16
My first attempt at making colloidal silver
After rolling out some of the presumed fine silver made earlier, I saved some for making bands etc and still had two large strips which I thought I would try and use for making colloidal silver. I immersed two such strips in distilled water in a clean plastic container, and connected them to a 12v dc supply via a system of 6 12v bulbs, all in parallel. This is the system I use for etching and other related operations.
I left it running for several hours, with no visible light from the filament of the single bulb I had in the circuit (by unscrewing bulbs I can reduce the maximum current that can flow). But both slabs of silver darkened, rather considerably, and additionally I think there was a fine, faint fog of black silver particles in the water.
I tried a trick I found on the Internet, namely shining a simple laser pointer through the water; this plainly showed the path of the laser, giving some confidence that some at least of the silver was converting to colloidal form! I checked that the laser also showed such a beam when passed through colloidal silica solution, and no beam when passed through plain water.
2007-10-10
Refining scrap silver
I had 300g of impure sterling silver. This resulted from a mould leak in the bottom of my furnace, so I re-melted the salvaged metal and poured it as grain into water. Subsequent testing indicated that it was probably too impure to use - not surprising considering that the same furnace is used for casting leaded bronze, and that has also leaked on occasion!
300g of this impure silver was added to 150ml distilled water and 300ml commercial nitric acid in a flask with reflux tube; the bottom of this went below some sodium bicarbonate and diluted ammonia solution. It was initially cooled with a water bath to reduce the output of fumes, and then later heated in the same way (to speed up the reaction). The sodium bicarbonate seems to be irrelevant – and the container of dilute ammonia solution should be placed in a larger container holding more ammonia since the white bursting bubbles actually contain some orange gas.
Subsequently I found that one can better scrub NOx gasses in either 10% sodium hydroxide + 3.5% hydrogen peroxide (Nikon process) or 0.2% hydrogen peroxide and 10% nitric acid (Kanto Denka process). An intriguing remark from www.h2o2.com suggested that peroxide could be added to nitric acid in many metal pickling applications, thereby removing NOx at source and regenerating the acid.
After about 40 minutes when bubbling was very slow, the nitric acid / silver nitrate solution was filtered, the excess silver washed and retained, and the silver then precipitated from the liquid with salt (sodium chloride) solution. After a false start doing filtration, I then continued by decanting the liquid and rinsing the white precipitate with boiling water several times, until there was no blue colouration with ammonia (which would be caused by any copper contamination).
 On standing, this white sludge would slowly develop a violet-grey surface due to the action of light. I initially tried reducing the silver chloride to silver with aluminium wire and hydrochloric acid; this caused some continuous darkening as silver was precipitated, but seemed very slow and to require much more wire and time. So the wire was removed, the sludge well washed, then finally had 60g dry sodium hydroxide and 30g dry glucose powder added. The glucose was caramelised (judging by the smell) and the sludge turned more or less unevenly grey with pink-grey parts as the chloride was reduced to silver (and regenerating salt solution I imagine). After well washing, I decided to repeat the process, which got rid of the pink grey parts.
After drying, the final result of my labours was a large number of silver stains on workroom surfaces (and fingers), and about 280g of fine light-grey granules, looking very like cement powder. It took a lot of Internet research to find a suitable way of removing the afore-mentioned stains - in the end I used acidified potassium permanganate followed by acidified sodium bisulphite solutions.
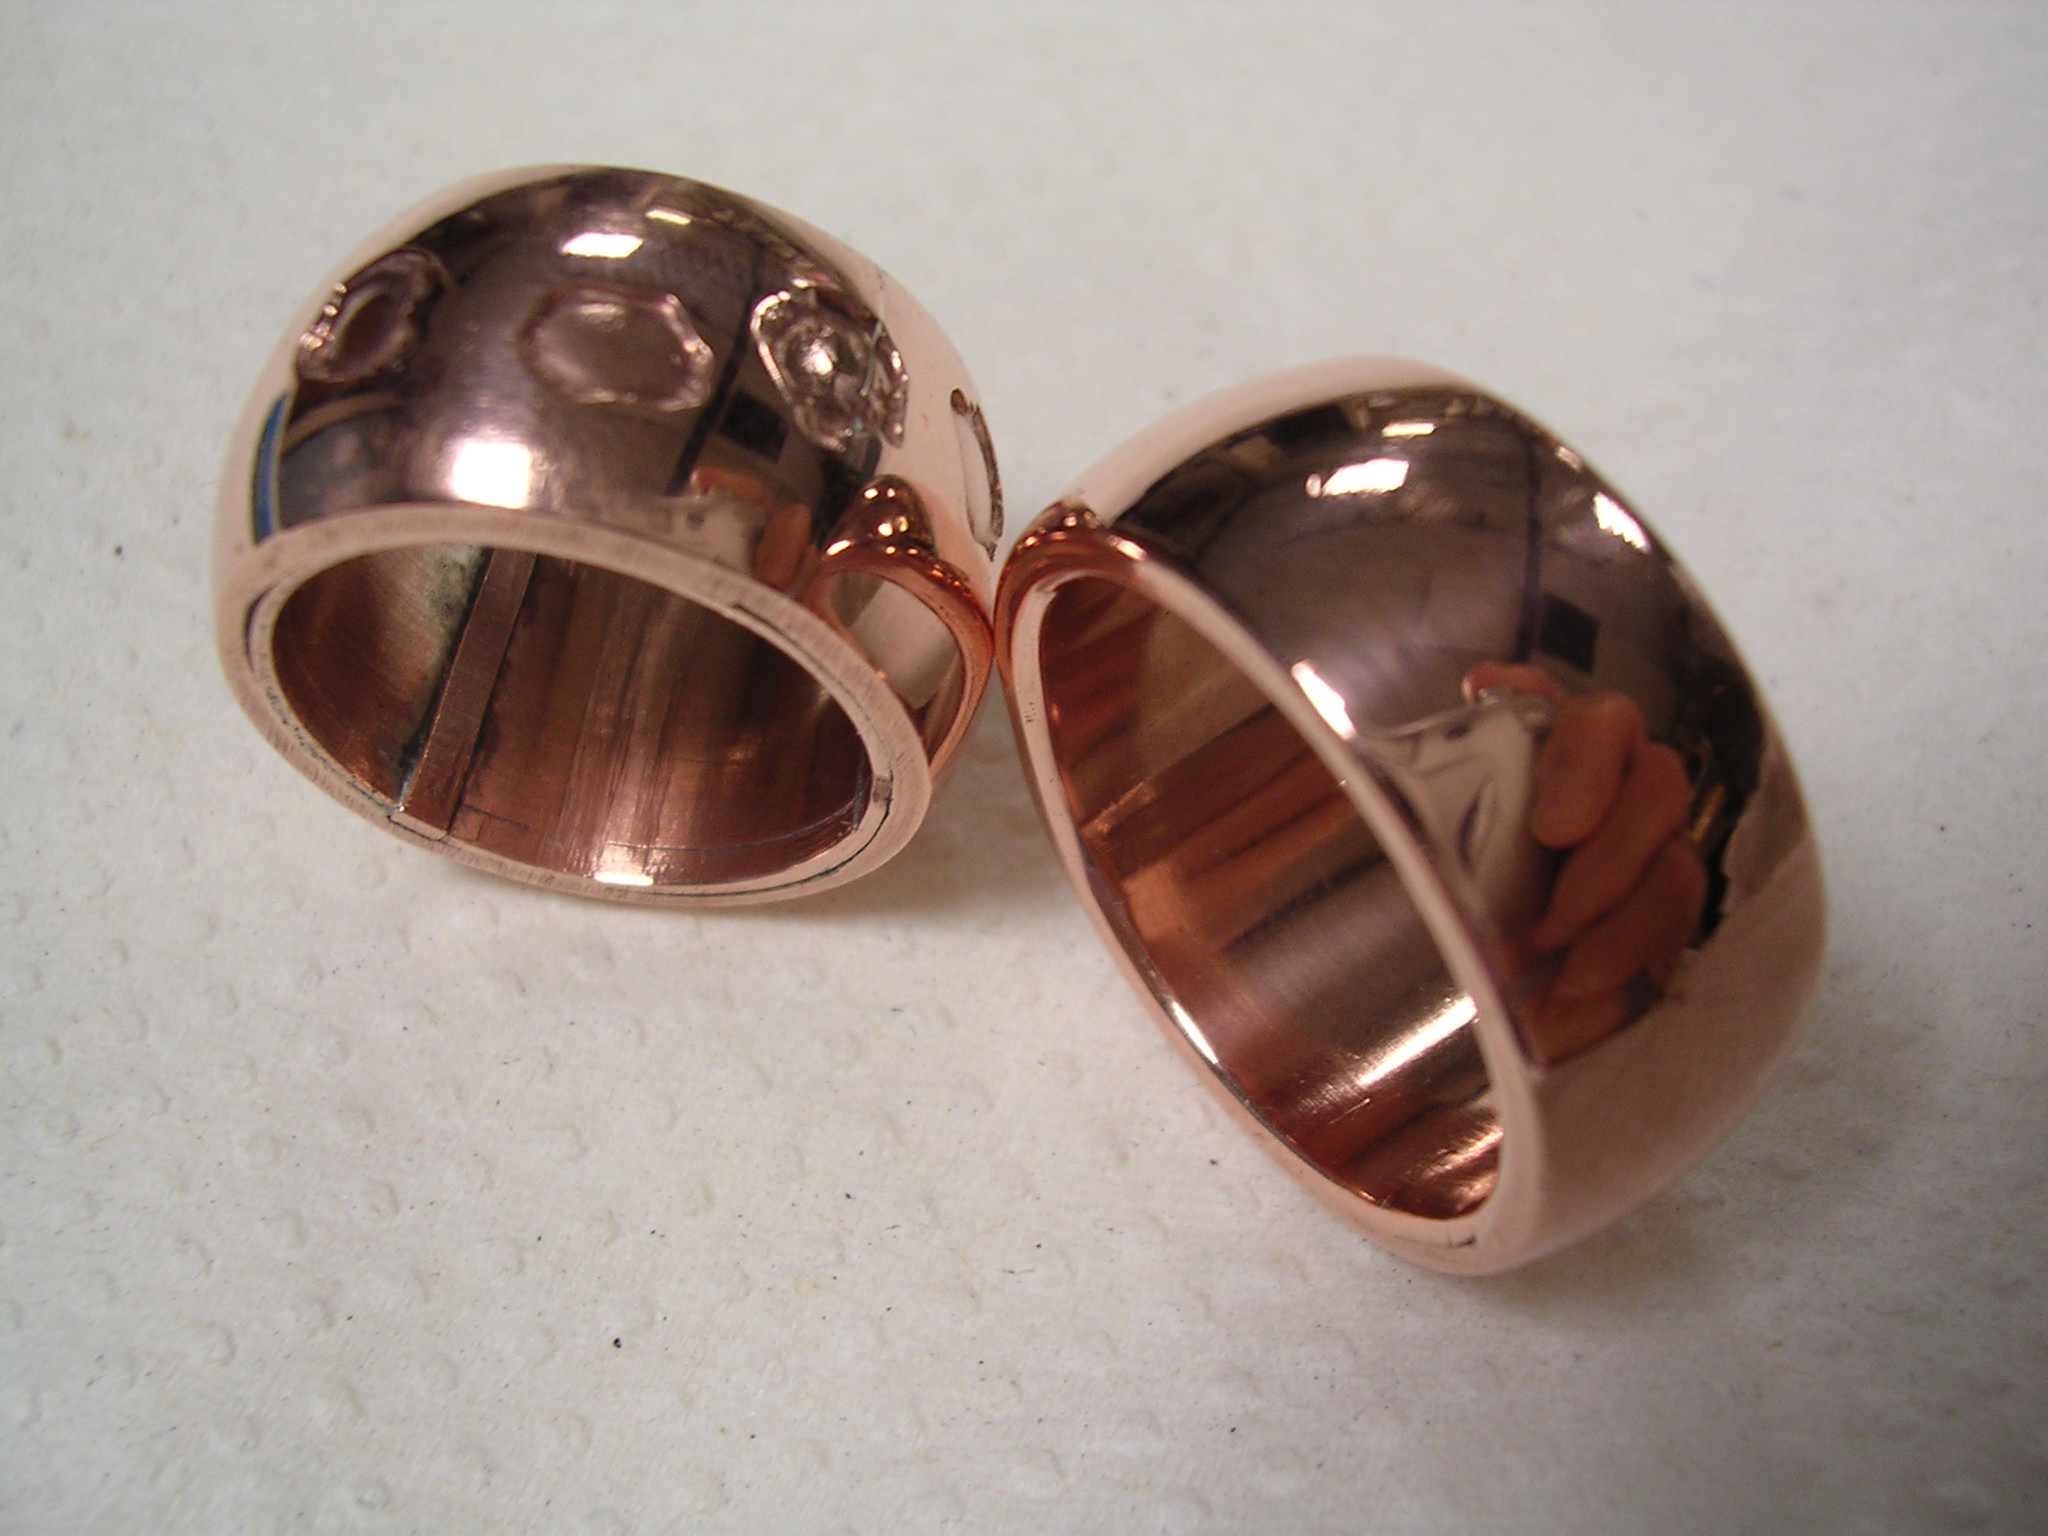
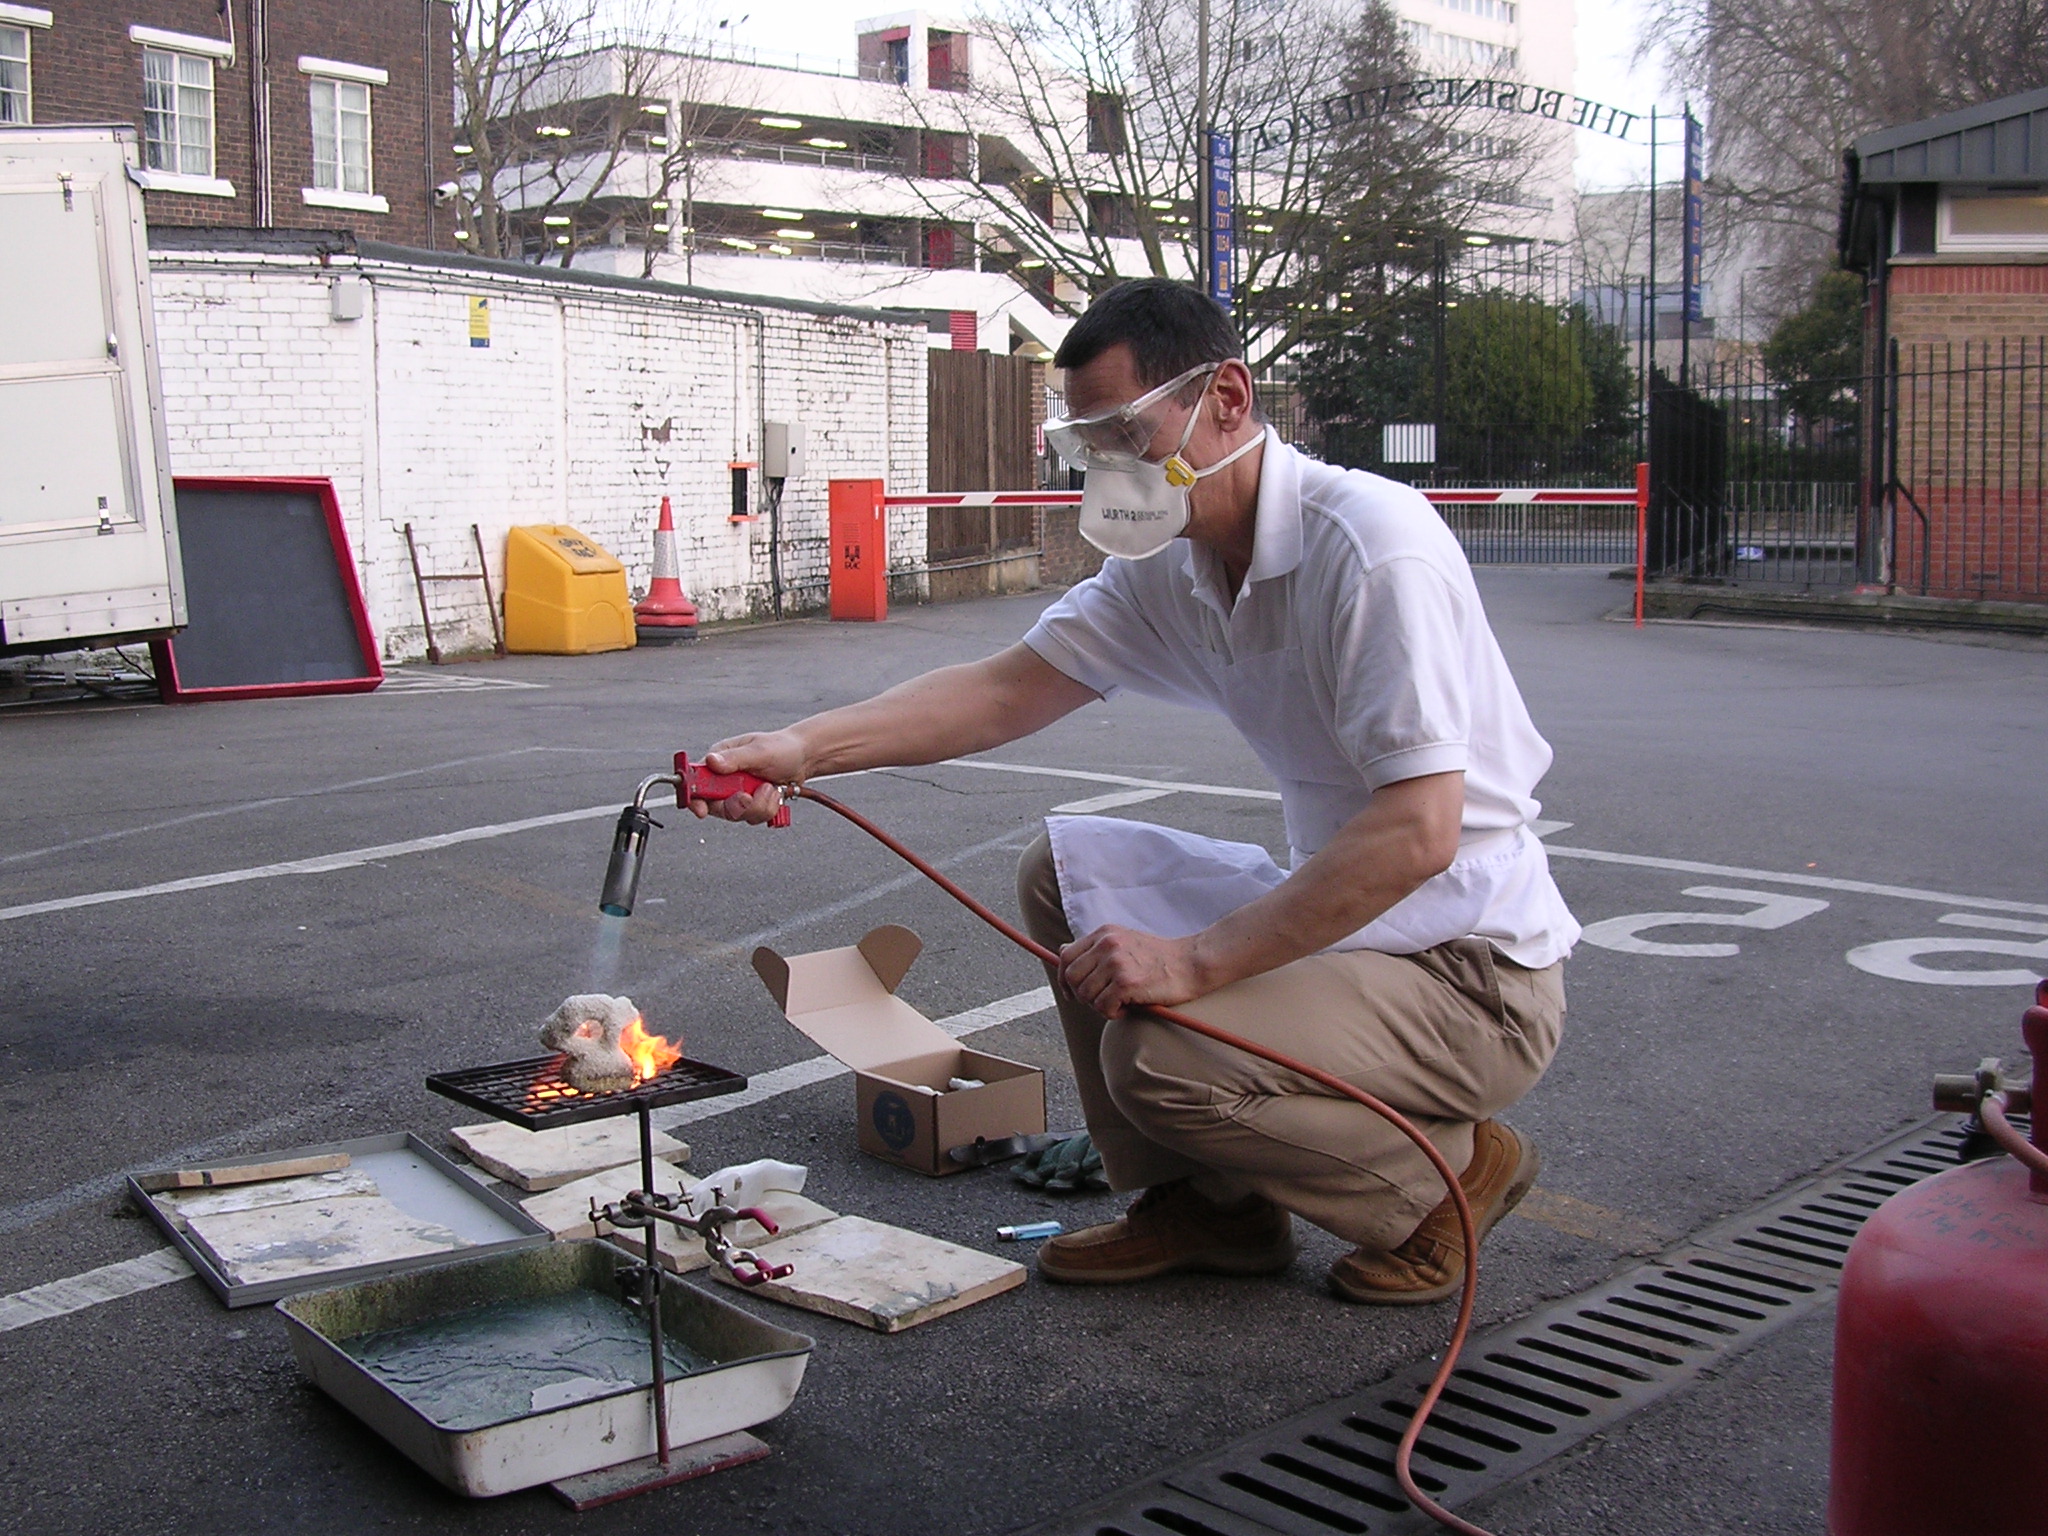
280g of this powder after drying was packed into a ceramic shell crucible with a large lump of coke, and heated in a propane-fuelled furnace for 15 minutes to around 1000C. This resulted in the evolution of large amounts of what was almost certainly chlorine and / or hydrogen chloride, which required ammonia solution in the workroom to help neutralize it. Fortunately I was wearing an adequate mask. Additionally, there was a constant rather large blue and green-blue flame coming from the top of the furnace, something that doesn't normally happen.
The crucible was removed, quenched and broken apart to reveal my two slab castings each about 5mm thick, totalling only 260g – so potentially there may have been up to 20g of chlorine present as chloride or otherwise! A strip of one slab, about 10mm wide, was rolled down to 1.5mm, showing that work hardening was very minimal – even rolling a slab 50mm wide was quite easy in a rolling mill without gears. Two large cavities at the upper ends of the slabs had very intriguing triangular ‘bird foot’ shapes made of minute granules – presumably some kind of crystallization phenomenon. They were so intriguing that I decided to keep them, and added the attached pictures. The one above on the left is a plan view, and the one below on the right is a near-elevation, showing 5 stubs radiating from the centre of a 3-axis structure. The sixth runs into the body of the silver. I guess these would make sense for something belonging to the face-centred cubic system, crystallising from the centre along perpendiculars to each of the six faces of a cube.
2007-10-04
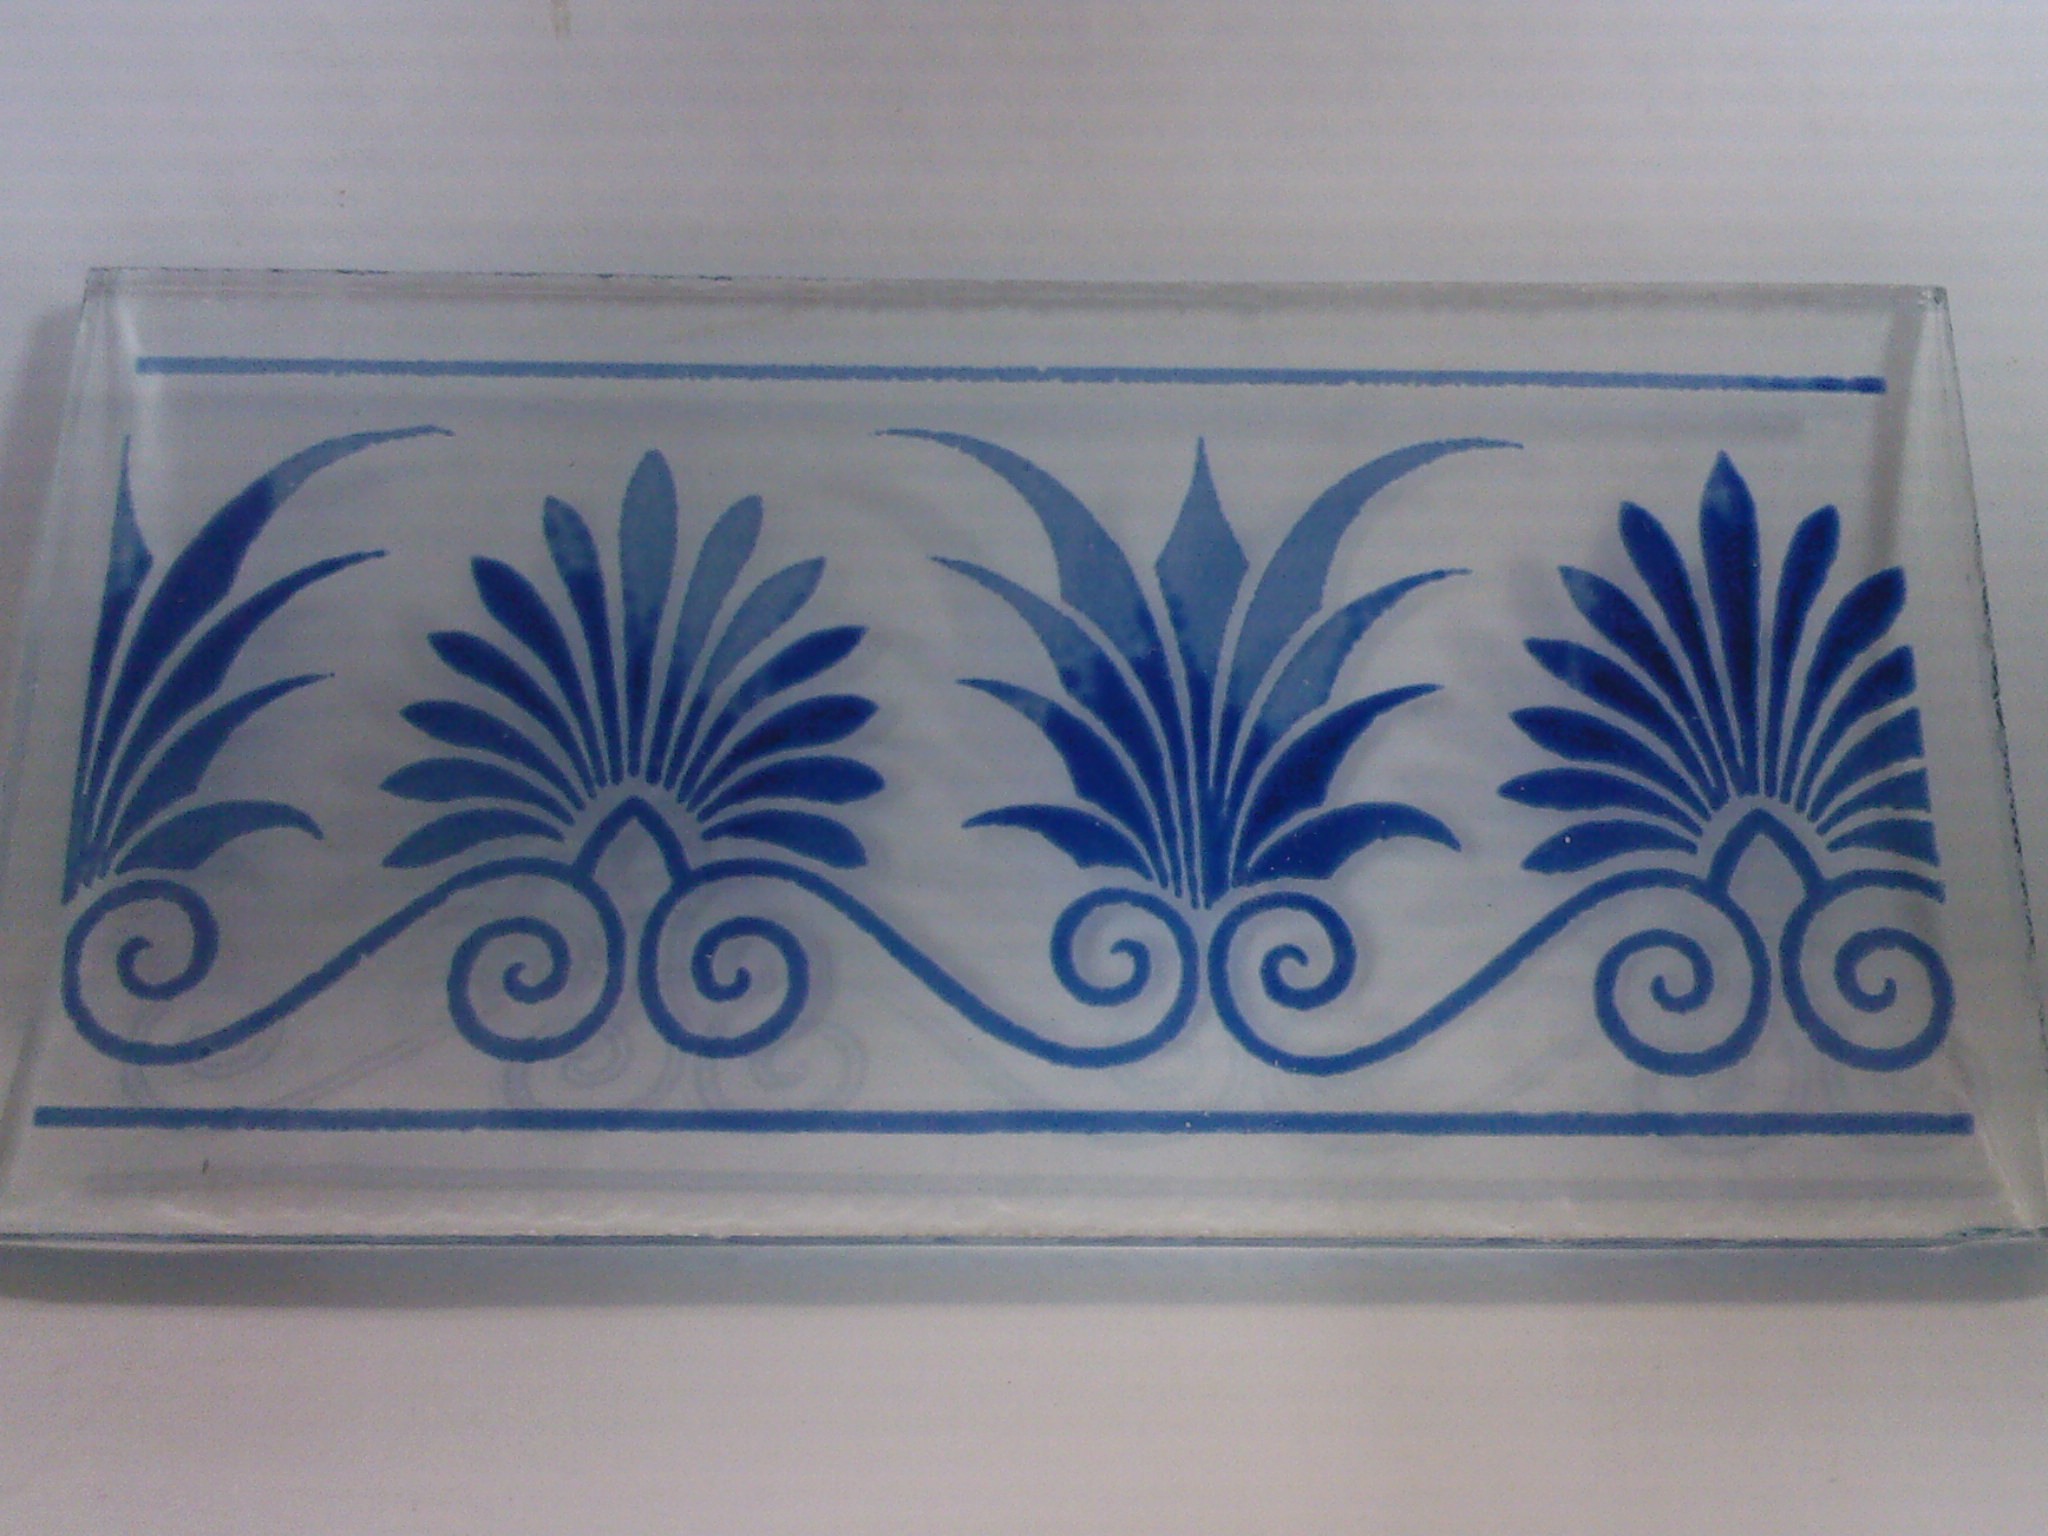
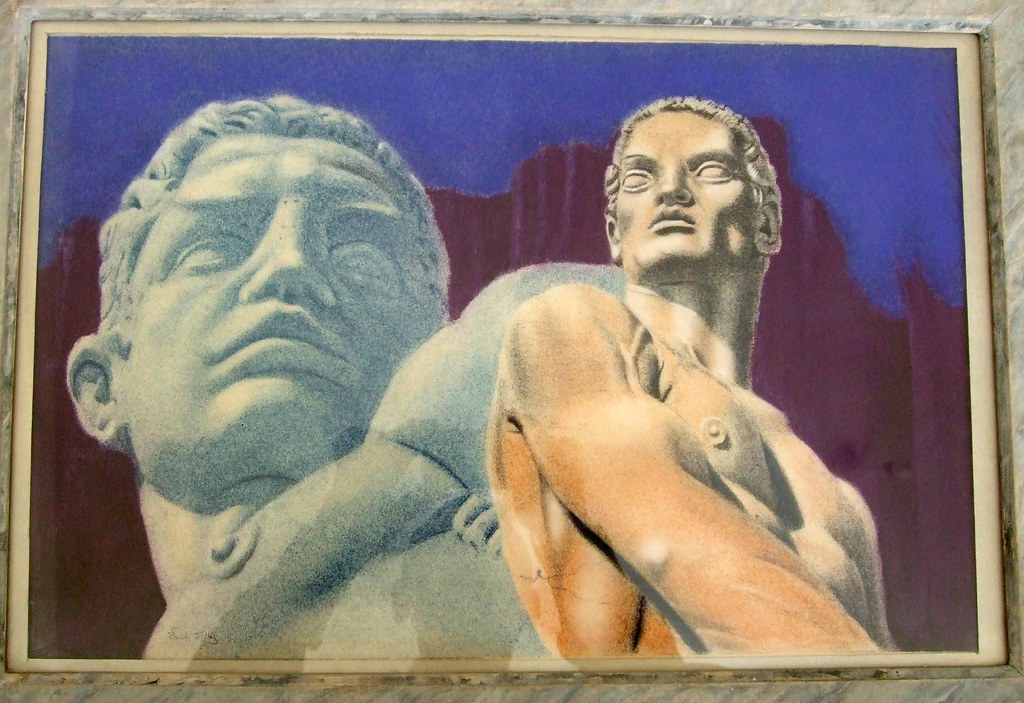
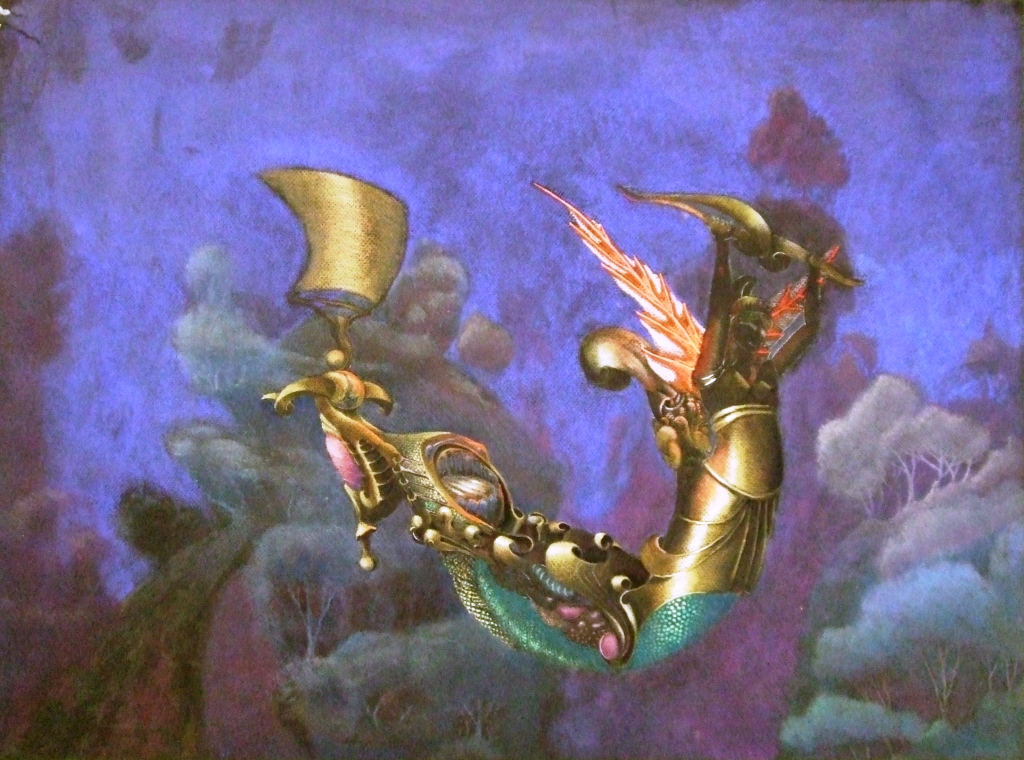
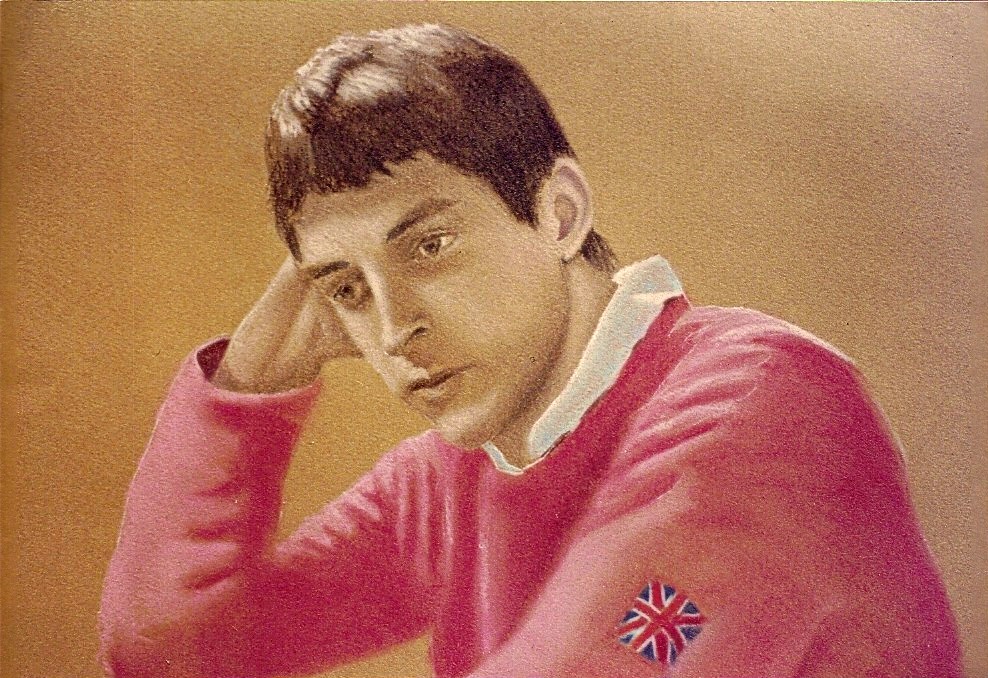
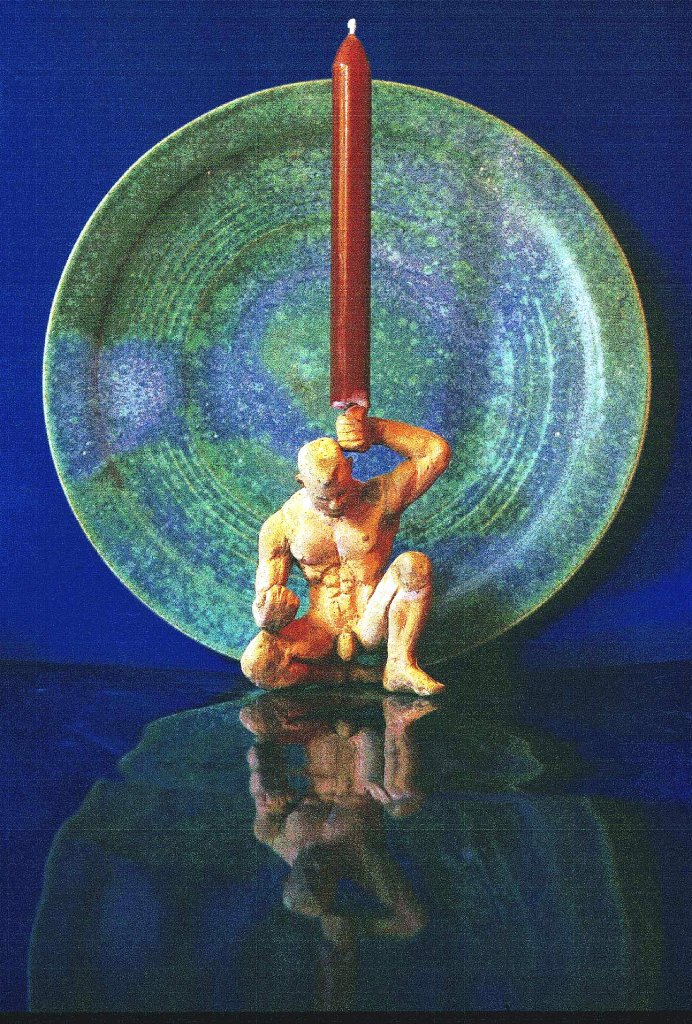
One of my diversions...

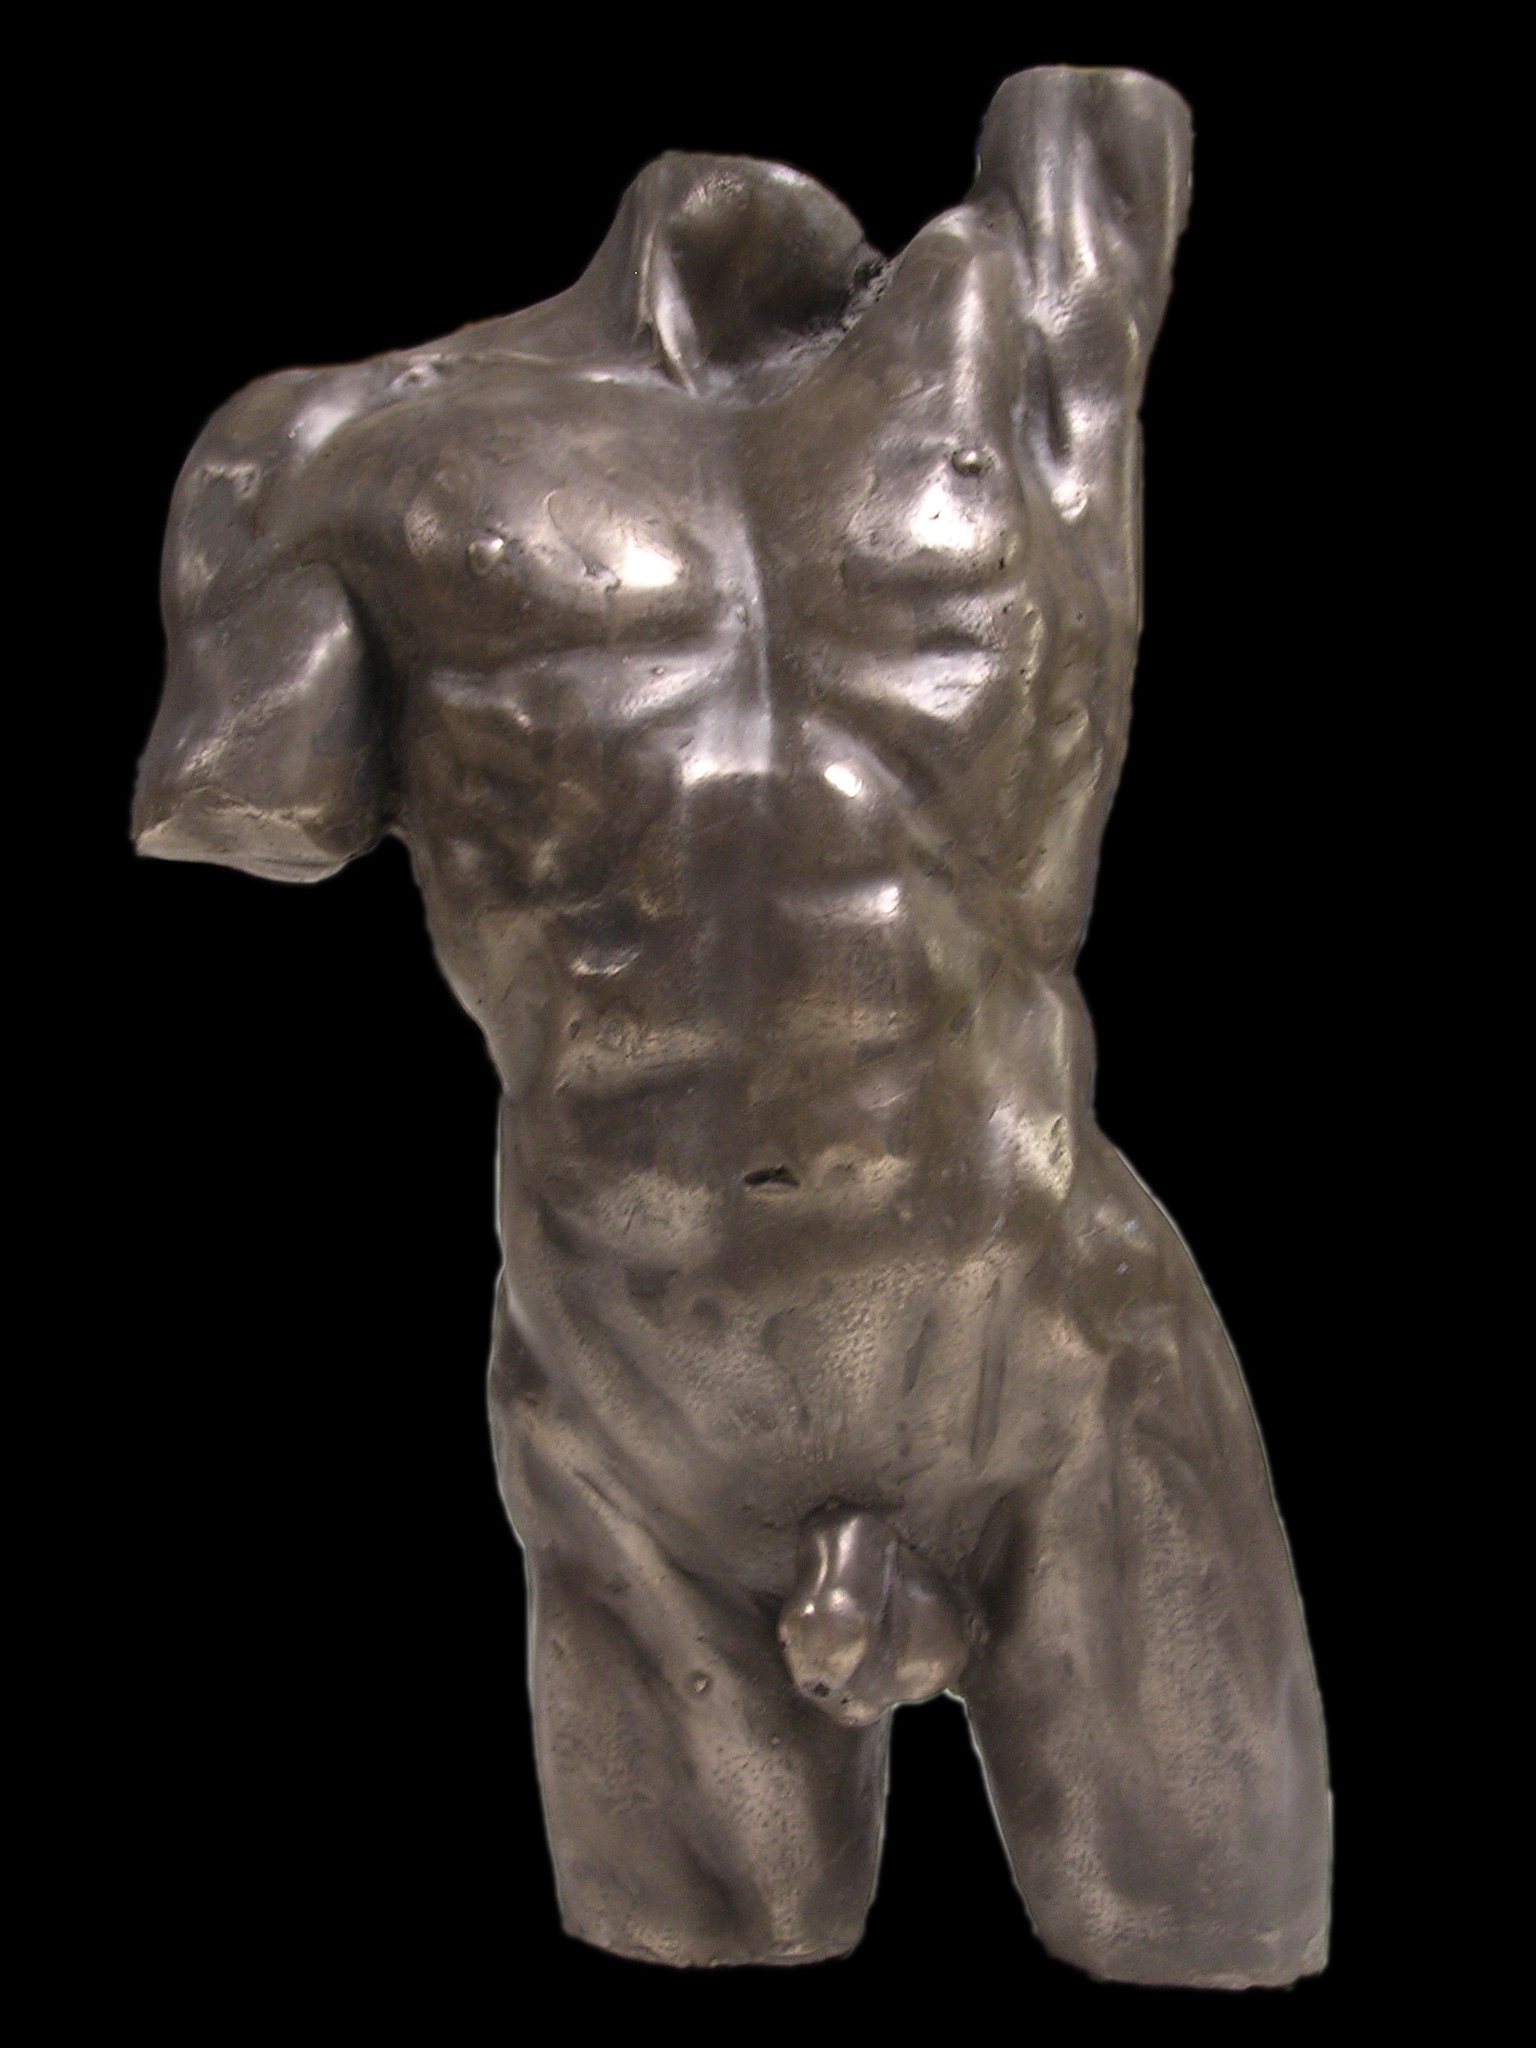
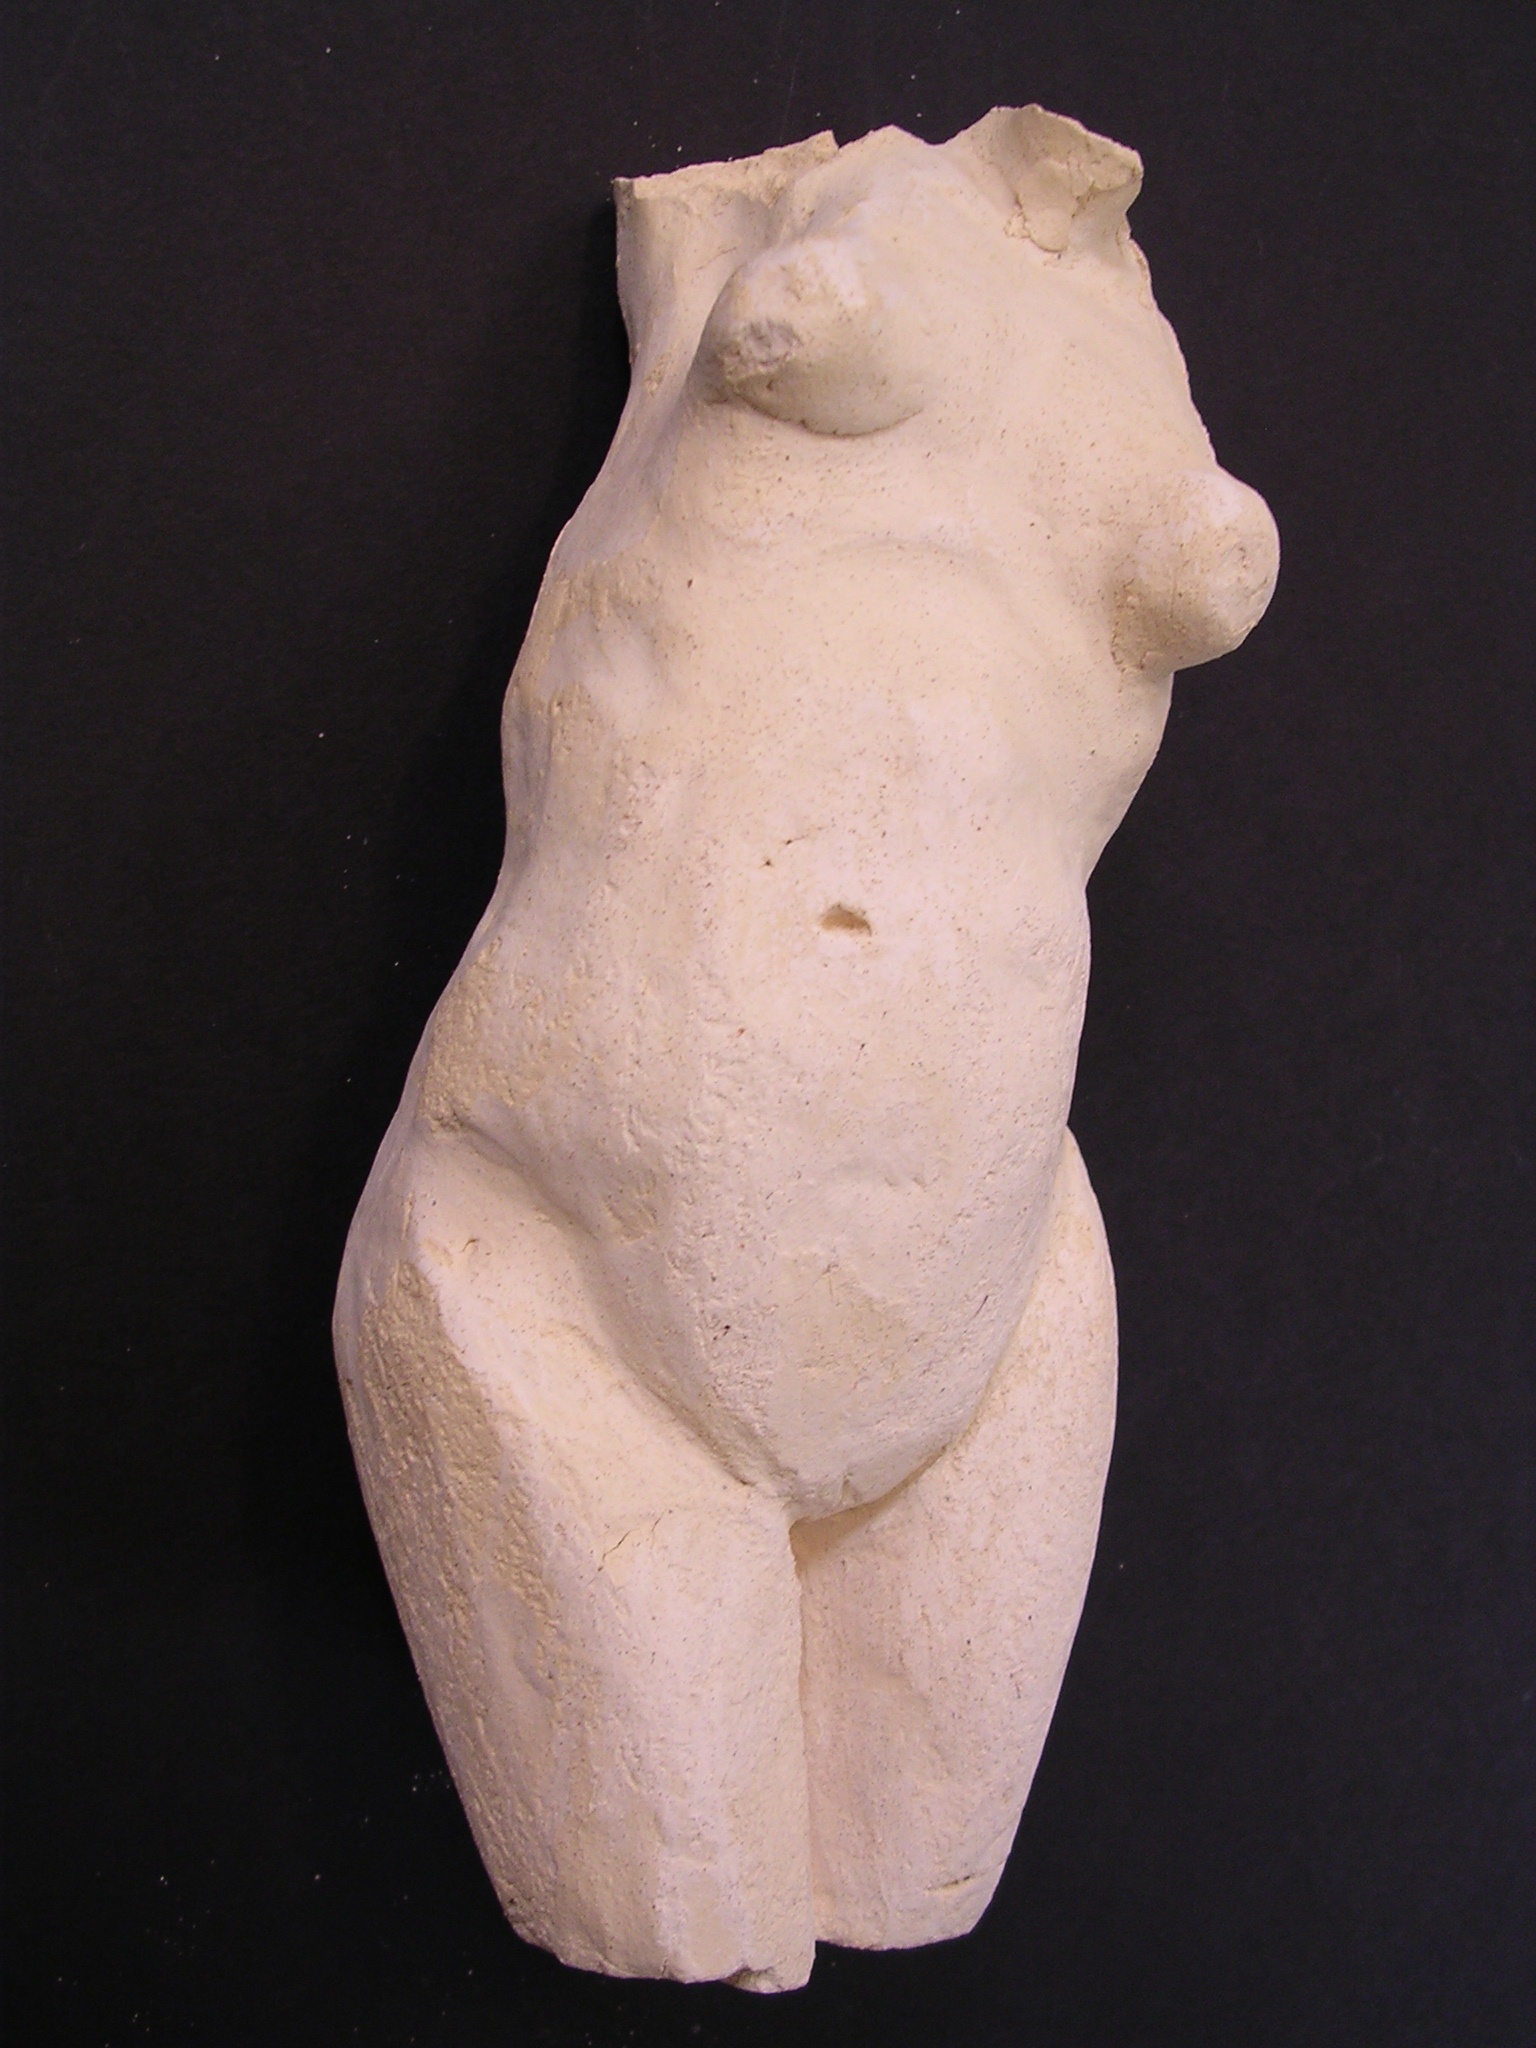
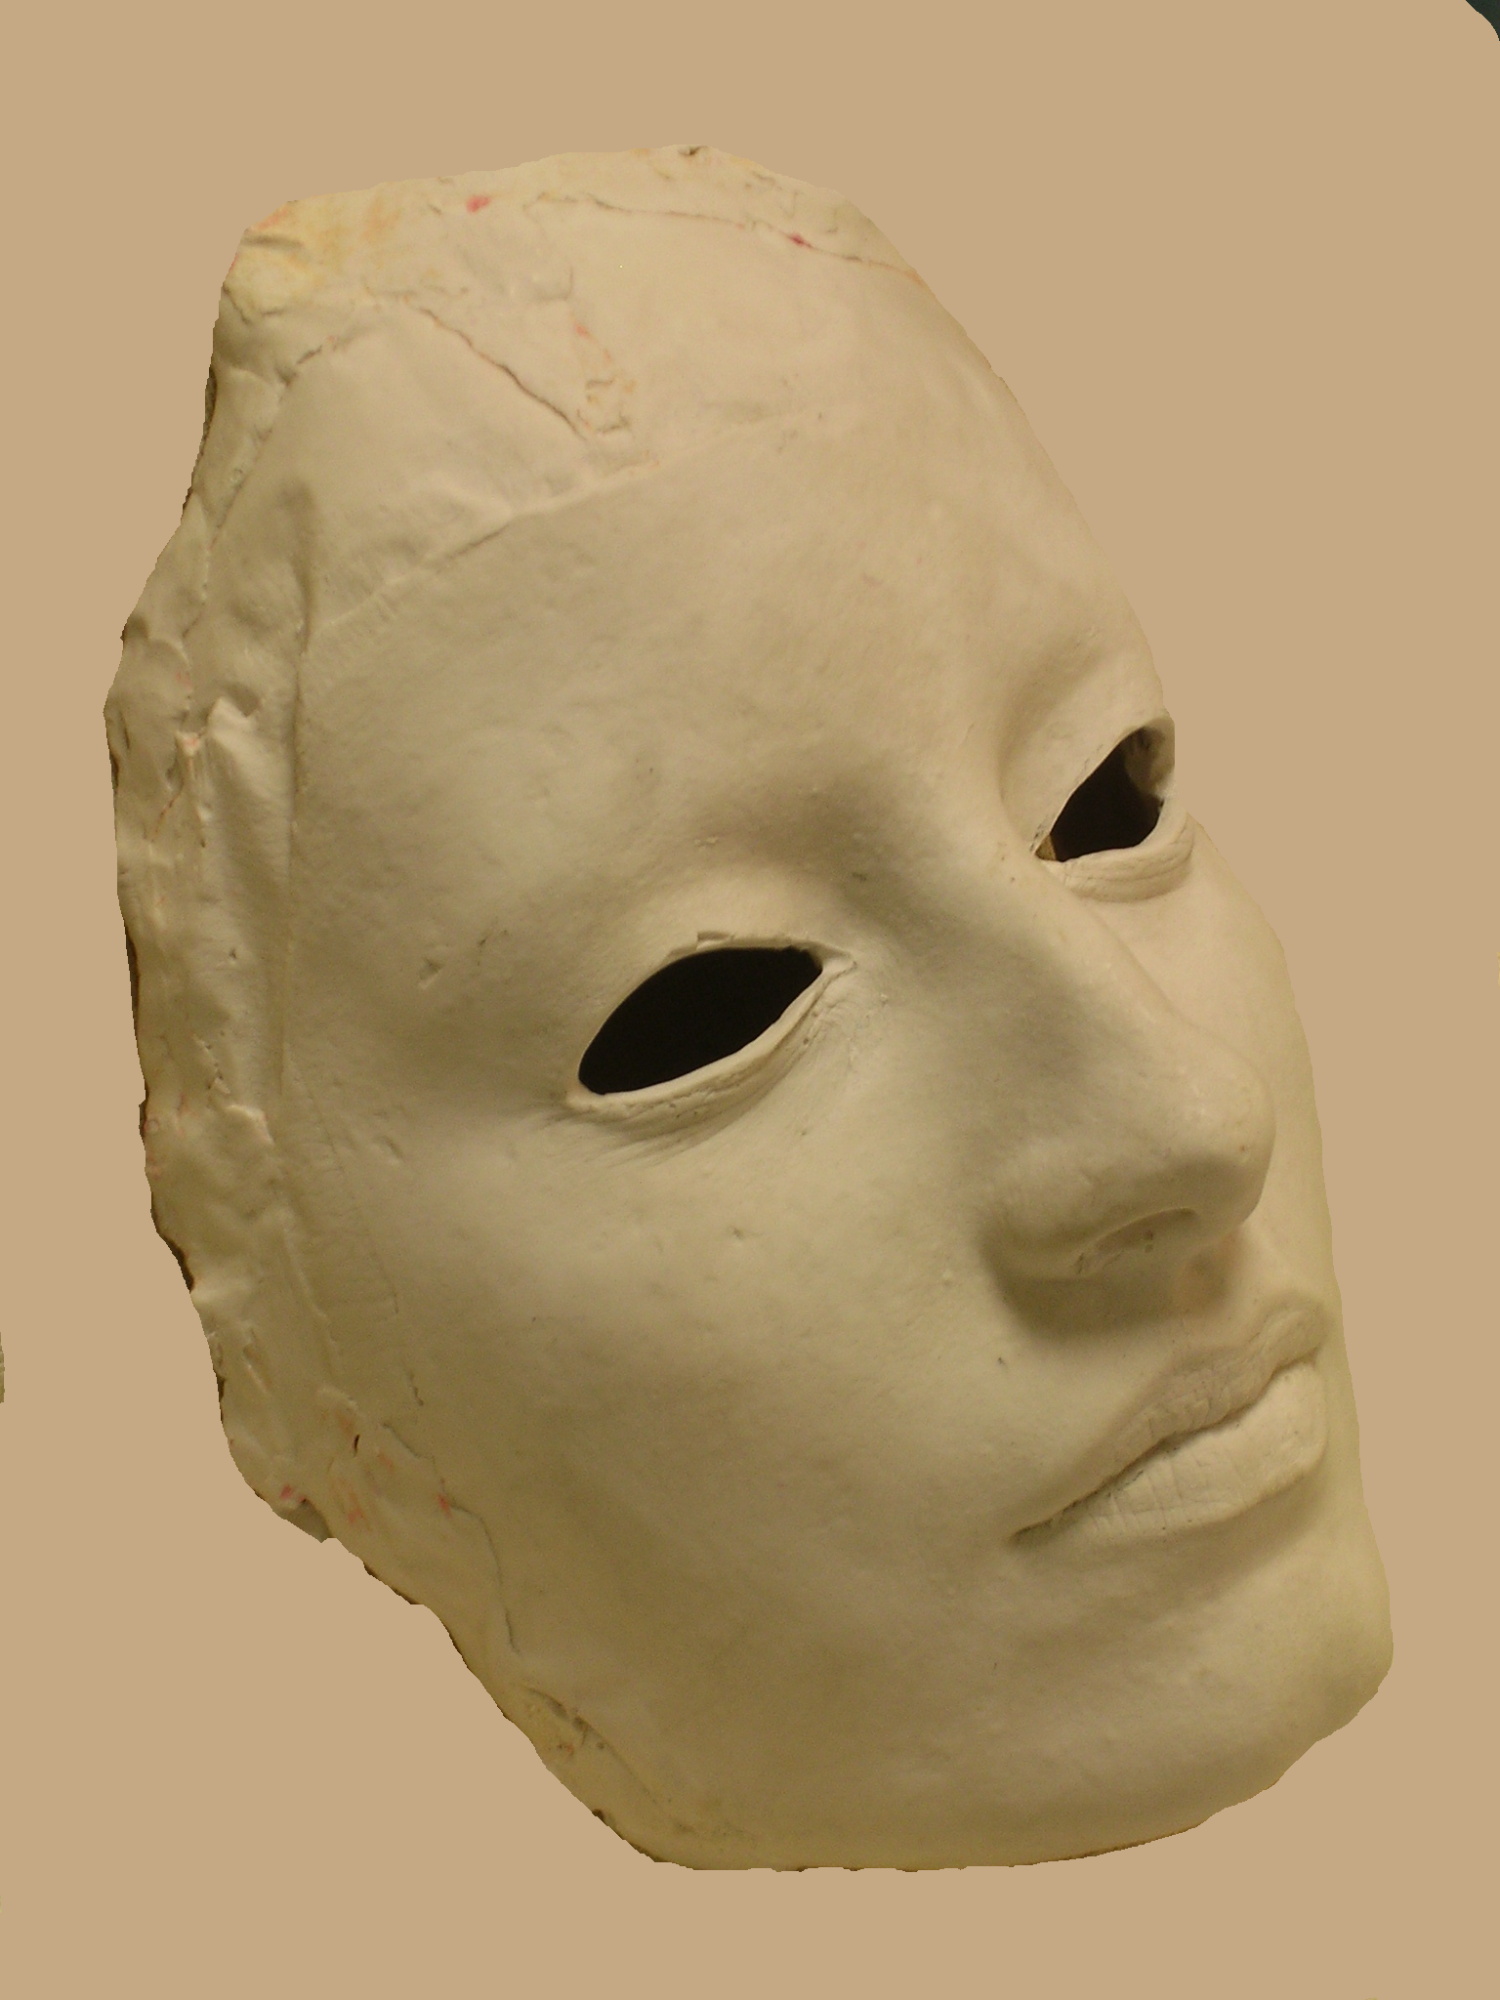
No, honestly, I've absolutely nothing against arms and legs...
I spent a few years designing, sculpting and manufacturing a range of small torsos (between about 9 and 22" high) for a London gallery and various art fairs and shows (e.g. Battersea Arts Fair, Affordable Art Show etc). These three were pictured in a gallery brochure.
Subscribe to:
Posts (Atom)