I have done quite a bit of plain chemical etching of copper alloys and sterling silver, using ferric chloride/citric acid as the etching agent for the copper, and ferric nitrate as etching agent for the silver.
My preferred method however is to use electro-etching, with the object to be etched connected to the positive terminal of a 12v dc supply, and a stainless steel, silver or graphite cathode. In these cases, I use a series of 12v bulbs in parallel with each other as a controllable load.
In the case of electro-etching, the etching agency is a combination of the electric current and the liquid it is immersed in, the electrolyte. As a result, there are more options for the liquid than in the case of chemical etching.
At its simplest, the electrolyte could be distilled water - this conducts electricity to a negligible degree and hence the etch rate is negligibly small. But not zero - see my notes about colloidal silver. The next available option is to use a salt of the metal to be etched - copper sulphate in the case of copper alloys, and silver nitrate in the case of sterling silver. Not only do these work well, they have the terrific advantage of not being sufficiently corrosive to damage the usual resists used in etching. Unfortunately, silver nitrate is hugely staining of skin and just about everything else, especially after exposure to sunlight!
However, being the impatient type, I am usually interested in getting the fastest and most accurate etch, so I experiment now and again with different electrolytes. This has included using the aggressive chemical etch solutions mentioned above, augmented with the electric current.
The most recent experiment was etching copper using copper chloride solution, augmented with hydrochloric acid and hydrogen peroxide. Copper doesn't normally dissolve in hydrochloric acid unless there is dissolved oxygen present; this requirement is met very well by adding the peroxide, which enables rapid dissolution of the copper. It has the advantage of being a clear liquid (apple green in colour) unlike the ferric chloride-based solutions which are murky and completely opaque. The disadvantage is that the liquid would be expected to be somewhat more corrosive to the resist.
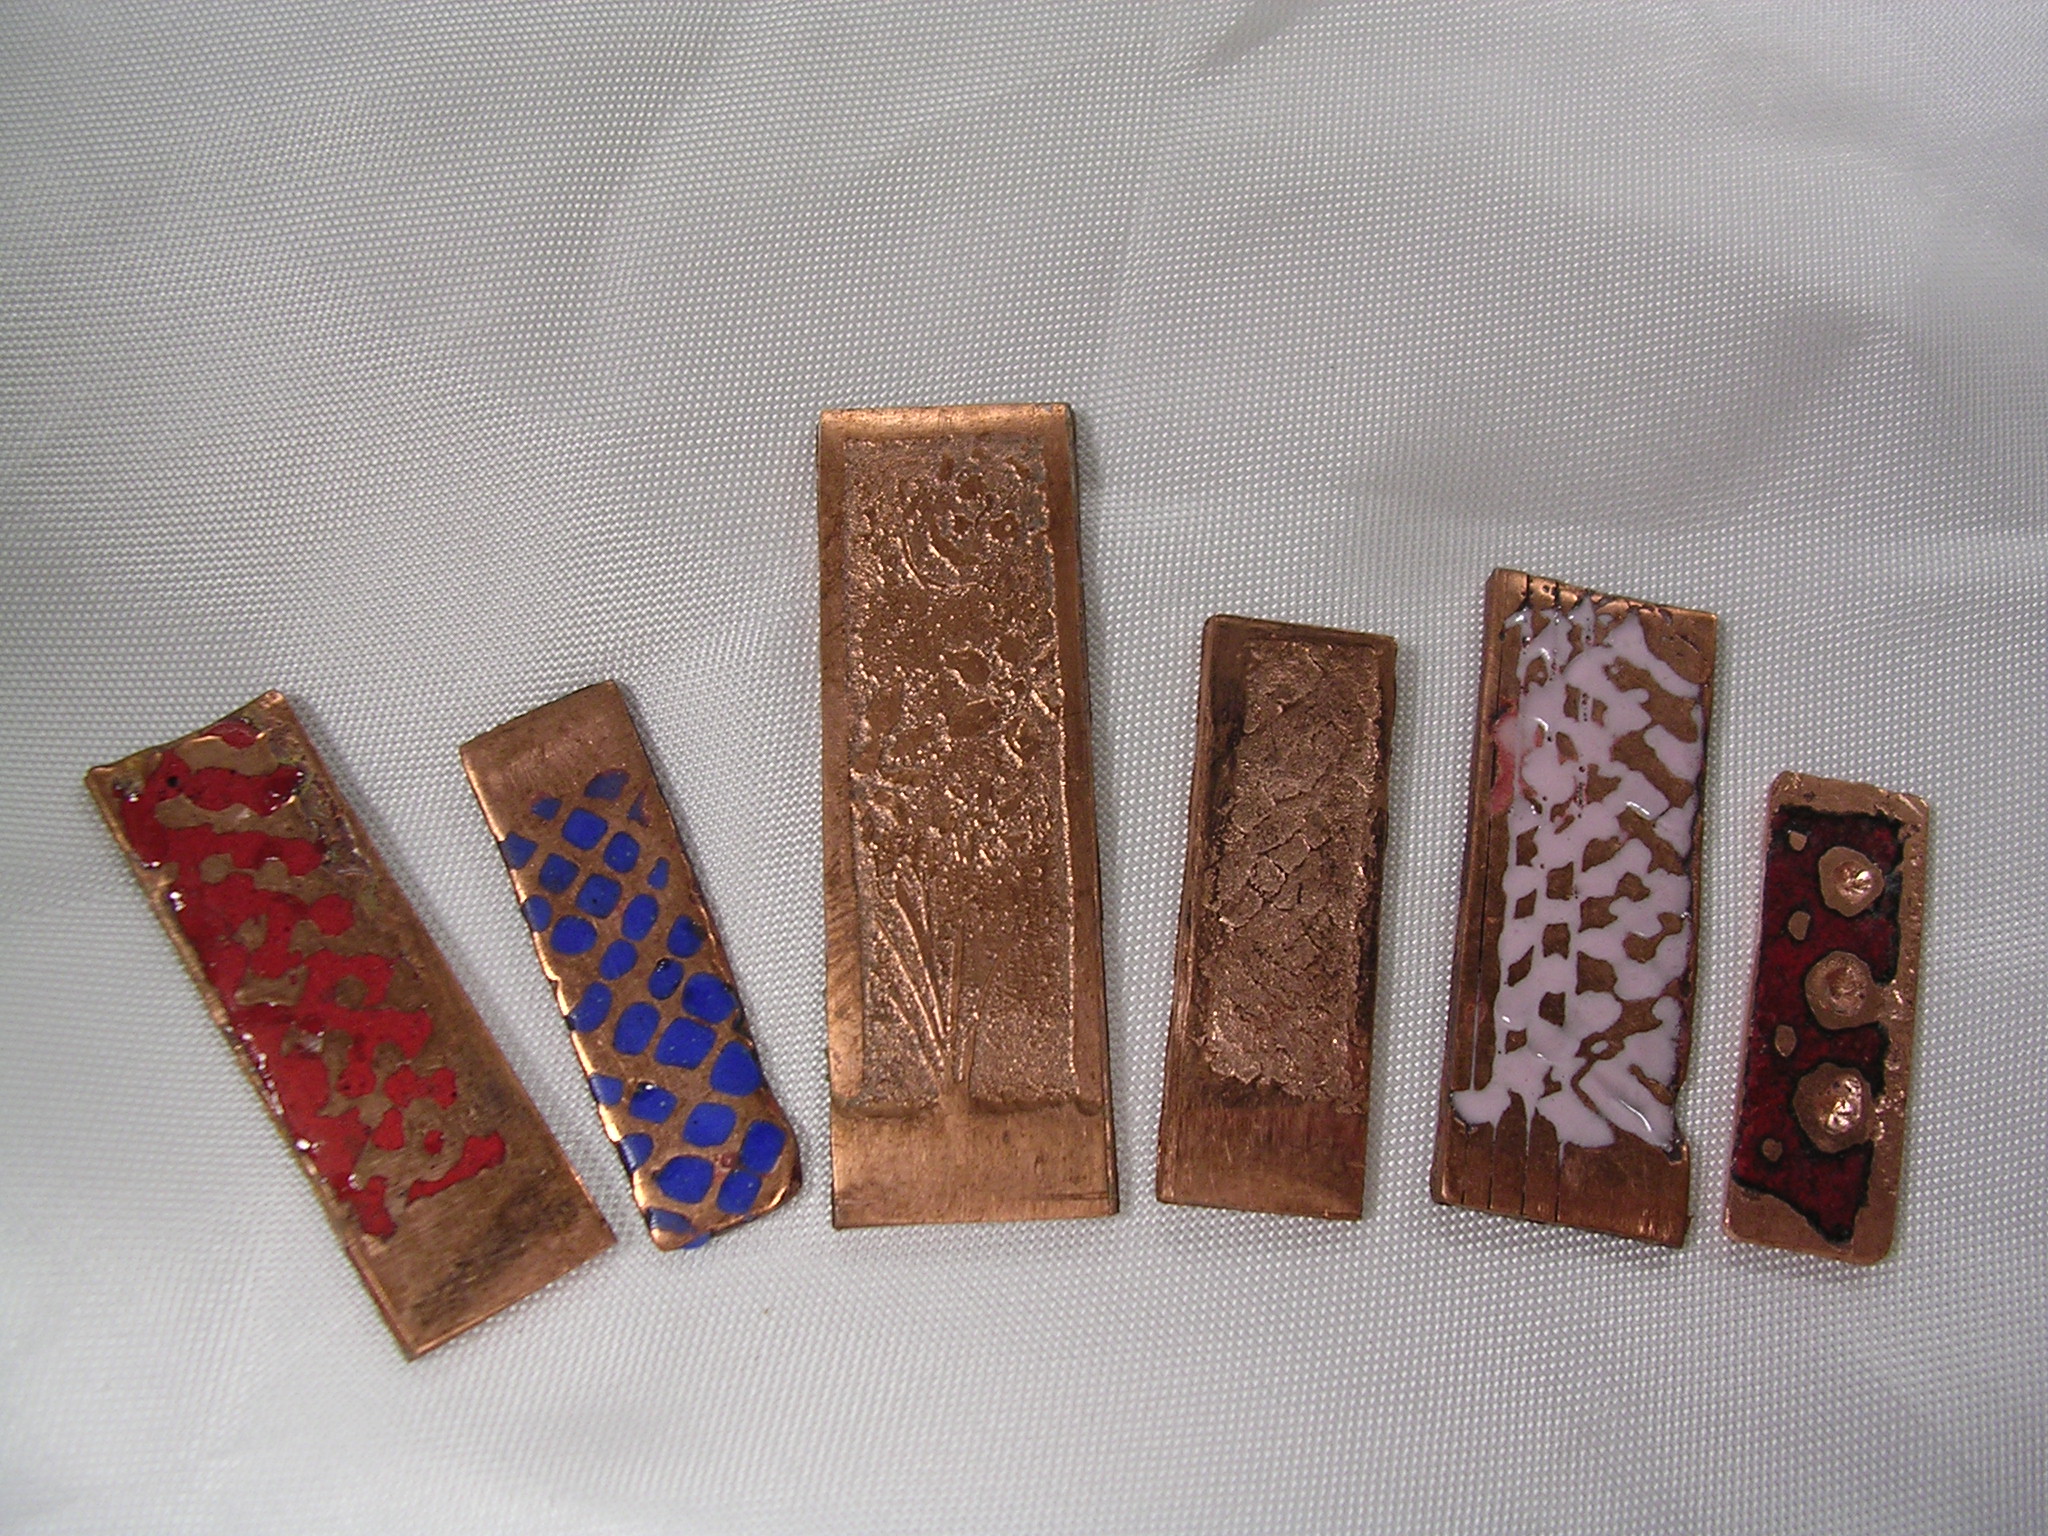
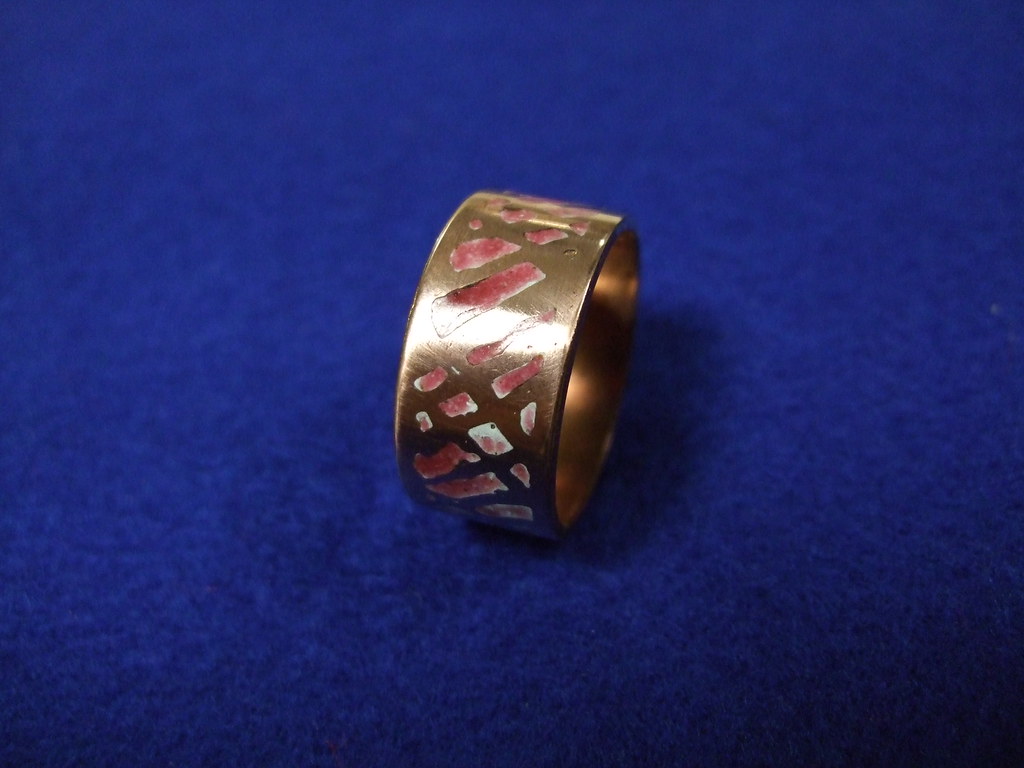
At any rate, I let a piece of copper, about 20 x 80mm, protected on the rear and sides with nail varnish as a resist, and the same for a design on the front, etch for around an hour. The results were very satisfying with an etch of around 0.5mm, though with quite a bit of break-through of the resist. Also, since I had no means at the time to provide agitation, there was a ripple pattern in the etched metal, somewhat reminiscent of (and perhaps related to) the ripples left on a beach by the receding tide.
2007-10-27
Etching with peroxide
2007-10-16
My first attempt at making colloidal silver
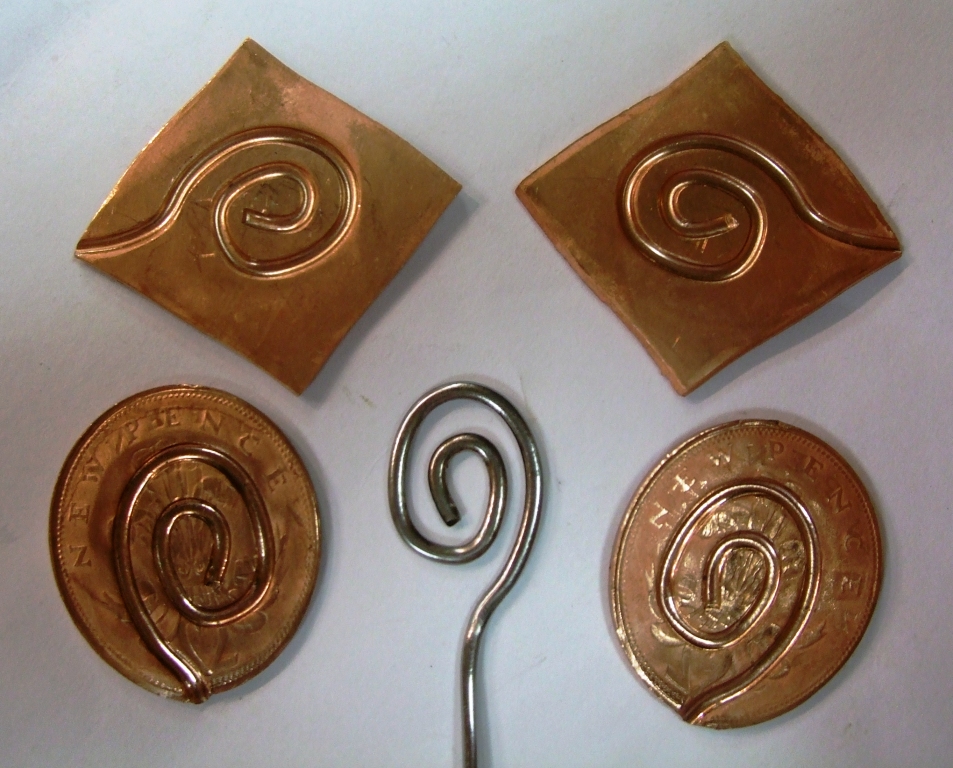
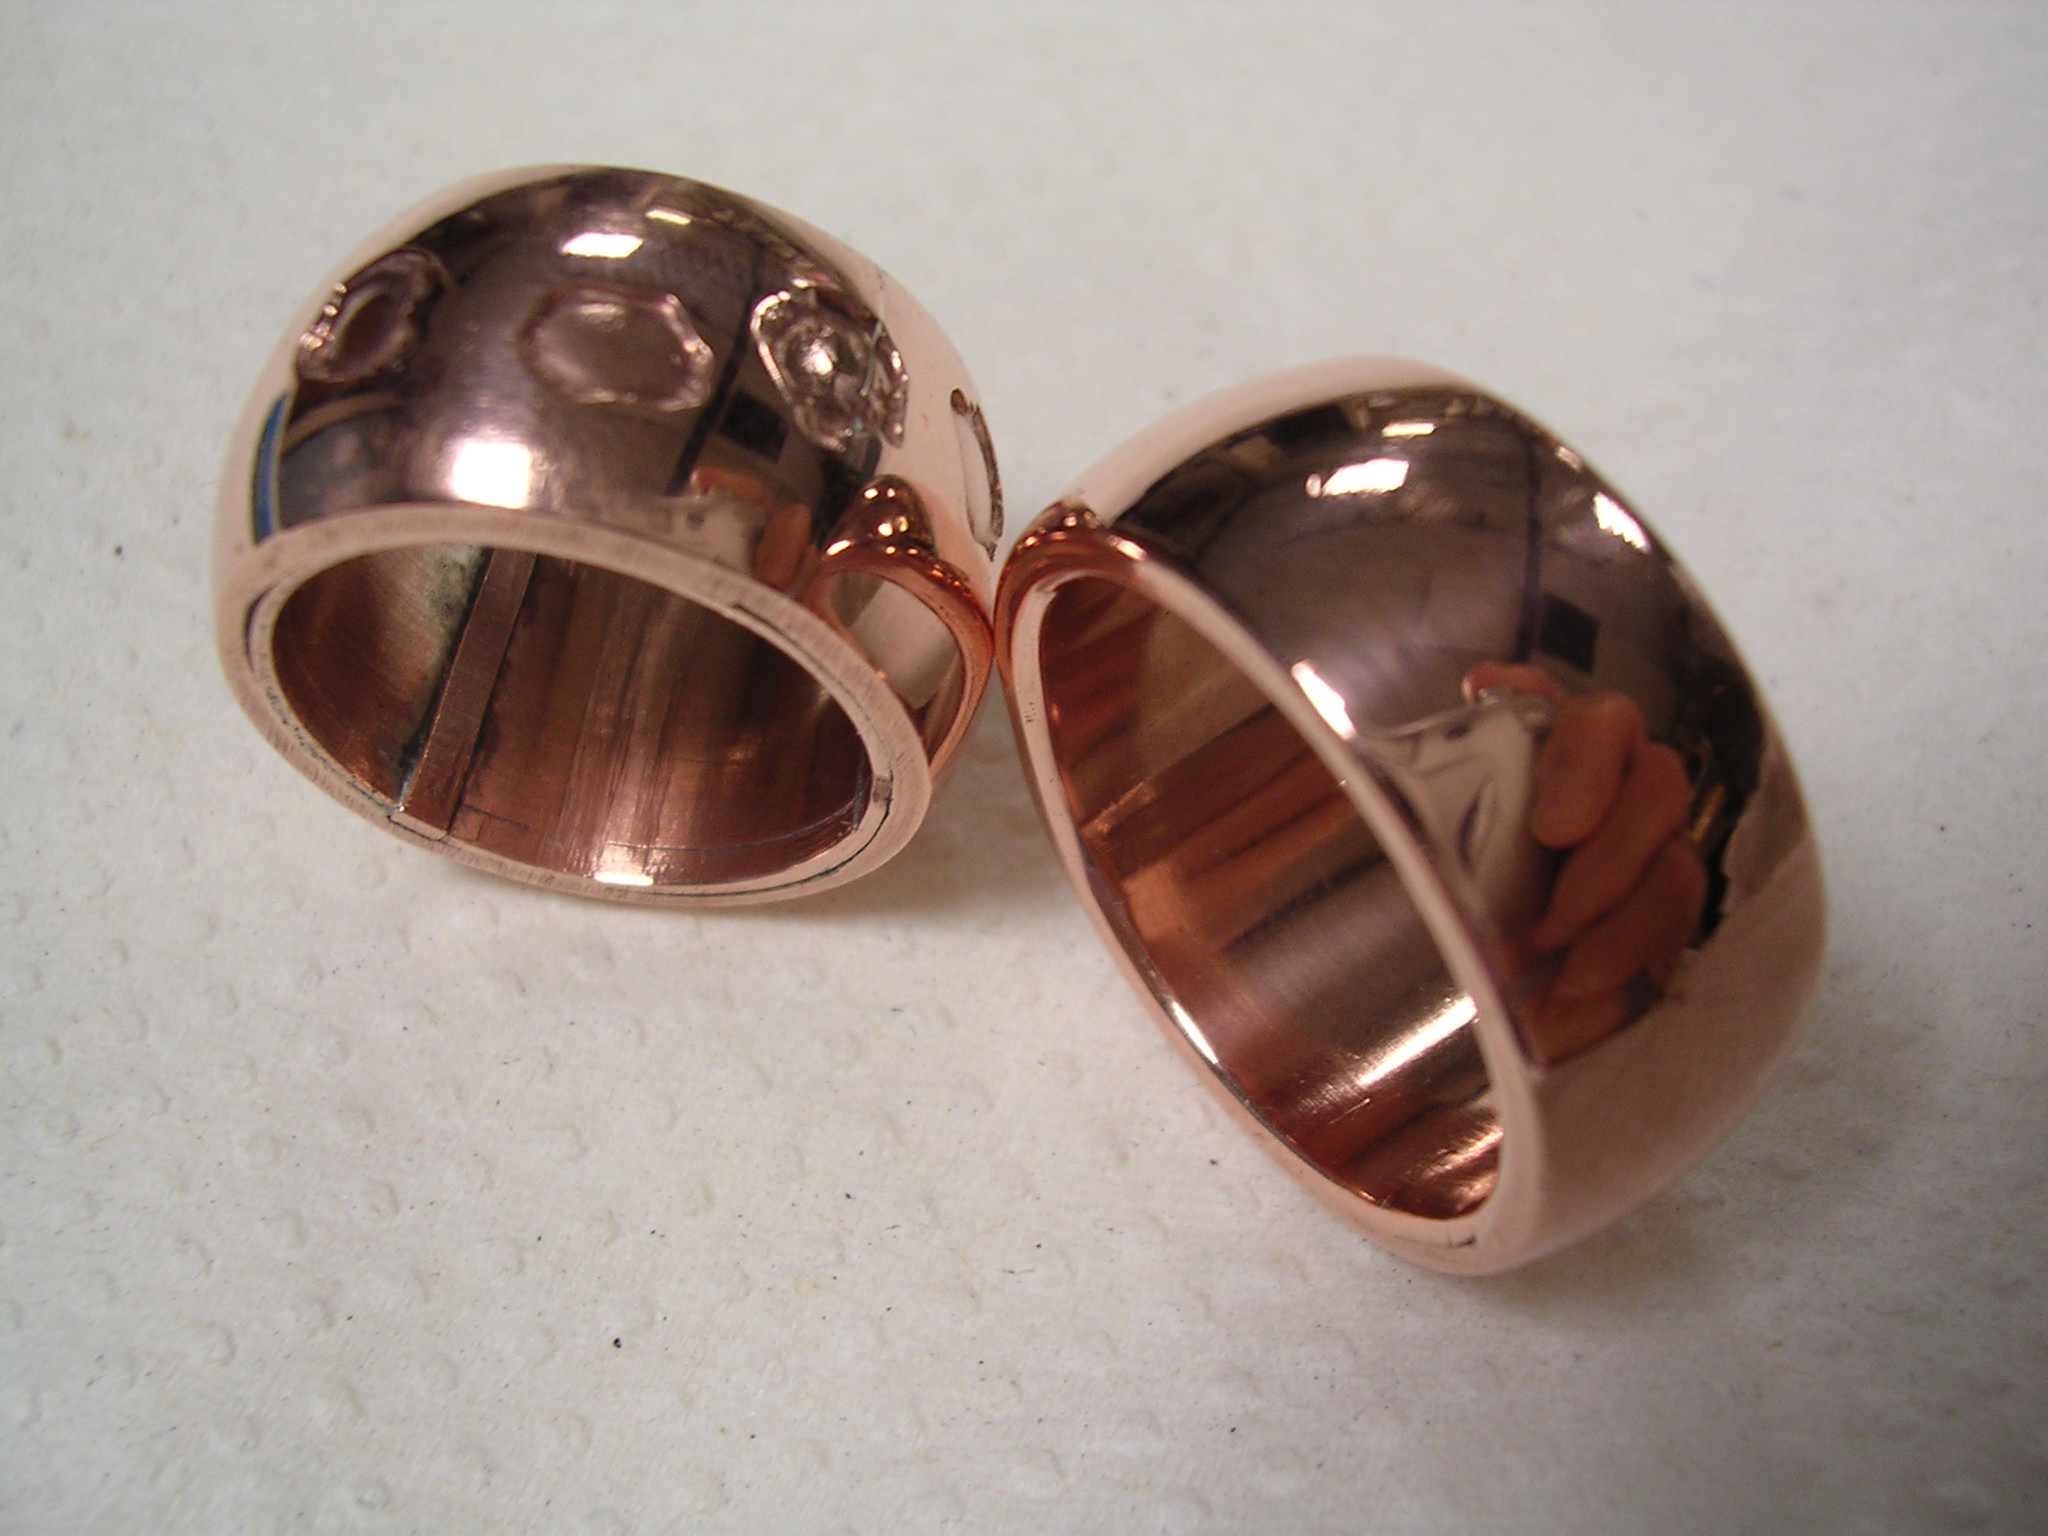
After rolling out some of the presumed fine silver made earlier, I saved some for making bands etc and still had two large strips which I thought I would try and use for making colloidal silver. I immersed two such strips in distilled water in a clean plastic container, and connected them to a 12v dc supply via a system of 6 12v bulbs, all in parallel. This is the system I use for etching and other related operations.
I left it running for several hours, with no visible light from the filament of the single bulb I had in the circuit (by unscrewing bulbs I can reduce the maximum current that can flow). But both slabs of silver darkened, rather considerably, and additionally I think there was a fine, faint fog of black silver particles in the water.
I tried a trick I found on the Internet, namely shining a simple laser pointer through the water; this plainly showed the path of the laser, giving some confidence that some at least of the silver was converting to colloidal form! I checked that the laser also showed such a beam when passed through colloidal silica solution, and no beam when passed through plain water.
2007-10-10
Refining scrap silver
I had 300g of impure sterling silver. This resulted from a mould leak in the bottom of my furnace, so I re-melted the salvaged metal and poured it as grain into water. Subsequent testing indicated that it was probably too impure to use - not surprising considering that the same furnace is used for casting leaded bronze, and that has also leaked on occasion!
300g of this impure silver was added to 150ml distilled water and 300ml commercial nitric acid in a flask with reflux tube; the bottom of this went below some sodium bicarbonate and diluted ammonia solution. It was initially cooled with a water bath to reduce the output of fumes, and then later heated in the same way (to speed up the reaction). The sodium bicarbonate seems to be irrelevant – and the container of dilute ammonia solution should be placed in a larger container holding more ammonia since the white bursting bubbles actually contain some orange gas.
Subsequently I found that one can better scrub NOx gasses in either 10% sodium hydroxide + 3.5% hydrogen peroxide (Nikon process) or 0.2% hydrogen peroxide and 10% nitric acid (Kanto Denka process). An intriguing remark from www.h2o2.com suggested that peroxide could be added to nitric acid in many metal pickling applications, thereby removing NOx at source and regenerating the acid.
After about 40 minutes when bubbling was very slow, the nitric acid / silver nitrate solution was filtered, the excess silver washed and retained, and the silver then precipitated from the liquid with salt (sodium chloride) solution. After a false start doing filtration, I then continued by decanting the liquid and rinsing the white precipitate with boiling water several times, until there was no blue colouration with ammonia (which would be caused by any copper contamination).
 On standing, this white sludge would slowly develop a violet-grey surface due to the action of light. I initially tried reducing the silver chloride to silver with aluminium wire and hydrochloric acid; this caused some continuous darkening as silver was precipitated, but seemed very slow and to require much more wire and time. So the wire was removed, the sludge well washed, then finally had 60g dry sodium hydroxide and 30g dry glucose powder added. The glucose was caramelised (judging by the smell) and the sludge turned more or less unevenly grey with pink-grey parts as the chloride was reduced to silver (and regenerating salt solution I imagine). After well washing, I decided to repeat the process, which got rid of the pink grey parts.
After drying, the final result of my labours was a large number of silver stains on workroom surfaces (and fingers), and about 280g of fine light-grey granules, looking very like cement powder. It took a lot of Internet research to find a suitable way of removing the afore-mentioned stains - in the end I used acidified potassium permanganate followed by acidified sodium bisulphite solutions.
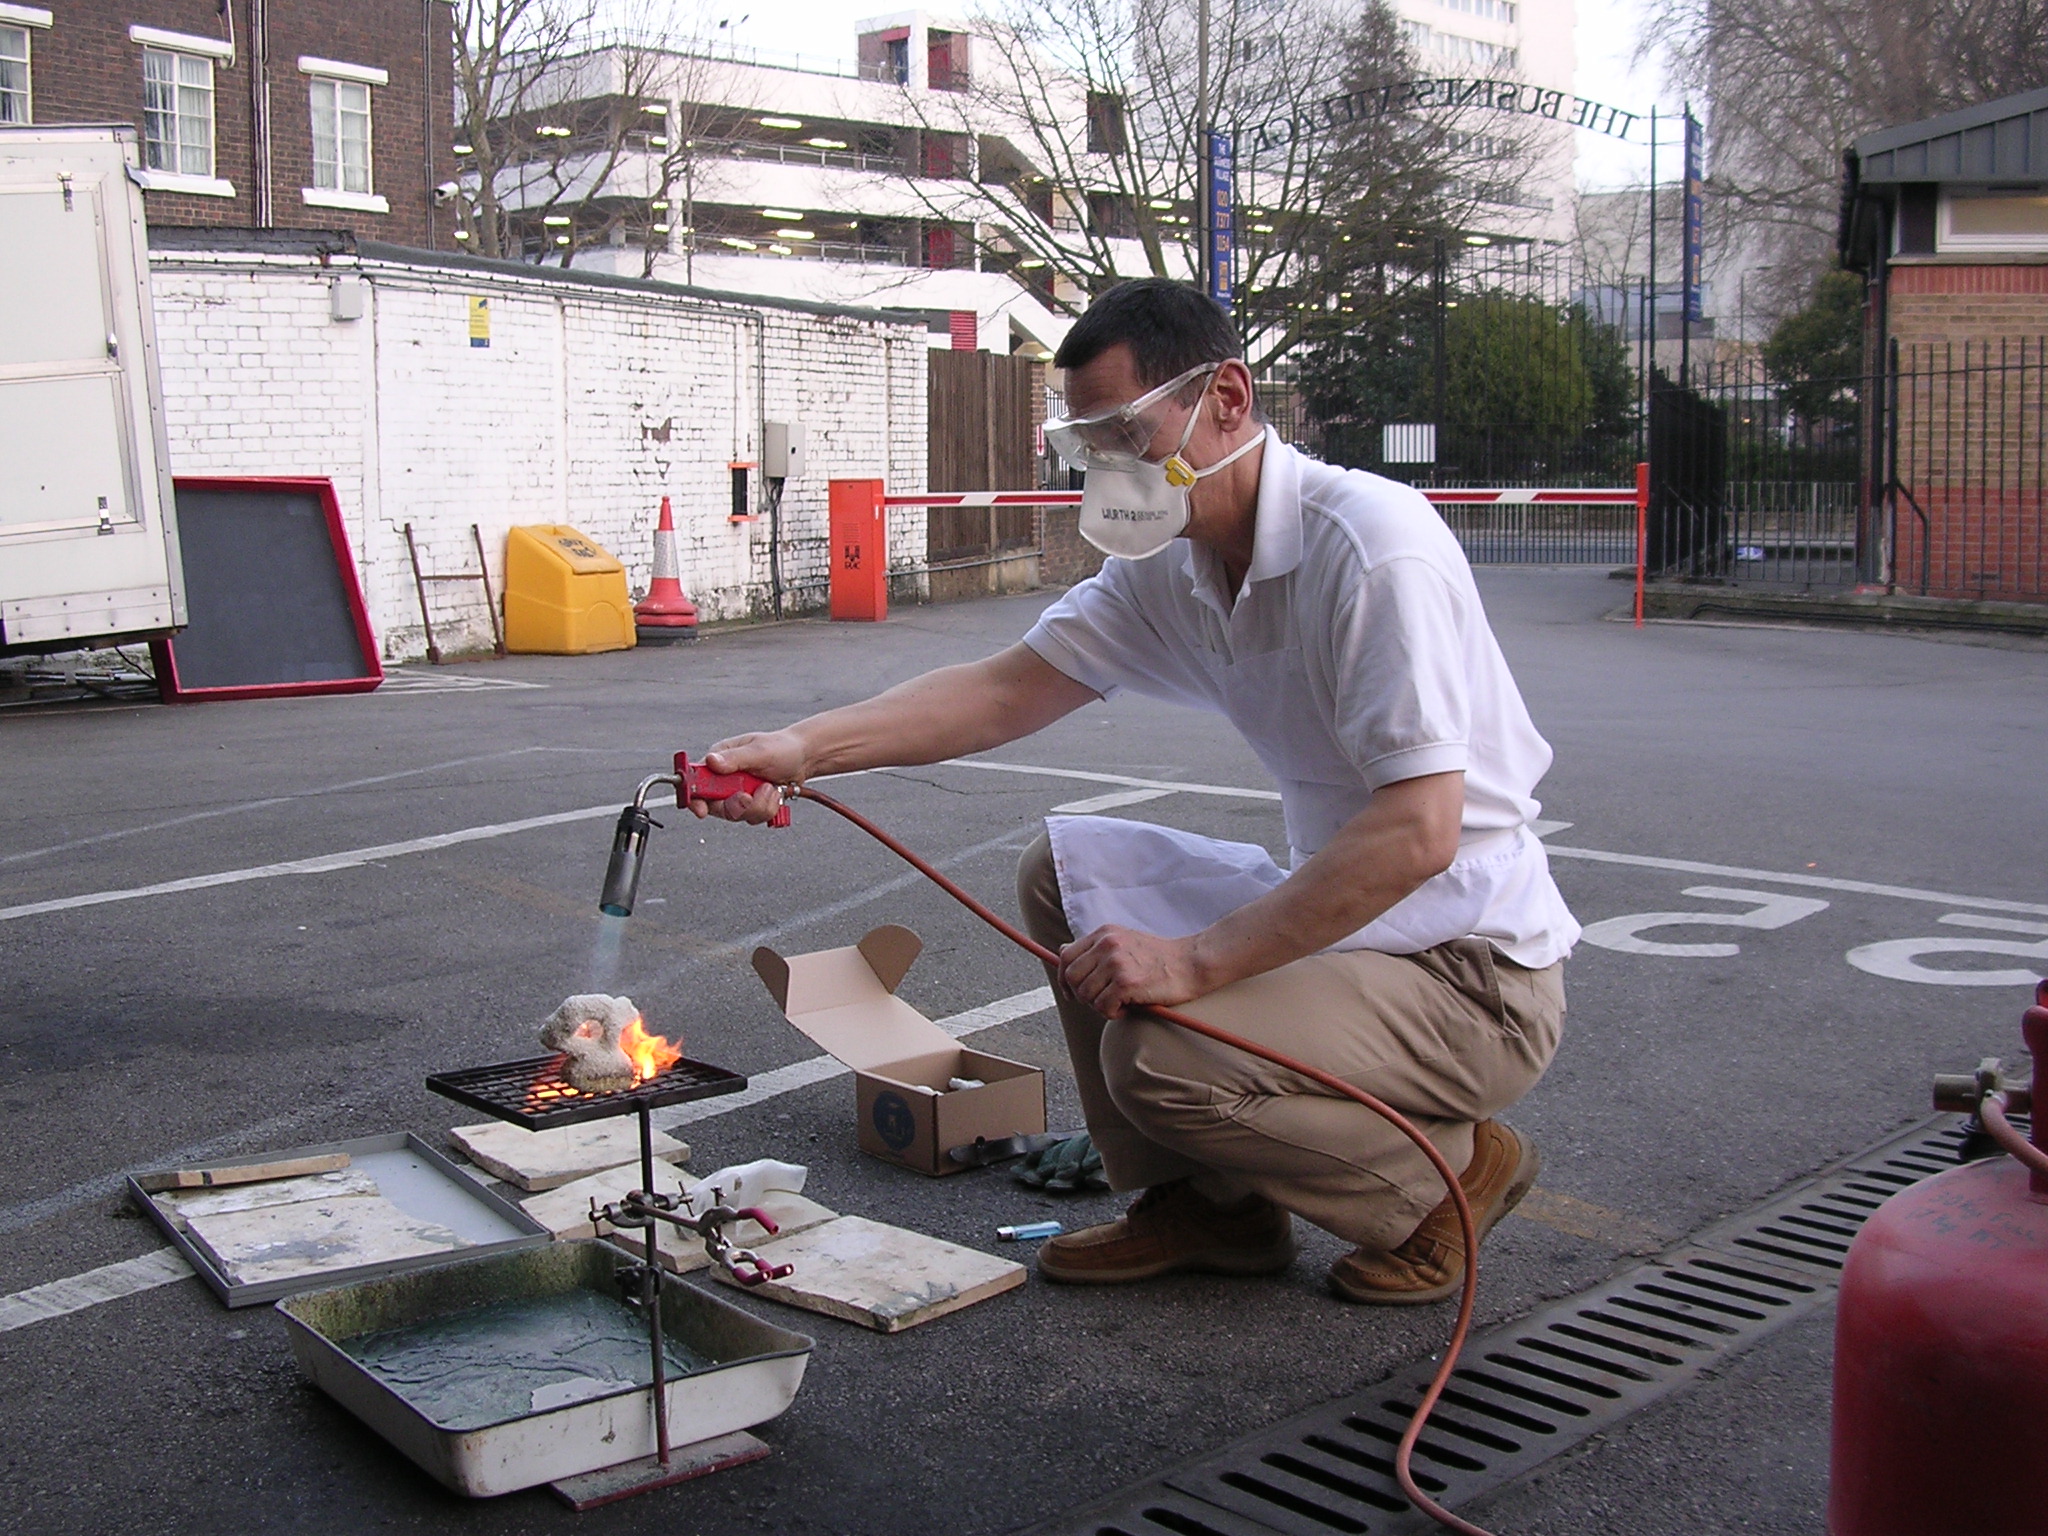
280g of this powder after drying was packed into a ceramic shell crucible with a large lump of coke, and heated in a propane-fuelled furnace for 15 minutes to around 1000C. This resulted in the evolution of large amounts of what was almost certainly chlorine and / or hydrogen chloride, which required ammonia solution in the workroom to help neutralize it. Fortunately I was wearing an adequate mask. Additionally, there was a constant rather large blue and green-blue flame coming from the top of the furnace, something that doesn't normally happen.
The crucible was removed, quenched and broken apart to reveal my two slab castings each about 5mm thick, totalling only 260g – so potentially there may have been up to 20g of chlorine present as chloride or otherwise! A strip of one slab, about 10mm wide, was rolled down to 1.5mm, showing that work hardening was very minimal – even rolling a slab 50mm wide was quite easy in a rolling mill without gears. Two large cavities at the upper ends of the slabs had very intriguing triangular ‘bird foot’ shapes made of minute granules – presumably some kind of crystallization phenomenon. They were so intriguing that I decided to keep them, and added the attached pictures. The one above on the left is a plan view, and the one below on the right is a near-elevation, showing 5 stubs radiating from the centre of a 3-axis structure. The sixth runs into the body of the silver. I guess these would make sense for something belonging to the face-centred cubic system, crystallising from the centre along perpendiculars to each of the six faces of a cube.
2007-10-04
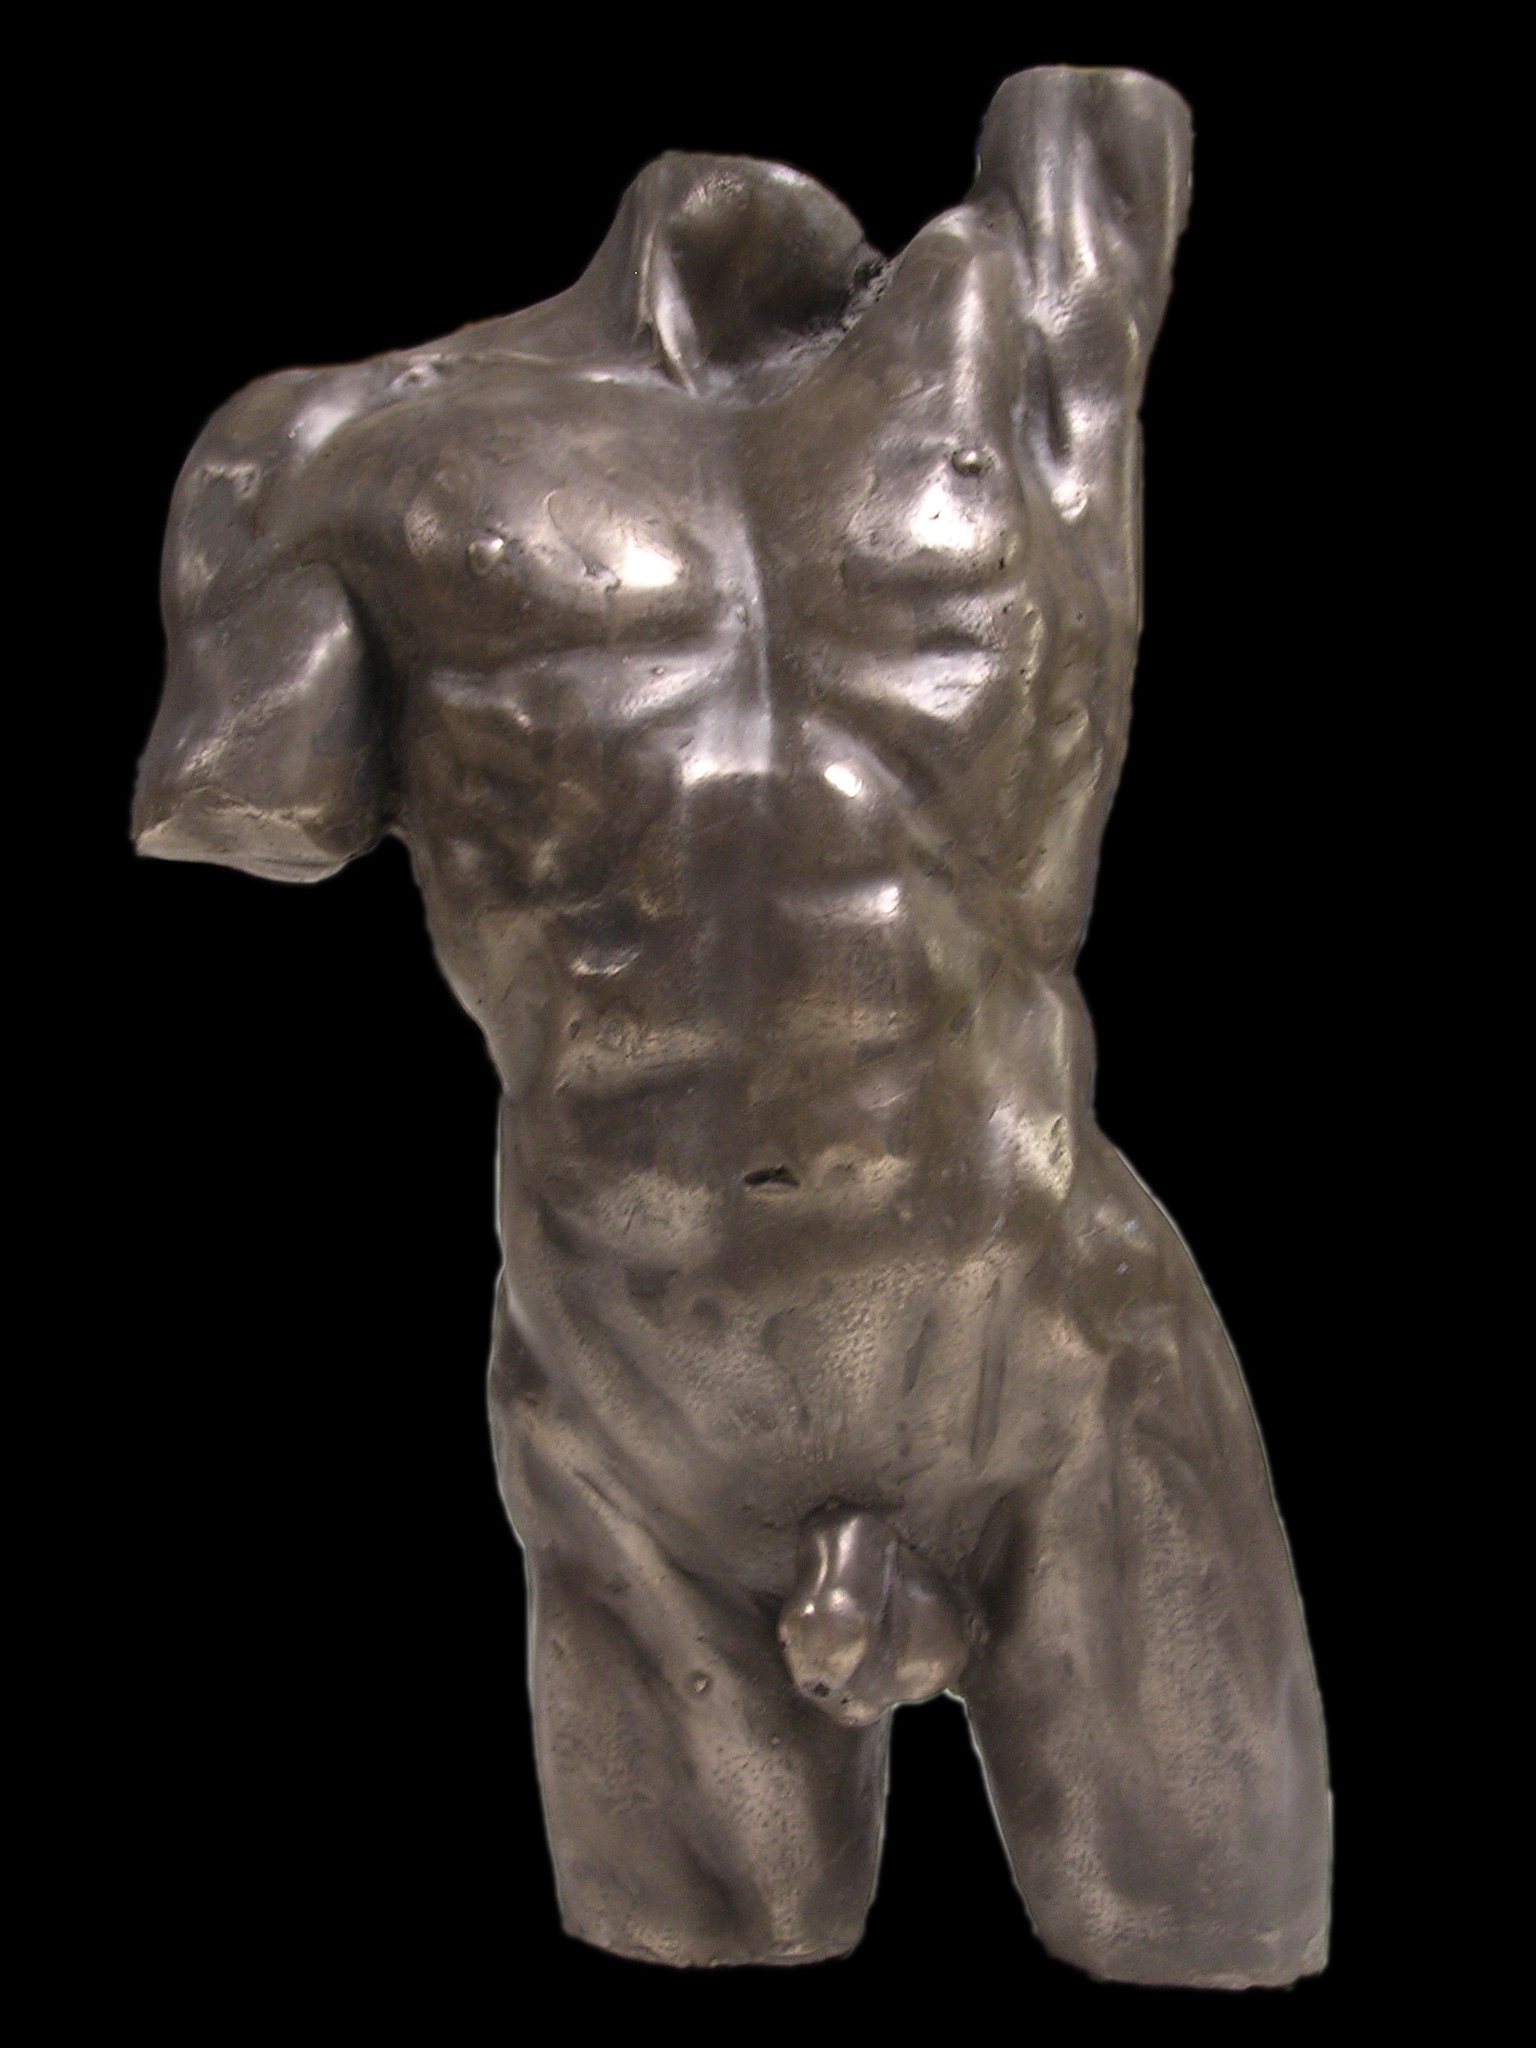
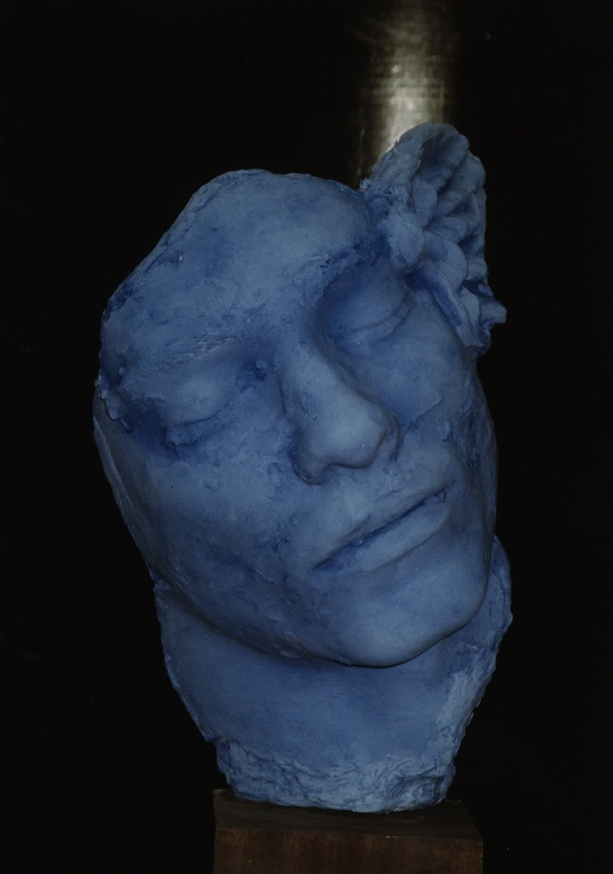
One of my diversions...